

There’s something incredibly comforting about biting into a warm, cheesy, garlicky wrap. The combination of tender, seasoned chicken, gooey melted cheese, and a soft yet slightly crispy tortilla makes this dish an absolute favorite in my home. Whether I’m looking for a quick lunch, a satisfying dinner, or even a hearty snack, these cheesy garlic chicken wraps never disappoint.
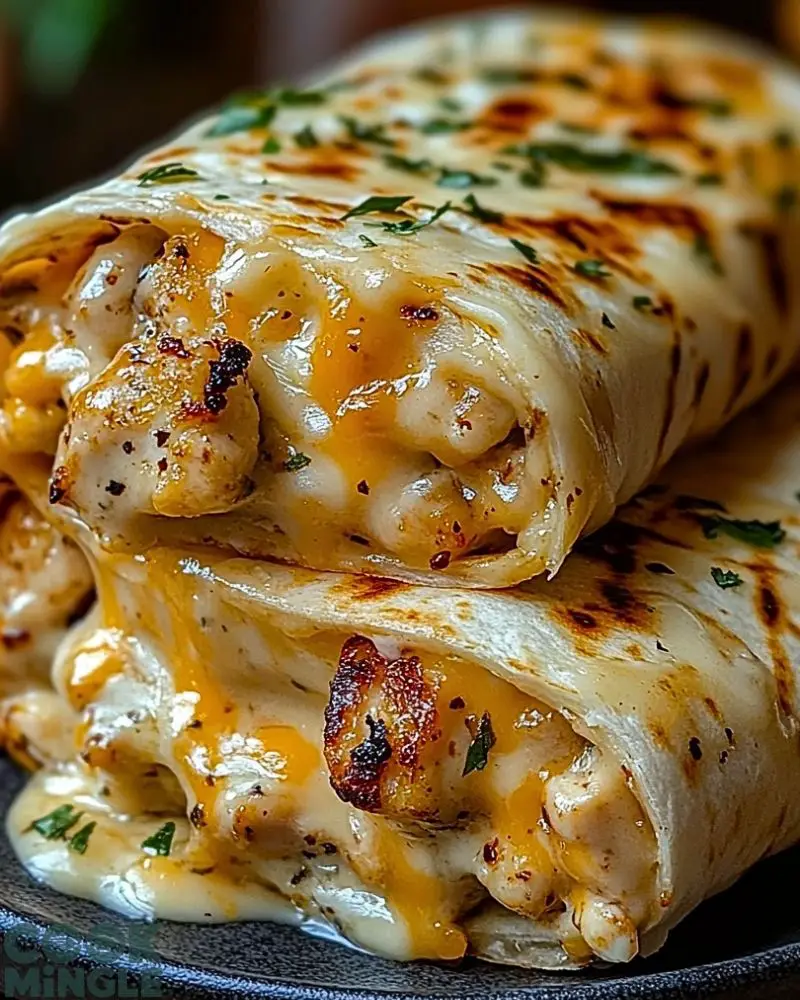
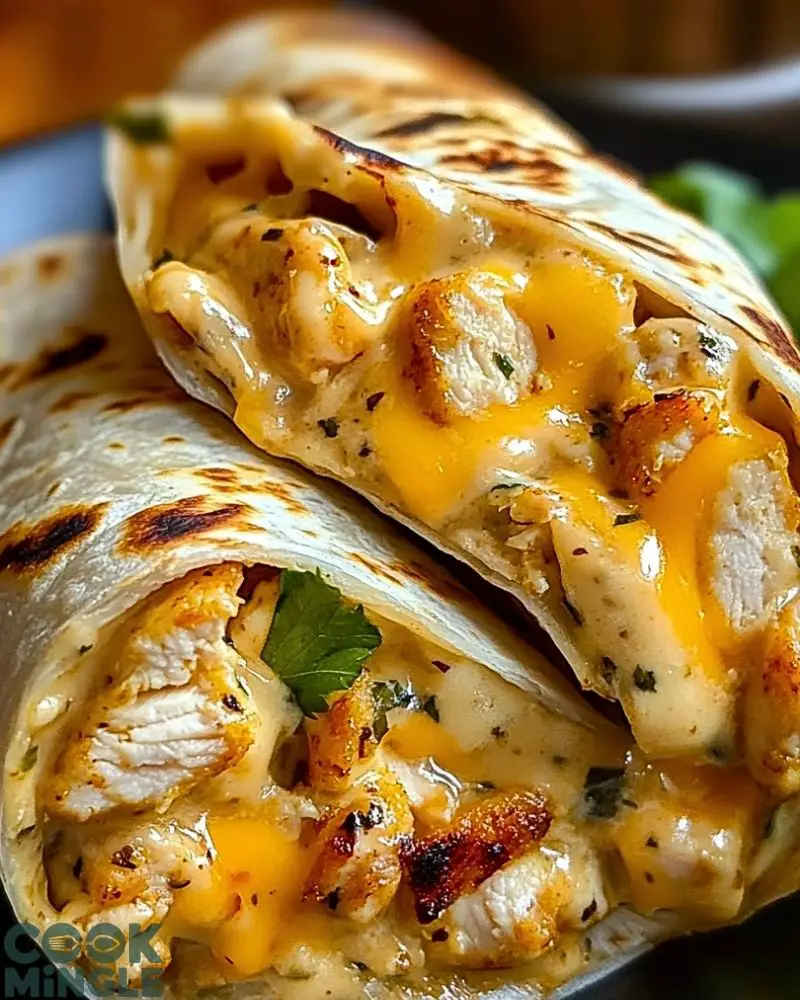
What I love most about this recipe is how simple yet indulgent it is. It takes just a handful of ingredients to create a wrap that’s bursting with rich flavors—garlic-infused chicken, perfectly melted cheddar and mozzarella, and a tortilla that’s toasted to golden perfection. If you’re a fan of cheesy goodness and bold flavors, this is one recipe you’ll want to make again and again!
Why You’ll Love These Cheesy Garlic Chicken Wraps
- Quick and easy: This recipe comes together in under 30 minutes, making it perfect for busy weeknights.
- Loaded with flavor: The garlic-seasoned chicken and melty cheese create an irresistible taste.
- Customizable: You can swap out the cheese, add veggies, or make it spicy with a kick of chili flakes.
- Crispy and cheesy: Toasted on a pan for that golden-brown crunch while keeping the cheese deliciously gooey inside.
- Great for meal prep: Make a batch ahead of time and reheat for a quick and satisfying meal.
What Kind of Tortilla Should I Use?
For these cheesy garlic chicken wraps, I prefer using flour tortillas because they’re soft, flexible, and toast beautifully to a golden brown. They hold up well against the melty cheese and juicy chicken without breaking apart. If you’re looking for a healthier option, you can use whole wheat tortillas or even low-carb tortillas. For a crunchier texture, try thin flatbreads or lavash.
If you love a bit of a crisp, you can also use corn tortillas, but keep in mind that they are smaller and may not hold as much filling. Just be sure to warm them up before wrapping to avoid cracking.
Options for Substitutions
One of the best things about this recipe is how easily you can swap ingredients to suit your taste or dietary needs. Here are some delicious substitution ideas:
- Cheese: Instead of cheddar and mozzarella, try Monterey Jack, Colby, or even a smoky gouda for a unique twist.
- Chicken: Swap the chicken for grilled shrimp, ground turkey, or even shredded rotisserie chicken for a shortcut.
- Tortilla: If you’re gluten-free, use gluten-free tortillas or large lettuce leaves for a low-carb wrap.
- Garlic: If fresh garlic is too strong for you, substitute with garlic powder or roasted garlic for a milder flavor.
- Add-ins: Want more flavor? Toss in sautéed mushrooms, bell peppers, or even crispy bacon for extra crunch.
- Spice it up: Add red pepper flakes, hot sauce, or jalapeños to bring some heat to the wraps.
These substitutions make it easy to adjust the wraps to your personal preferences while keeping them just as delicious!
Ingredients for Cheesy Garlic Chicken Wraps
Every ingredient in these wraps plays a crucial role in bringing out the best flavors and textures. Here’s what you’ll need:
- Chicken breast: The star of the dish, seasoned and cooked to juicy perfection. You can also use chicken thighs for extra tenderness.
- Flour tortillas: Soft and flexible, these hold everything together while crisping up beautifully when toasted.
- Cheddar cheese: Adds a sharp, bold flavor that complements the garlic seasoning.
- Mozzarella cheese: Melts perfectly to create that irresistible stretchy, gooey texture.
- Garlic: The key ingredient that infuses the chicken with rich, savory depth. Fresh minced garlic works best, but garlic powder is a good alternative.
- Butter: Enhances the garlic flavor while giving the tortilla a golden, crispy exterior when toasted.
- Olive oil: Helps in cooking the chicken while keeping it moist and flavorful.
- Salt & black pepper: Simple seasonings that bring out the natural flavors of the chicken.
- Paprika: Adds a mild smoky flavor and a touch of color to the chicken.
- Parsley (optional): A fresh garnish that adds a pop of color and a hint of freshness.
These ingredients come together to create a wrap that’s loaded with creamy, cheesy goodness and just the right amount of garlic-infused flavor!
Step 1: Season and Cook the Chicken
Start by cutting the chicken breast into small bite-sized pieces for even cooking. In a bowl, season the chicken with minced garlic, salt, black pepper, paprika, and a drizzle of olive oil. Heat a pan over medium heat and cook the chicken until it’s golden brown and fully cooked, about 5-7 minutes. Once done, set it aside.
Step 2: Prepare the Cheese Mixture
Grate cheddar and mozzarella cheese and mix them together in a bowl. This combination gives the perfect balance of sharp flavor and gooey melt. You can also add a pinch of red pepper flakes if you like some heat.
Step 3: Assemble the Wraps
Lay a flour tortilla on a clean surface. Add a generous portion of the cooked garlic chicken in the center, then sprinkle a handful of the cheese mixture on top. Fold in the sides and roll it up tightly to keep everything enclosed.
Step 4: Toast the Wraps
In a pan, melt a little butter over medium heat. Place the wraps seam-side down and toast for about 2-3 minutes per side, or until the tortillas turn golden brown and crispy, and the cheese inside is fully melted.
Step 5: Garnish and Serve
Once the wraps are done, remove them from the pan and let them cool for a minute. Sprinkle with chopped parsley for a fresh finish. Slice them in half and serve immediately while the cheese is hot and melty!
How Long to Cook the Cheesy Garlic Chicken Wraps
Cooking these wraps is quick and easy! The total time to cook the chicken is around 5-7 minutes. Once assembled, the toasting step takes about 2-3 minutes per side, depending on the heat of your pan. So, from start to finish, you can expect these wraps to be ready in under 30 minutes—perfect for a weeknight dinner or a quick meal!
Tips for Perfect Cheesy Garlic Chicken Wraps
- Don’t overcook the chicken: To keep your chicken juicy and tender, be careful not to overcook it. Aim for a nice golden color on the outside while keeping the inside moist.
- Shred the cheese yourself: Pre-shredded cheese often has anti-caking agents, which can affect the meltiness. Grating your own cheese will give you a smoother, gooier texture.
- Use a non-stick pan: This will help prevent the wraps from sticking while you toast them and give them a golden, crispy finish.
- Don’t overstuff the wraps: While it’s tempting to load up on filling, be careful not to overstuff the wraps. It’ll make it harder to roll them up tightly, and you might end up with a mess when toasting.
- Toast until golden: Make sure to toast the wraps until they’re crispy and golden brown on each side, ensuring that the cheese melts beautifully and the tortilla gets a nice crunch.
- Serve with dipping sauces: Try pairing these wraps with a creamy ranch dressing, spicy sriracha mayo, or even a tangy garlic butter dip for extra flavor!
Watch Out for These Mistakes While Cooking
- Overcooking the chicken: Ensure the chicken is cooked through but not dry. It should stay juicy and tender, so don’t let it sit in the pan for too long.
- Not using enough cheese: The gooey, melty cheese is the star of these wraps. Be generous with it to get that perfect cheesy bite.
- Overstuffing the wraps: If you load up the wrap too much, it becomes difficult to roll up tightly and toast evenly. Keep the filling balanced.
- Not preheating the pan: If your pan isn’t hot enough when toasting the wraps, the tortillas won’t get crispy, and the cheese may not melt fully. Always heat the pan before adding the wraps.
- Skipping the garlic: The garlic adds an essential depth of flavor to these wraps, so don’t skimp on it! Fresh garlic works best, but garlic powder can also do the job.
- Using cold tortillas: If your tortillas are cold, they might crack when you try to roll them. Warm them up slightly before wrapping for easier handling.
What to Serve with Cheesy Garlic Chicken Wraps?
These wraps are delicious on their own, but you can elevate the meal by pairing them with any of these sides:
Salad Options:
1. Caesar Salad
A crisp, creamy Caesar salad with crunchy croutons makes a great refreshing contrast to the warm, cheesy wraps.
2. Greek Salad
A light Greek salad with cucumbers, tomatoes, olives, and feta will add a burst of freshness and tang to balance out the richness of the wraps.
3. Coleslaw
Creamy coleslaw offers a crunchy and slightly tangy side that complements the wraps perfectly.
4. Mixed Green Salad
A simple mixed greens salad with a balsamic vinaigrette is a great healthy side to lighten up the meal.
Dipping Sauces:
5. Ranch Dressing
A cool, creamy ranch dip is a classic pairing that goes beautifully with these cheesy wraps.
6. Sriracha Mayo
For those who love some heat, a spicy sriracha mayo dip adds a creamy kick to each bite.
7. Garlic Butter
Dip your wraps into warm, melted garlic butter for an extra burst of flavor.
8. Guacamole
A side of fresh, creamy guacamole brings a smooth and zesty touch that pairs nicely with the savory wraps.
Storage Instructions
These cheesy garlic chicken wraps are best enjoyed fresh, but if you have leftovers, you can easily store them. Allow the wraps to cool completely before placing them in an airtight container. They’ll last for 2-3 days in the fridge.
To reheat, you can either:
- Reheat in a skillet: Heat the wraps on medium heat for about 2-3 minutes per side, until they’re crispy and the cheese inside has melted again.
- Microwave: If you’re in a hurry, microwave the wraps for 30-45 seconds until warm, though they may not stay as crispy.
If you plan to store them for longer, you can also freeze these wraps. Simply wrap each one tightly in plastic wrap, then place them in a freezer-safe bag or container. They’ll keep for up to 3 months. To reheat from frozen, bake them at 350°F (175°C) for about 15-20 minutes or until heated through.
Estimated Nutrition
Each cheesy garlic chicken wrap contains approximately:
- Calories: 350-400 kcal
- Protein: 28-30g
- Fat: 20-25g
- Carbohydrates: 30-35g
- Fiber: 2-3g
- Sodium: 600-700mg
The nutritional values may vary depending on the specific ingredients and portion sizes used, but this is a rough estimate for one wrap. If you want to reduce calories or fat, consider using leaner chicken cuts or low-fat cheese.
Frequently Asked Questions
1. Can I use chicken thighs instead of chicken breast?
Yes! Chicken thighs are a great alternative to chicken breast. They’re more tender and flavorful, though they have a slightly higher fat content. Just be sure to cook them thoroughly.
2. Can I make these wraps vegetarian?
Absolutely! You can easily replace the chicken with grilled vegetables, tofu, or a plant-based protein like chickpeas or lentils. For a vegetarian version, keep the garlic and cheese as the base flavors.
3. Can I use a different type of cheese?
Yes, feel free to experiment with different cheeses! Monterey Jack, provolone, or gouda all melt beautifully and provide a deliciously cheesy result.
4. How do I make these wraps spicier?
Add some jalapeños to the chicken, or sprinkle red pepper flakes into the cheese mixture. You can also serve the wraps with a spicy dip, like sriracha mayo.
5. Can I make these wraps in advance?
Yes, you can prepare the chicken and cheese mixture in advance and assemble the wraps when you’re ready to cook. Just store the filling in the fridge for up to 1-2 days. You can also assemble the wraps and refrigerate them until ready to toast.
6. Can I bake these wraps instead of toasting them on the stovetop?
Yes, you can bake them! Preheat your oven to 375°F (190°C) and bake the assembled wraps for about 10-12 minutes or until the cheese is melted and the tortillas are crispy.
7. Can I freeze these wraps?
Yes, you can freeze them! Wrap each one tightly in plastic wrap and store them in a freezer-safe bag for up to 3 months. To reheat, bake from frozen at 350°F (175°C) for about 15-20 minutes.
8. Can I use a different type of tortilla?
Yes, you can use whole wheat tortillas, corn tortillas, or even gluten-free tortillas as a substitute for regular flour tortillas. Just keep in mind that the texture and size may vary slightly.
Conclusion
These cheesy garlic chicken wraps are the ultimate comfort food—quick, satisfying, and bursting with flavor. Whether you’re cooking for yourself, your family, or guests, this recipe is sure to please. Don’t forget to save it on Pinterest for later and share it with your family and friends. They’ll be asking for the recipe in no time!

Cheesy Garlic Chicken Wraps
- Total Time: 25 minutes
- Yield: 4 wraps
Description
Cheesy Garlic Chicken Wraps are an easy-to-make, flavorful meal that features seasoned chicken, melty cheese, and a crispy tortilla. Perfect for quick dinners or a delicious snack, this dish is packed with garlic flavor and loads of cheesy goodness.
Ingredients
- 2 chicken breasts
- 4 flour tortillas
- 1 cup cheddar cheese, shredded
- 1 cup mozzarella cheese, shredded
- 3 cloves garlic, minced
- 2 tbsp butter
- 1 tbsp olive oil
- Salt, to taste
- Black pepper, to taste
- 1 tsp paprika
- Fresh parsley for garnish (optional)
Instructions
- Cut the chicken breasts into small pieces and season with garlic, salt, pepper, and paprika. Cook the chicken in olive oil over medium heat for 5-7 minutes until golden and cooked through.
- In a bowl, mix the shredded cheddar and mozzarella cheeses together.
- Lay out a flour tortilla and add a portion of the cooked chicken and cheese mixture in the center.
- Fold in the sides and roll the tortilla tightly.
- Melt butter in a pan over medium heat. Place the wraps seam-side down and toast for 2-3 minutes on each side until golden and crispy.
- Garnish with chopped parsley (optional) and serve immediately.
- Prep Time: 10 minutes
- Cook Time: 15 minutes