
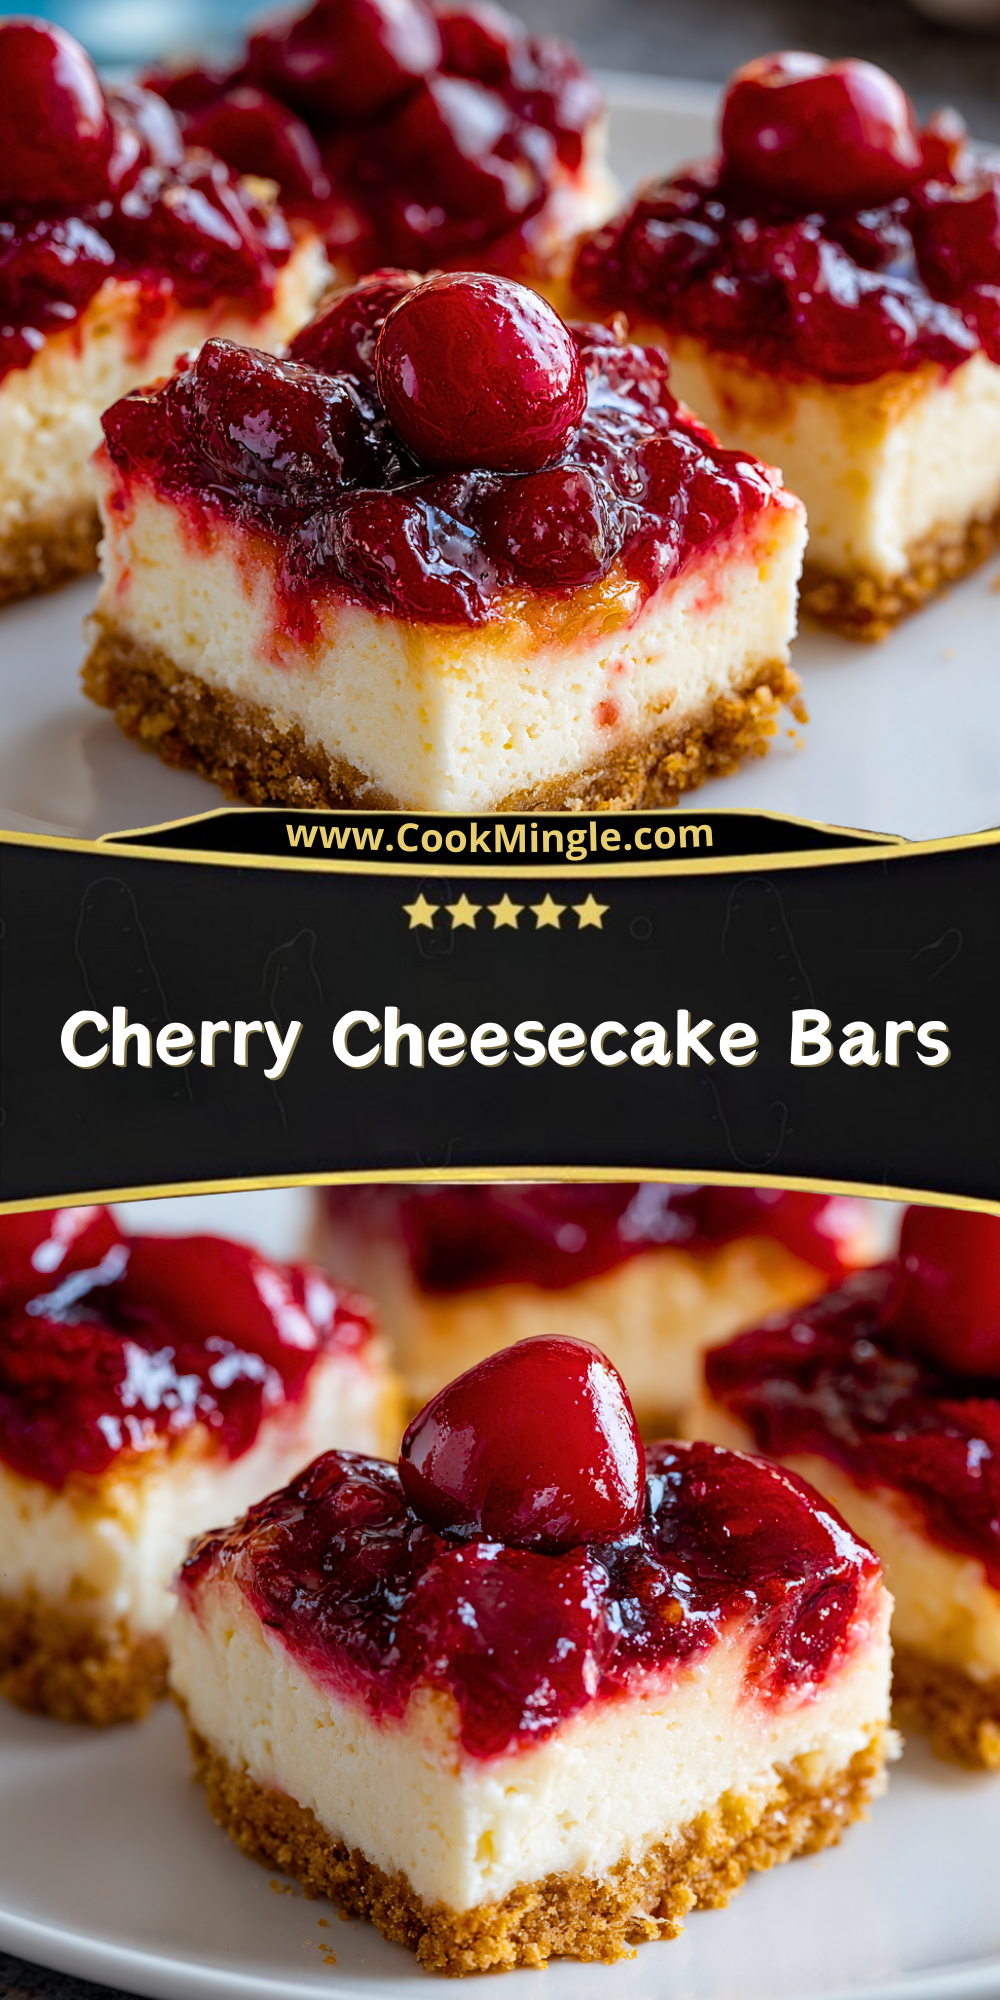
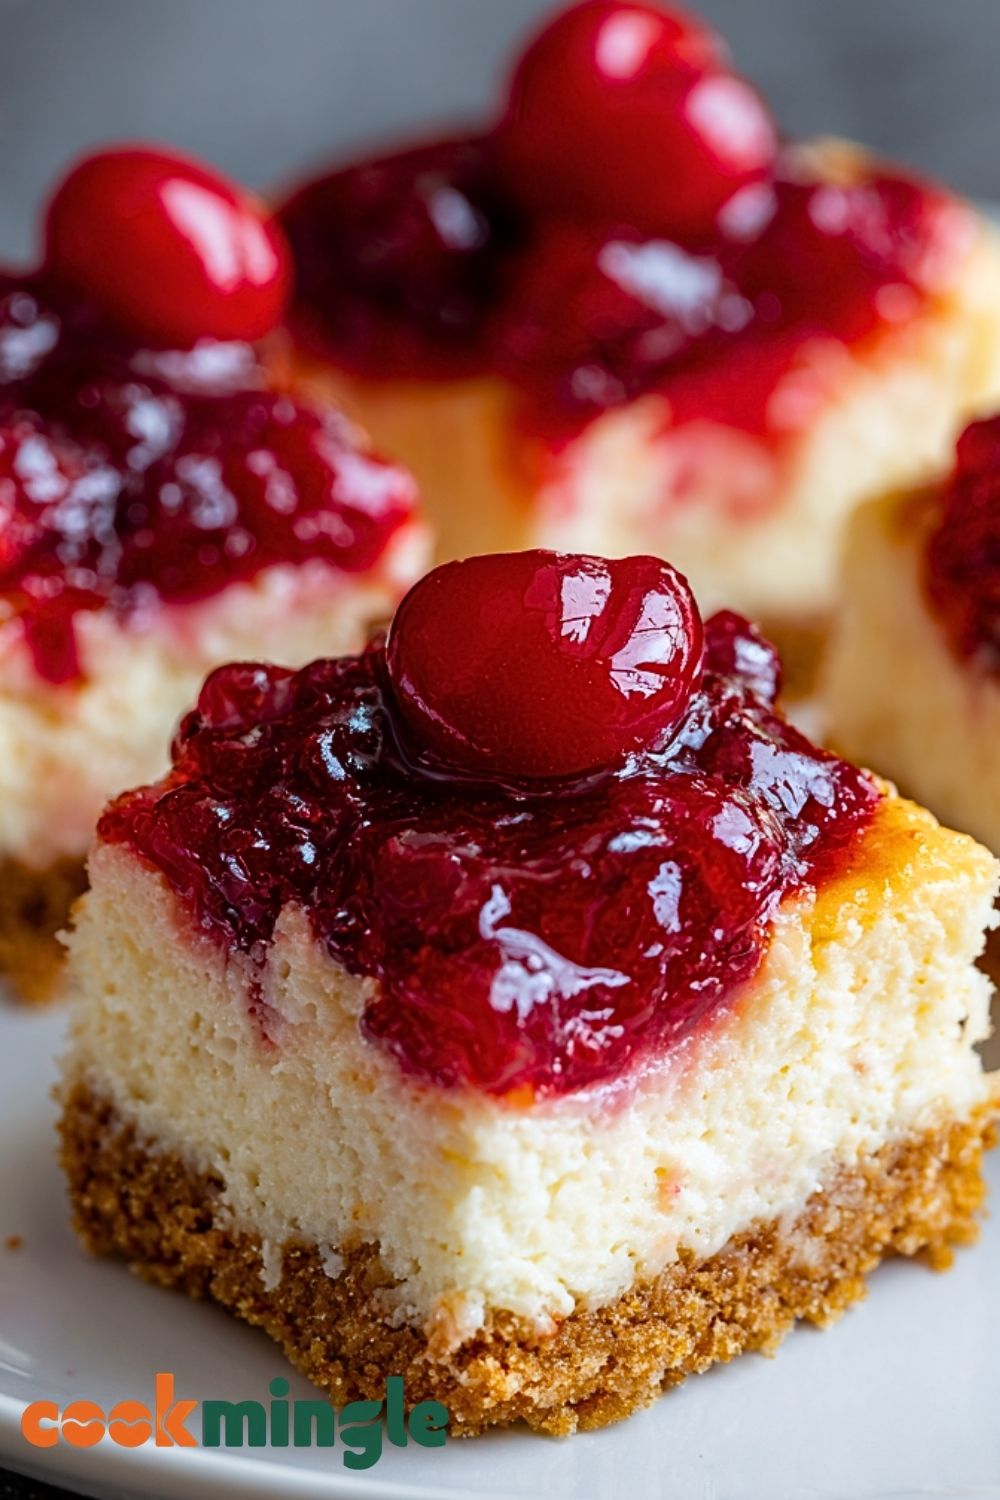
Cherry Cheesecake Bars are a mouthwatering twist on the classic dessert we all know and love. These bars feature a buttery graham cracker crust, a creamy, smooth cheesecake center, and a rich cherry topping that adds a bright pop of flavor and color. Whether you’re serving these at a family gathering, bringing them to a potluck, or indulging in a sweet afternoon treat, they always manage to steal the show.
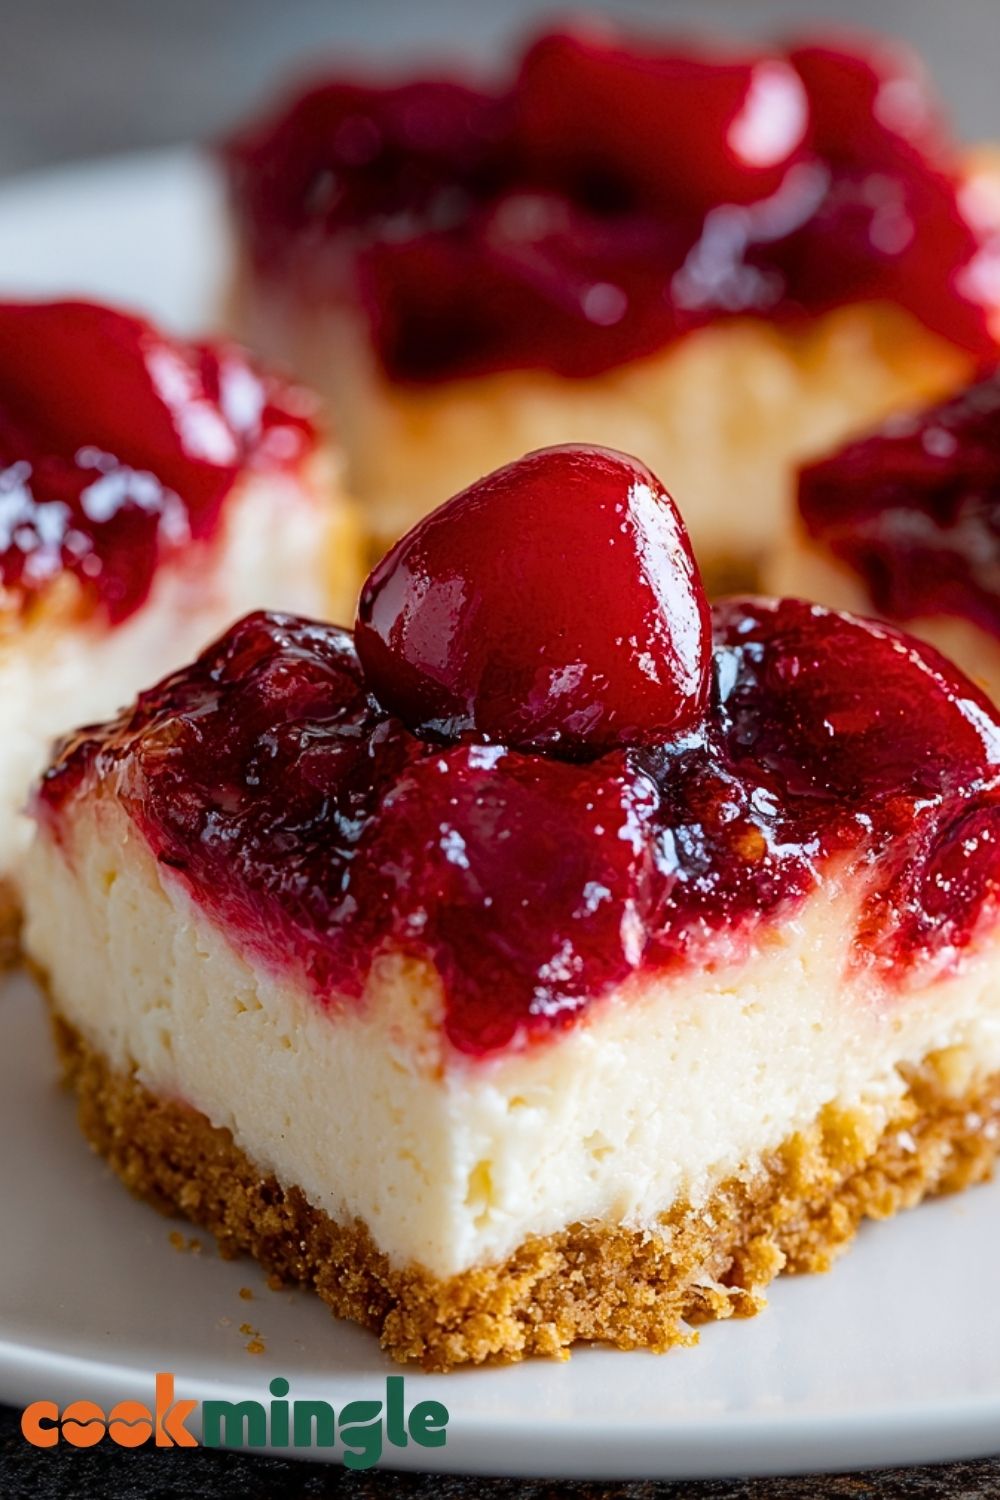
Perfectly portioned and easy to serve, Cherry Cheesecake Bars are both elegant and approachable. They combine the indulgence of cheesecake with the simplicity of a bar dessert, making them ideal for both special occasions and everyday cravings. Their sweet-tart cherry topping cuts through the richness of the cheesecake, creating a balanced flavor that satisfies every sweet tooth.
Why You’ll Love This Cherry Cheesecake Bars Recipe
- No need for a springform pan — easy and accessible.
- They slice beautifully and are easy to transport.
- The cherry topping makes every bite feel like a celebration.
- Great for make-ahead dessert planning.
- A crowd-pleaser for both adults and kids alike.
Preparation Phase & Tools to Use
To make the best Cherry Cheesecake Bars, you’ll need a few essential tools that help ensure your dessert comes out perfectly every time:
- 8×8 or 9×9-inch baking pan: This provides the ideal thickness for each bar.
- Mixing bowls: You’ll need separate bowls for the crust, filling, and topping.
- Electric mixer: Helps create a smooth, lump-free cheesecake filling.
- Spatula: For even spreading and mixing.
- Parchment paper: Makes lifting the bars from the pan effortless and keeps edges clean.
- Knife for slicing: To get those perfect, neat edges after chilling.
These tools work together to create a hassle-free preparation experience, helping with everything from texture to presentation.
Preparation Tips
For the crust, make sure your graham cracker crumbs are finely ground and the butter is fully incorporated so the base stays intact after baking. Let the cream cheese come to room temperature before mixing to ensure a silky smooth texture without lumps. Avoid over-mixing the batter — it can introduce too much air and lead to cracks. After baking, chill the bars completely in the fridge for at least 3 hours before slicing. This allows the cheesecake to firm up and the flavors to develop. For clean cuts, wipe your knife between each slice. Lastly, add the cherry topping only after chilling to preserve its glossy look and prevent excess moisture from seeping into the cheesecake layer.
Ingredients for this Cherry Cheesecake Bars Recipe
For the Crust:
- 1 and 1/2 cups graham cracker crumbs (about 10 full sheets)
- 1/4 cup granulated sugar
- 1/2 cup unsalted butter, melted
For the Cheesecake Filling:
- 16 oz (2 packages) cream cheese, softened
- 2/3 cup granulated sugar
- 2 large eggs
- 1/4 cup sour cream
- 1 tsp vanilla extract
- 1 tbsp all-purpose flour (optional, for thicker texture)
For the Cherry Topping:
- 1 and 1/2 cups cherry pie filling (store-bought or homemade)
- Optional: fresh cherries for garnish
Step 1: Prepare the Pan and Preheat the Oven
Preheat your oven to 325°F (163°C). Line an 8×8 or 9×9-inch baking pan with parchment paper, leaving some overhang for easy removal later. Lightly grease the sides if not using parchment. This helps prevent sticking and ensures clean edges.
Step 2: Make the Graham Cracker Crust
In a medium mixing bowl, combine the graham cracker crumbs, sugar, and melted butter. Stir until all crumbs are moistened. Press the mixture firmly into the bottom of your prepared pan using the back of a measuring cup or glass. Bake the crust for 8-10 minutes until lightly golden. Set aside to cool slightly while you make the filling.
Step 3: Prepare the Cheesecake Filling
In a large mixing bowl, beat the softened cream cheese with an electric mixer until smooth and creamy (about 2 minutes). Add in the sugar and mix until combined. Beat in the eggs one at a time, scraping down the bowl between additions. Then mix in sour cream, vanilla extract, and flour (if using) just until incorporated. Do not overmix.
Step 4: Assemble and Bake
Pour the cheesecake filling over the cooled crust and spread it evenly with a spatula. Tap the pan gently on the counter to remove any air bubbles. Bake for 30-35 minutes, or until the center is set and just slightly jiggly. Avoid overbaking to prevent cracks.
Step 5: Cool and Chill
Remove the cheesecake from the oven and allow it to cool completely in the pan at room temperature. Then cover and refrigerate for at least 3 hours, or overnight for best texture and flavor. This chilling step is essential for firm, clean slices.
Step 6: Add Cherry Topping
Once the cheesecake has chilled, spoon the cherry pie filling evenly over the top. Use a spatula or spoon to spread it gently to the edges. If desired, add a few fresh cherries on top for a vibrant finish.
Step 7: Slice and Serve
Using the parchment overhang, lift the bars from the pan and transfer to a cutting board. Slice into 9 or 16 squares, depending on your desired serving size. Clean the knife between each cut for neat edges. Serve chilled and enjoy!
Notes
For a smoother cheesecake layer, always make sure your cream cheese is fully softened before mixing. This prevents lumps and ensures a creamy texture. If using homemade cherry topping, let it cool fully before spreading it on the chilled cheesecake. If you’re making these bars in advance, keep the cherry topping separate until you’re ready to serve for the freshest appearance.
To make a gluten-free version, simply swap the graham crackers for gluten-free graham crackers and ensure all other ingredients are certified gluten-free.
Watch Out for These Mistakes While Cooking
- Using cold cream cheese: This leads to a lumpy batter. Always let it soften at room temperature.
- Overmixing the filling: Incorporating too much air can lead to cracks during baking.
- Skipping the chill time: The bars need time to firm up and develop their flavor — don’t rush this!
- Adding topping before chilling: This can cause the cherry layer to become runny and blend into the cheesecake.
- Not lining the pan: Makes it difficult to remove the bars cleanly — always use parchment paper.
Storage Instructions
Store Cherry Cheesecake Bars in an airtight container in the refrigerator for up to 5 days. To stack them, place a layer of parchment between each bar to avoid sticking. For longer storage, freeze the bars without the cherry topping. Wrap individually in plastic wrap and place in a freezer-safe bag or container for up to 2 months. Thaw overnight in the refrigerator and top with cherries just before serving.
Estimated Nutrition (per bar, based on 9 servings)
- Calories: ~310
- Fat: 20g
- Saturated Fat: 12g
- Cholesterol: 75mg
- Sodium: 200mg
- Carbohydrates: 28g
- Sugar: 20g
- Fiber: 1g
- Protein: 4g
Frequently Asked Questions
How do I know when the cheesecake is fully baked?
It should be mostly set with just a slight jiggle in the center. It will firm up more as it cools.
Can I use low-fat cream cheese?
You can, but the texture will be slightly less rich and creamy. Full-fat gives the best results.
Can I use fresh cherries instead of pie filling?
Yes! Cook fresh cherries with a bit of sugar and cornstarch to make your own topping.
What if I don’t have sour cream?
Greek yogurt can be used as a substitute for a similar tang and texture.
Can I double the recipe?
Absolutely. Use a 9×13 pan and adjust the baking time — it may need 5–10 extra minutes.
How do I prevent the crust from crumbling?
Be sure to press it down firmly and bake it briefly before adding the filling.
Why did my cheesecake crack?
Overmixing, overbaking, or sudden temperature changes are common causes.
Should I use a water bath?
It’s not necessary for bars, but if you want an ultra-smooth texture, you can bake in a water bath.
Conclusion
Cherry Cheesecake Bars bring together the richness of cheesecake and the simplicity of a classic dessert bar, creating a treat that’s both decadent and easy to serve. From the buttery crust to the vibrant cherry topping, each bite offers a beautiful balance of texture and flavor. Whether you’re making them for a celebration or just to satisfy a craving, these bars are always a delightful hit. Keep this recipe on hand—you’ll come back to it again and again.
Cherry Cheesecake Bars
- Total Time: 4 hours
- Yield: 9 to 16 bars
- Diet: Vegetarian
Description
These Cherry Cheesecake Bars are the perfect blend of creamy cheesecake, buttery graham cracker crust, and a vibrant cherry topping. Great as a quick dessert idea, holiday treat, or sweet snack for gatherings, they combine indulgent flavor with easy preparation. Whether you’re searching for easy dessert recipes, quick party snacks, or no-fuss baking ideas, these cheesecake bars are a must-try. They cut beautifully, store well, and always impress guests with their rich yet balanced taste.
Ingredients
1 1/2 cups graham cracker crumbs
1/4 cup granulated sugar
1/2 cup unsalted butter, melted
16 oz cream cheese, softened
2/3 cup granulated sugar
2 large eggs
1/4 cup sour cream
1 tsp vanilla extract
1 tbsp all-purpose flour (optional)
1 1/2 cups cherry pie filling
Optional fresh cherries for garnish
Instructions
1. Preheat oven to 325°F (163°C) and line an 8×8 or 9×9-inch pan with parchment paper. Lightly grease the sides.
2. Combine graham cracker crumbs, sugar, and melted butter. Press firmly into the pan. Bake for 8–10 minutes until golden. Cool slightly.
3. Beat cream cheese until smooth. Add sugar, then eggs one at a time. Mix in sour cream, vanilla, and flour (if using).
4. Pour filling over the crust and spread evenly. Tap gently to remove air bubbles.
5. Bake for 30–35 minutes until set with a slight jiggle. Cool completely at room temp, then refrigerate at least 3 hours.
6. Spoon cherry topping over chilled cheesecake. Spread gently and garnish with fresh cherries if desired.
7. Lift bars using parchment, slice, and serve chilled.
Notes
Make sure your cream cheese is fully softened for a smooth filling.
Chill thoroughly before slicing for clean edges and better texture.
Add the cherry topping after chilling to maintain a vibrant, glossy finish.
- Prep Time: 20 minutes
- Cook Time: 35 minutes
- Category: Dessert
- Method: Baking
- Cuisine: American
Nutrition
- Serving Size: 1 bar
- Calories: 310
- Sugar: 20g
- Sodium: 200mg
- Fat: 20g
- Saturated Fat: 12g
- Unsaturated Fat: 6g
- Trans Fat: 0g
- Carbohydrates: 28g
- Fiber: 1g
- Protein: 4g
- Cholesterol: 75mg