
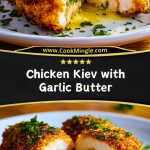
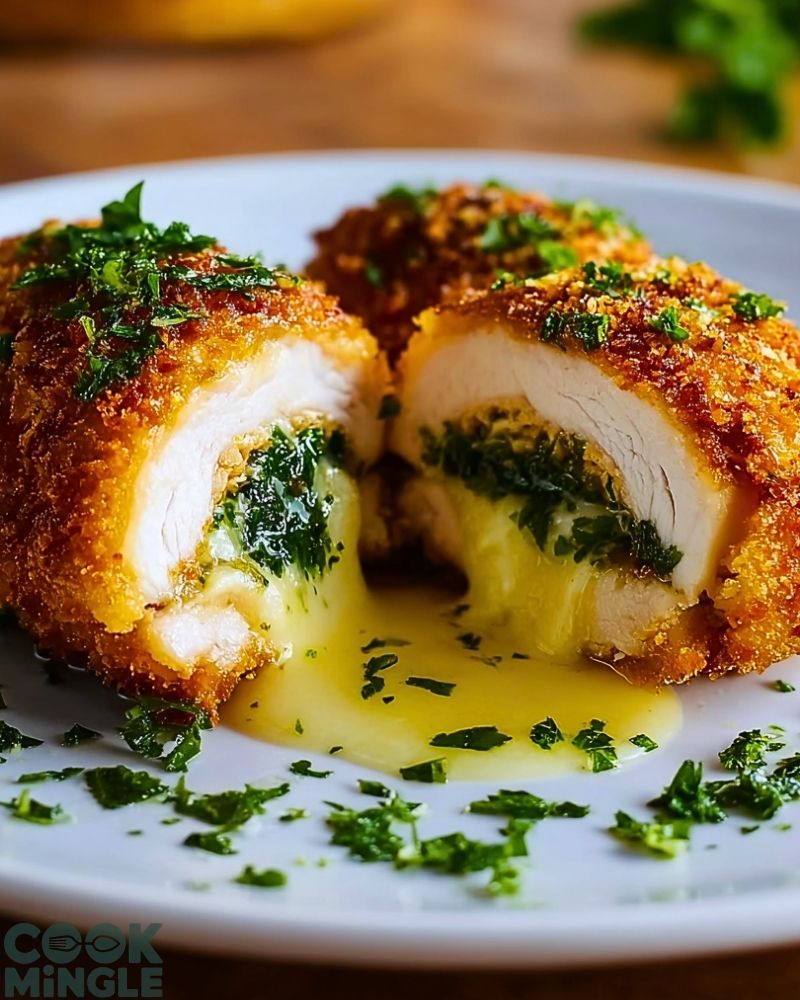
I’ve always had a soft spot for Chicken Kiev. The golden, crispy crust hiding a treasure of melted garlic herb butter makes this dish irresistible from the very first bite. It’s the kind of meal that feels like a reward at the end of the day—comforting, rich, and packed with flavor. The first time I made Chicken Kiev, I remember that moment of slicing into it and watching the buttery filling flow out like a little river of flavor. That alone made all the effort worthwhile.
Chicken Kiev isn’t just another stuffed chicken recipe. It’s a culinary experience that brings elegance to the table without needing a culinary degree. Whether you’re cooking for a date night or simply treating yourself, this dish always feels special. And the best part? Once you master a few key techniques, it becomes surprisingly simple to prepare at home.
Why You’ll Love This Chicken Kiev
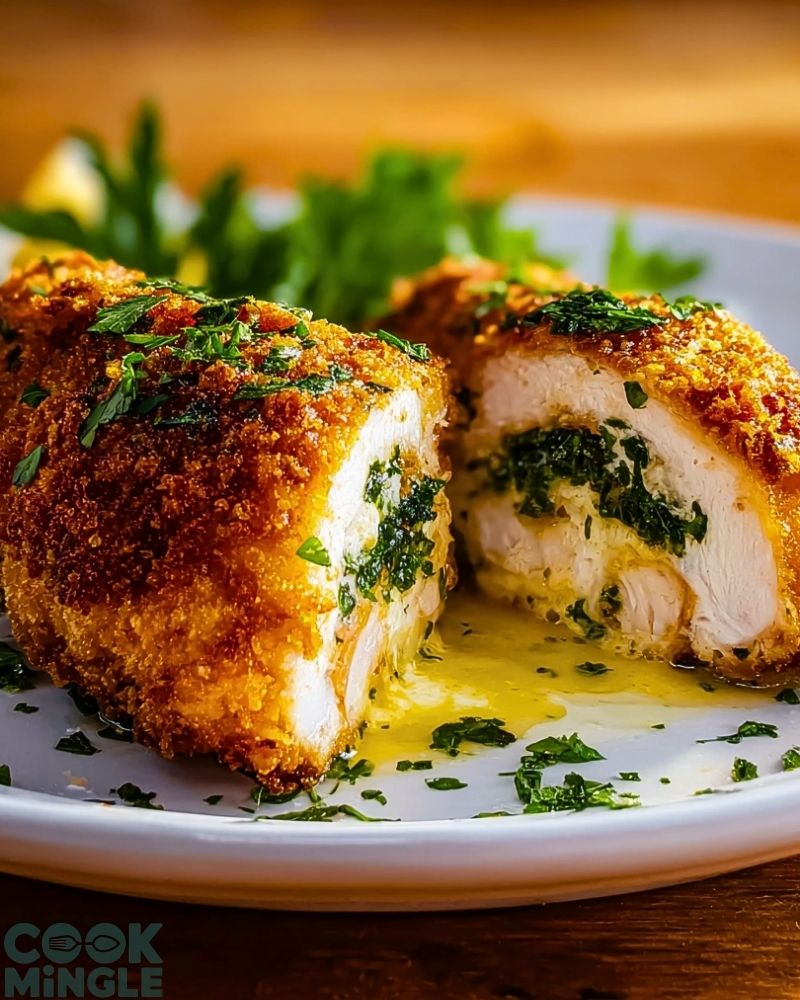
Chicken Kiev delivers everything you want in a meal—crunchy exterior, tender meat, and that explosion of garlicky butter in the center. It’s a showstopper without being fussy. The garlic and herb butter melts into the chicken, infusing it with flavor from the inside out. Paired with a fresh salad or roasted potatoes, it makes for an impressive main dish that everyone remembers.
Another reason to love this recipe? It’s freezer-friendly and can be prepped in advance. You can make a batch, freeze them individually, and bake them when you’re ready. Plus, it’s naturally low in carbs if you skip the breadcrumbs or opt for an alternative.
What Kind of Butter Should I Use for Chicken Kiev?
Traditional Chicken Kiev relies on high-quality unsalted butter as the star of the show. I always choose a European-style butter because it has a higher fat content and richer flavor. The key is to use a butter that holds its shape well when chilled so that it melts slowly during cooking, creating that irresistible molten center. Make sure your butter is very cold—frozen even—before wrapping it inside the chicken. That helps prevent it from leaking out during frying and baking.
For the garlic and herbs, fresh ingredients are essential. Fresh parsley and dill offer a vibrant contrast to the buttery richness, while finely grated garlic brings boldness without being harsh. A dash of lemon zest can lift the entire filling with a subtle brightness.
Options for Substitutions
If you’re looking to tweak the classic recipe a little, there’s plenty of flexibility:
- Butter Alternatives: You can use a plant-based butter to make it dairy-free. Just make sure it firms up well in the freezer.
- Herbs: Swap parsley or dill for tarragon, thyme, or chives, depending on your flavor preference.
- Garlic: Roasted garlic gives a mellower flavor than raw. You can also use garlic paste in a pinch.
- Breadcrumbs: Panko breadcrumbs give the crispiest coating, but crushed cornflakes or gluten-free breadcrumbs work too.
- Chicken: While boneless skinless chicken breasts are traditional, boneless thighs can be used for a juicier variation.
- Filling Twist: Add a touch of grated cheese (like gruyère or mozzarella) into the butter mix for an extra melty surprise.
These swaps let you adjust the dish for dietary needs or simply change it up for fun.
Ingredients for This Chicken Kiev
Each component of Chicken Kiev plays a crucial role in creating that perfect bite—crispy on the outside, juicy in the middle, and rich with melted garlic butter inside. Here’s what you’ll need and why:
- Boneless, skinless chicken breasts – These are the foundation of the dish. You’ll need to butterfly and flatten them so they can wrap around the buttery filling.
- Unsalted butter – The hero ingredient. It melts into a luscious, flavorful center and keeps the chicken moist from the inside out.
- Fresh parsley – Adds bright, herbaceous notes to the butter filling, balancing out the richness.
- Fresh dill – Traditional to Chicken Kiev, it gives the filling a classic Eastern European aroma and taste.
- Garlic cloves – Brings a bold, aromatic punch that transforms the butter into something magical.
- Lemon zest – Just a touch brightens the whole filling and enhances the herbs.
- Salt and black pepper – Basic seasoning, but essential to bring out all the other flavors.
- All-purpose flour – Helps the egg stick to the chicken for a seamless coating.
- Eggs – Act as the glue to hold the breadcrumbs on the chicken.
- Panko breadcrumbs – They crisp up beautifully, giving that signature crunch when you cut into the Kiev.
- Neutral oil (like vegetable or canola oil) – Needed for frying to get that golden crust before baking.
With these ingredients in place, you’re ready to roll—literally—and create the signature layers that make Chicken Kiev unforgettable.
Step 1: Prepare the Garlic Herb Butter
Start by mixing softened unsalted butter with finely chopped parsley, dill, minced garlic, lemon zest, salt, and pepper. Once combined, spoon the mixture onto a piece of plastic wrap or parchment paper. Shape it into a small log, wrap it tightly, and freeze it for at least 30 minutes until very firm.
Step 2: Butterfly and Flatten the Chicken
Place each chicken breast on a cutting board. Carefully butterfly it by slicing it horizontally without cutting all the way through, then open it like a book. Place the opened chicken between two sheets of plastic wrap and gently pound it with a meat mallet until about 1/4-inch thick. Season both sides lightly with salt and pepper.
Step 3: Fill and Roll the Chicken
Take the firm garlic butter from the freezer and cut it into equal portions (one for each chicken breast). Place one portion in the center of the flattened chicken. Fold in the sides and tightly roll up the chicken, sealing the butter inside. Secure with toothpicks if needed. Chill the rolled chicken in the fridge for 20 minutes to help it keep its shape.
Step 4: Dredge and Coat
Set up a breading station with three shallow bowls: flour in the first, beaten eggs in the second, and panko breadcrumbs in the third. Dredge each chicken roll in the flour (shake off excess), dip into the egg, and coat thoroughly in breadcrumbs. Press the breadcrumbs in to ensure full coverage.
Step 5: Fry and Finish in the Oven
In a large skillet, heat about 1/2 inch of neutral oil over medium heat. Once hot, carefully fry the chicken rolls until golden brown on all sides—about 2–3 minutes per side. Then transfer them to a preheated oven at 375°F (190°C) and bake for 15–20 minutes until the chicken is cooked through and the center reaches 165°F (74°C).
Once done, let them rest a few minutes before serving so the butter doesn’t spill out too quickly when cut.
How Long to Cook the Chicken Kiev
The cooking time for Chicken Kiev involves two parts: frying and baking. First, you’ll fry each rolled chicken breast for about 2 to 3 minutes per side—just enough to create that beautiful golden crust. Then it goes into a preheated oven at 375°F (190°C) for 15 to 20 minutes. You’re aiming for an internal temperature of 165°F (74°C) to ensure the chicken is safely cooked without drying out. Always let it rest for a few minutes before cutting, so the butter stays inside until that first satisfying slice.
Tips for Perfect Chicken Kiev
- Freeze the butter solid: This is non-negotiable. If the butter is even slightly soft, it may leak out during cooking.
- Roll the chicken tightly: Think of it like wrapping a burrito. Any loose edges are an escape route for that precious filling.
- Chill the rolled chicken before breading: This helps firm everything up, making it easier to handle and helping the shape hold through frying.
- Double breading (optional): For extra crunch and sealing, you can repeat the egg and breadcrumb step once more.
- Use a thermometer: Ensures doneness without guessing. The center should hit 165°F.
- Drain after frying: Rest the fried rolls on a wire rack or paper towel to keep the crust crisp before baking.
- Let it rest before serving: This step keeps the butter from gushing out too fast when cut. Give it at least 5 minutes.
Nail these techniques, and your Chicken Kiev will have that perfect, restaurant-style finish every single time.
Watch Out for These Mistakes While Cooking
Even though Chicken Kiev is straightforward once you know the steps, there are a few common pitfalls to avoid:
- Using warm butter: If the butter isn’t frozen solid, it will leak out during cooking. Always freeze it until rock-hard.
- Not sealing the chicken properly: Loose edges or gaps will let the butter escape. Be precise when folding and rolling.
- Skipping the chilling step: Rushing from rolling to frying can make the chicken fall apart or cook unevenly. A brief chill helps everything hold together.
- Overcrowding the pan: Frying too many at once lowers the oil temperature, leading to soggy coating instead of crispiness.
- Undercooking or overcooking: Without a thermometer, it’s easy to guess wrong. Aim for 165°F in the center for juicy, safe-to-eat chicken.
- Not resting after cooking: Cutting too early lets all the garlic butter run out. Letting it sit allows the butter to thicken just enough to stay mostly inside.
What to Serve With Chicken Kiev?
Garlic Mashed Potatoes
Creamy and buttery, they soak up any extra garlic butter that sneaks out—perfect pairing.
Simple Green Salad
A fresh, crisp salad with a lemon vinaigrette balances the richness of the dish.
Steamed Broccoli with Lemon
Light and bright, it adds color and a gentle bitterness that cuts through the fat beautifully.
Crusty Bread or Dinner Rolls
To mop up any remaining herb butter—because wasting that would be a crime.
Roasted Carrots or Root Vegetables
The sweetness of roasted veggies brings out the savory flavors in the chicken.
Lemon-Dill Rice
A subtle citrus rice adds a nice herbal note that ties in with the dill from the filling.
Sautéed Spinach with Garlic
Earthy, soft greens with a touch of garlic complement the filling without overpowering it.
A crisp white wine
Think Sauvignon Blanc or a dry Riesling to elevate the whole experience.
Storage Instructions
Chicken Kiev stores quite well, whether you’re saving leftovers or prepping in advance. Here’s how to handle it:
- Refrigerator: Once cooled, store leftover Chicken Kiev in an airtight container for up to 3 days. Reheat gently in a 350°F (175°C) oven until warmed through—this keeps the coating crisp better than microwaving.
- Freezer (Uncooked): You can prep the chicken all the way up to breading, then freeze it uncooked. Place on a baking sheet to freeze individually, then transfer to a zip-top freezer bag. They’ll keep for up to 2 months. Fry directly from frozen, then bake a little longer to ensure the center is fully cooked.
- Freezer (Cooked): Fully cooked and cooled Chicken Kiev can also be frozen, but it won’t be quite as crispy when reheated. Wrap tightly in foil and store in an airtight container for up to 1 month.
Estimated Nutrition (per serving, based on 1 piece)
These values are approximate and can vary depending on exact ingredients and portion size:
- Calories: 480
- Protein: 37g
- Carbohydrates: 18g
- Fat: 30g
- Saturated Fat: 12g
- Cholesterol: 120mg
- Sodium: 470mg
- Fiber: 1g
- Sugar: 1g
Chicken Kiev is definitely indulgent, but it’s also packed with satisfying protein and flavor, making it worth every bite.
Frequently Asked Questions
What’s the origin of Chicken Kiev?
Chicken Kiev is believed to have Eastern European roots, with both Russia and Ukraine claiming its invention. It gained popularity in restaurants across Europe and the U.S. during the 20th century. Despite the debate, it remains a beloved classic known for its luxurious garlic butter filling.
Can I use chicken thighs instead of breasts?
Yes, you can! Chicken thighs are juicier and more forgiving in terms of cooking, but they’re smaller and harder to roll. Just make sure to trim excess fat and roll tightly.
How do I stop the butter from leaking out?
Use frozen butter, roll the chicken tightly, seal the edges well, and chill the rolled chicken before frying. Toothpicks can help secure the seam too. A firm, well-shaped roll is your best defense.
Can I make Chicken Kiev ahead of time?
Absolutely. You can assemble and bread the chicken, then refrigerate or freeze it before cooking. It’s a great make-ahead dish for guests or weeknight meals.
What’s the best oil for frying Chicken Kiev?
Use a neutral, high-smoke-point oil like canola, vegetable, or sunflower oil. Avoid olive oil—it burns too quickly and can overpower the flavor.
How do I reheat Chicken Kiev without losing the crunch?
Reheat in a 350°F (175°C) oven on a wire rack over a baking sheet. This allows air to circulate and keeps the coating crispy. Avoid microwaving, which softens the crust.
Is Chicken Kiev gluten-free?
Not by default, but it can be. Swap regular flour and breadcrumbs for gluten-free alternatives, and ensure your herbs and spices are certified gluten-free.
Can I air-fry Chicken Kiev?
Yes! After breading, spray the chicken lightly with oil and air-fry at 375°F (190°C) for about 20–25 minutes, flipping halfway. It won’t be quite as rich, but it’s a lighter option with good crunch.
Conclusion
Chicken Kiev is the kind of dish that never fails to impress—rich, flavorful, and satisfyingly crisp. It may take a few extra steps, but once you master the butter filling, rolling technique, and golden crust, it becomes a go-to favorite for dinners that feel just a little more special. Whether you stick with the classic or play with your own twists, you’ll always be rewarded with a warm, buttery center and rave reviews at the table.

Chicken Kiev with Garlic Butter
- Total Time: 55 minutes
- Yield: 4 servings
Description
Chicken Kiev is a crispy, golden-breaded chicken breast filled with a rich garlic herb butter center. This comforting dish is elegant enough for guests but easy enough to make at home with a little prep. Each bite delivers juicy chicken and a burst of savory, melted butter that turns a simple dinner into a memorable experience.
Ingredients
4 boneless skinless chicken breasts
8 tablespoons unsalted butter (softened)
2 tablespoons fresh parsley (finely chopped)
1 tablespoon fresh dill (finely chopped)
2 garlic cloves (minced)
1 teaspoon lemon zest
1 teaspoon salt (divided)
1 teaspoon black pepper (divided)
1 cup all-purpose flour
2 large eggs (beaten)
1 1/2 cups panko breadcrumbs
1/2 cup neutral oil (for frying)
Instructions
1. Mix softened butter with parsley, dill, garlic, lemon zest, and a pinch of salt and pepper. Shape into a log, wrap, and freeze for 30 minutes.
2. Butterfly each chicken breast and pound gently until 1/4 inch thick. Season both sides with remaining salt and pepper.
3. Slice the butter log into 4 portions. Place one in the center of each chicken breast. Fold sides and roll tightly to enclose the filling. Chill for 20 minutes.
4. Dredge each roll in flour, then dip in beaten egg, then coat with panko breadcrumbs. Press breadcrumbs firmly to adhere.
5. In a large skillet, heat oil over medium heat. Fry each chicken roll until golden brown, about 2–3 minutes per side.
6. Transfer to a 375°F (190°C) oven and bake for 15–20 minutes, or until internal temperature reaches 165°F (74°C).
7. Let rest for 5 minutes before serving to allow butter to settle.
Notes
Let Chicken Kiev rest before slicing to retain the buttery filling inside. Can be prepped and frozen before frying for make-ahead convenience.
- Prep Time: 30 minutes
- Cook Time: 25 minutes
- Category: Main Course
- Method: Baking, Frying
- Cuisine: Eastern European
Nutrition
- Serving Size: 1 stuffed chicken breast
- Calories: 480
- Sugar: 1g
- Sodium: 470mg
- Fat: 30g
- Saturated Fat: 12g
- Unsaturated Fat: 14g
- Trans Fat: 0g
- Carbohydrates: 18g
- Fiber: 1g
- Protein: 37g
- Cholesterol: 120mg