
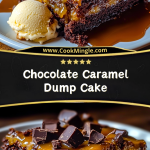
Rich, gooey, and unapologetically indulgent, the Chocolate Caramel Dump Cake is what dessert dreams are made of. Imagine layers of moist chocolate cake, pockets of luscious caramel, and a topping so fudgy it borders on brownie territory. All of this comes together in a single pan with minimal effort but maximum reward. This is the kind of dessert that silences a table mid-bite, that makes people close their eyes when they taste it, and that nobody believes was made without a stand mixer or a single whisk involved.
The beauty of this cake lies in its rustic elegance—no piping bags or leveling layers, just a “dump-and-bake” method that somehow turns pantry staples into a bakery-quality dessert. Whether you’re hosting a holiday dinner, heading to a potluck, or just in need of a midweek treat, this cake checks every box for flavor, texture, and ease. Best of all? It pairs decadently with a scoop of vanilla ice cream, letting warm caramel pools soak into every crumb.
Why You’ll Love This Chocolate Caramel Dump Cake
- Effortlessly decadent: It’s stunningly rich without needing much effort.
- One-pan magic: No mixing bowls required—just layer and bake.
- Perfect for any occasion: It’s casual enough for a weeknight treat and impressive enough for a celebration.
- Sweet and salty fusion: The caramel introduces a salty depth that cuts through the chocolate’s richness.
- Customizable: Add nuts, espresso powder, or top with sea salt for your own signature twist.
Preparation Phase & Tools to Use (Essential Tools and Their Importance)
To bring this gooey masterpiece to life, simplicity is your best friend. The Chocolate Caramel Dump Cake relies more on good layering than elaborate mixing, so you won’t need an arsenal of kitchen gadgets. Here’s what you do need:
- 9×13-inch Baking Dish – This is your main stage. The size ensures the ingredients cook evenly and gives you that perfect ratio of cake to caramel.
- Rubber Spatula or Spoon – Essential for spreading the caramel and cake mix gently without overmixing.
- Can Opener – You’ll need this for the sweetened condensed milk or any canned caramel you use.
- Oven Mitts – Trust us, this cake gets hot and bubbling around the edges—handle with care.
- Cooling Rack – Letting the cake cool slightly helps the caramel thicken and set for better slicing.
- Measuring Cups/Spoons – For any melted butter or added mix-ins like chocolate chips or nuts.
These basic tools keep the process tidy and streamlined. No stand mixers, no bowls full of batter—just quick prep and delicious results.
Preparation Tips
- Room Temperature Ingredients: If using butter or condensed milk, bring them to room temperature for easier pouring and better consistency.
- Grease Generously: Don’t forget to butter or spray your baking dish. The caramel will cling to the pan like sweet lava.
- Layer with Intention: Spread each ingredient evenly and in order—dumping randomly can cause uneven baking or overly wet spots.
- Don’t Mix the Cake Mix: Seriously—just sprinkle it over the top and resist the urge to stir. The butter will do all the magic.
- Check for Doneness: You want bubbling edges and a slightly cracked top, not a fully set cake. The center should jiggle just a little.
Following these tips ensures that every bite of this dump cake has the perfect gooey, fudgy texture it’s known for.
Ingredients for This Chocolate Caramel Dump Cake
To create this luscious, layered dessert, you’ll need just a handful of pantry staples and a few indulgent add-ins. Everything comes together with minimal effort, but the payoff is pure decadence.
Core Ingredients:
- 1 box (15.25 oz) chocolate cake mix – Choose a rich chocolate or devil’s food cake mix for a deep cocoa flavor.
- 1 can (12–14 oz) sweetened condensed milk – Adds intense sweetness and moisture.
- 1 jar (12 oz) caramel sauce or dulce de leche – For that signature gooey caramel layer.
- 1/2 cup (1 stick) unsalted butter, melted – Helps moisten the cake mix and create that buttery, crumbly top.
- 1 cup semi-sweet chocolate chips – Melts into the layers, making every bite extra fudgy.
Optional Add-Ins (Highly Recommended):
- 1/2 tsp sea salt flakes – Sprinkled on top for a sweet-salty balance.
- 1/2 cup chopped pecans or walnuts – For crunch and added depth.
- 1 tsp espresso powder – To enhance the chocolate flavor subtly.
With just these ingredients, you’ll be able to build a dessert that tastes like it came straight from a high-end bakery, but with the ease of a single pan.
Step 1: Preheat and Prepare the Pan
Start by preheating your oven to 350°F (175°C). While the oven warms up, generously grease a 9×13-inch baking dish with butter or non-stick spray. This is crucial to prevent the caramel and chocolate from sticking during baking.
Step 2: Pour in the Sweetened Condensed Milk
Open the can of sweetened condensed milk and pour it evenly into the bottom of the prepared baking dish. Use a spatula to smooth it out if necessary. This will form the base of the gooey caramel layer.
Step 3: Add the Caramel Layer
Next, drizzle the caramel sauce or dulce de leche directly over the sweetened condensed milk. Don’t stir—just spread gently with a spoon to layer it. If you’re feeling fancy, warm the caramel slightly to make it easier to pour.
Step 4: Sprinkle the Cake Mix
Evenly sprinkle the dry chocolate cake mix over the caramel layer. Resist the urge to mix! The dry cake mix will absorb the moisture from below and transform into a rich, chocolatey crust.
Step 5: Add the Chocolate Chips and Nuts (Optional)
Scatter the chocolate chips across the surface of the dry cake mix. If you’re using chopped nuts, now’s the time to add them too. These will nestle into the cake as it bakes, creating texture and surprise.
Step 6: Drizzle with Melted Butter
Slowly pour the melted butter over the top of the cake mix, covering as much surface area as possible. Don’t worry if some dry spots remain—they’ll steam during baking.
Step 7: Bake to Perfection
Place the dish in the preheated oven and bake for 40–45 minutes, or until the edges are bubbling and the top looks set with slight cracks. The center should still be a little soft—don’t overbake it!
Step 8: Cool Slightly Before Serving
Let the cake rest for 10–15 minutes on a cooling rack. This gives the caramel time to thicken and the layers to settle, making it easier to serve.
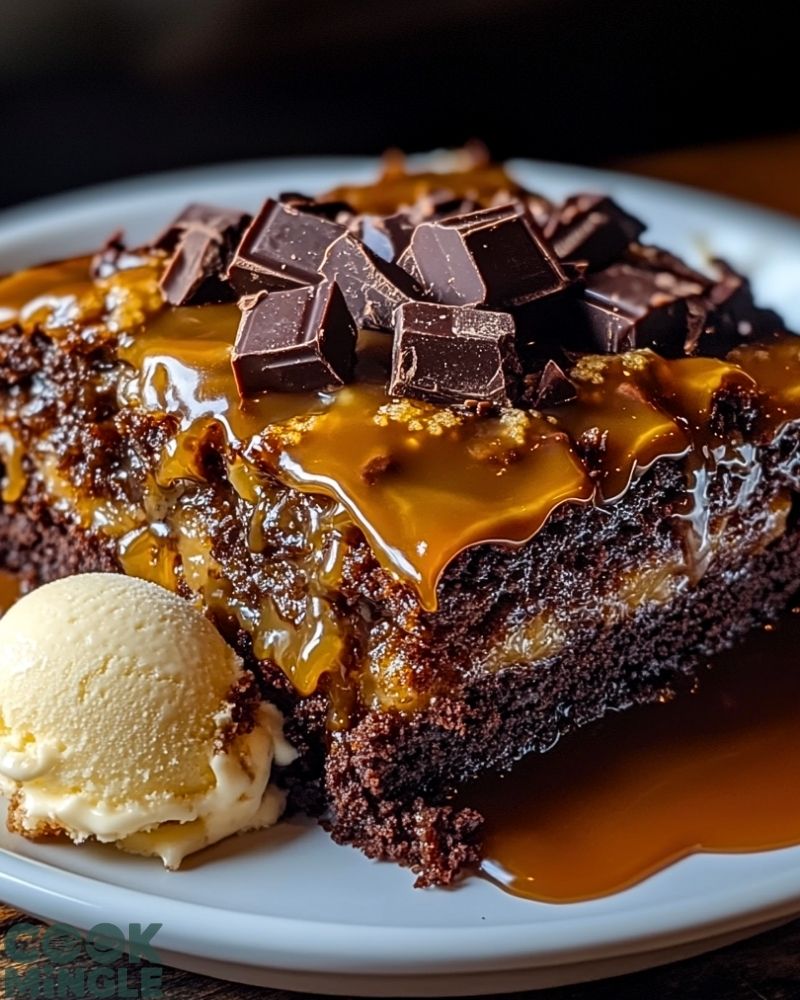
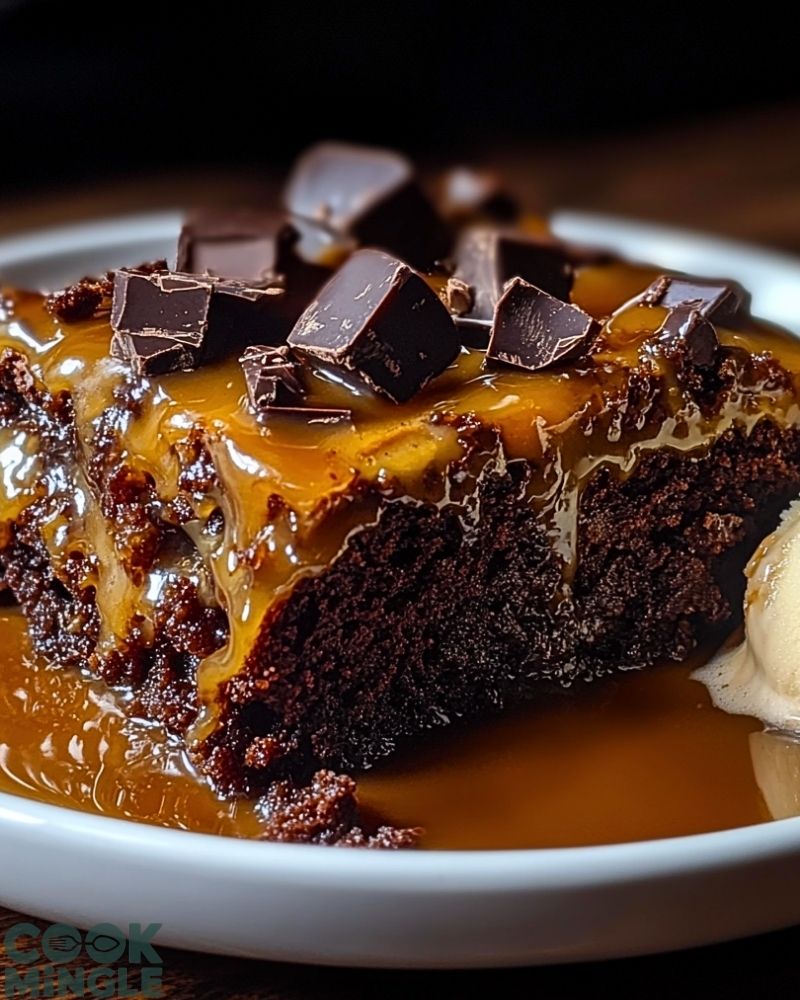
Step 9: Optional Finishing Touches
Sprinkle with sea salt flakes for contrast, and serve warm with a scoop of vanilla ice cream or a dollop of whipped cream for maximum indulgence.
Notes
- Caramel Sauce Flexibility: You can use store-bought caramel sauce, dulce de leche, or even make your own from sweetened condensed milk. Each offers a slightly different depth of flavor—dulce de leche is thicker and creamier, while caramel sauce tends to be more fluid and buttery.
- Customize the Toppings: Feel free to add marshmallows, toffee bits, crushed pretzels, or flavored chips (like peanut butter or white chocolate) on top before baking.
- Butter Distribution Matters: Pour melted butter evenly—missed dry spots in the cake mix can result in patches of powdery texture.
- Gluten-Free Version: Use a gluten-free chocolate cake mix. The rest of the ingredients are naturally gluten-free.
- Double the Recipe for a Crowd: If you’re feeding a group, make two pans at once—this cake disappears quickly.
Watch Out for These Mistakes While Cooking
- Stirring the Layers: Mixing the cake mix with the wet ingredients ruins the classic dump cake texture. It’s meant to be layered, not blended.
- Using Cold Caramel or Butter: This can cause uneven spreading and affect the final bake. Slightly warm your caramel and use fully melted butter.
- Not Greasing the Dish Enough: The sugars in the caramel will stick and burn if your dish isn’t properly greased.
- Overbaking: Once the edges are bubbly and the top is cracked, it’s done—even if the center seems a little soft. Overbaking can dry out the caramel.
- Skipping Rest Time: Cutting into the cake too soon can cause it to collapse. Give it a short rest so the structure holds together.
- Uneven Butter Drizzle: Pouring all the butter in one spot leaves dry cake mix elsewhere. Try drizzling in a zig-zag or grid pattern.
- Wrong Pan Size: Using a smaller or deeper pan can result in undercooked centers or burnt edges. Stick to a standard 9×13-inch dish.
- Serving Cold: This cake shines when served warm. If cooled, reheat individual servings in the microwave for about 20 seconds before serving.
What to Serve With Chocolate Caramel Dump Cake?
While this cake is an absolute showstopper on its own, pairing it with the right accompaniments can take your dessert experience to another level. Whether you’re serving it fresh from the oven or reheating leftovers, these additions will complement the rich, gooey nature of the cake beautifully.
8 Recommendations
- Vanilla Ice Cream
The ultimate pairing—its cold, creamy simplicity balances the hot, rich decadence of the cake. - Fresh Whipped Cream
Light and airy, whipped cream adds a touch of elegance and mellows out the chocolate intensity. - Espresso or Strong Coffee
A bitter counterpoint to the sweet caramel, this pairing is perfect for coffee lovers and dinner parties. - Berries (Raspberries or Strawberries)
Their tartness cuts through the richness and adds a pop of freshness and color to the plate. - Chopped Toasted Nuts
Sprinkle over the top just before serving for extra crunch and a nutty aroma. - Sea Salt Flakes
Just a pinch enhances both the chocolate and caramel flavors while balancing sweetness. - Chocolate Ganache Drizzle
For serious chocoholics, a drizzle of warm ganache adds drama and deepens the cocoa flavor. - Irish Cream Liqueur or Bourbon Sauce
A splash over the top (for adults only) gives the dessert a sophisticated finish with a warm, boozy twist.
Whether you’re hosting guests or treating yourself, these pairings can transform a simple dump cake into a plated dessert worthy of a fine-dining experience.
Storage Instructions
One of the perks of Chocolate Caramel Dump Cake is how well it stores without losing its rich, gooey charm. Here’s how to keep those leftovers just as indulgent as when they came out of the oven:
- Room Temperature: Store covered at room temp for up to 2 days. Make sure it’s in an airtight container to prevent the cake from drying out.
- Refrigerator: Keeps well in the fridge for up to 5 days. The texture will firm up slightly when chilled, but a quick warm-up in the microwave restores its fudgy magic.
- Freezing: You can freeze individual portions wrapped tightly in plastic wrap and foil, then placed in a freezer bag. Freeze for up to 2 months. To reheat, thaw overnight in the fridge and microwave for 30–40 seconds.
Reheating Tips:
- Microwave individual servings for 20–30 seconds until warm.
- For a slightly crisp top, reheat in a 350°F oven for about 10 minutes.
Estimated Nutrition
Note: Nutrition values are approximate and based on a standard serving size (1/12 of the cake). Variations may occur based on the specific brands and optional ingredients used.
- Calories: ~420
- Total Fat: 22g
- Saturated Fat: 12g
- Cholesterol: 45mg
- Sodium: 330mg
- Total Carbohydrates: 53g
- Dietary Fiber: 2g
- Sugars: 35g
- Protein: 5g
This is undeniably a treat-yourself dessert—rich, sweet, and indulgent. Pair with lighter meals if you’re balancing out your day!
Frequently Asked Questions
1. Can I make Chocolate Caramel Dump Cake ahead of time?
Yes! You can bake it up to a day in advance. Reheat in the oven or microwave before serving to restore its gooey texture.
2. What kind of caramel should I use?
You can use store-bought caramel sauce, dulce de leche, or even homemade caramel. Dulce de leche gives a thicker, creamier layer, while caramel sauce creates a more fluid, gooey texture.
3. Do I have to use chocolate cake mix?
Not at all. Try devil’s food for a darker chocolate flavor, or even German chocolate for added richness. For a twist, you can use vanilla or spice cake mix, but it will change the flavor profile.
4. Can I add fruit or jam?
Absolutely. Sliced bananas, raspberries, or a swirl of raspberry jam between the caramel and cake mix layers adds a tart contrast to the sweetness.
5. How do I know it’s done baking?
Look for bubbling edges and a slightly cracked, matte top. The center can be a little soft—don’t overbake or you’ll lose the gooey caramel pockets.
6. Is it okay to use margarine instead of butter?
Butter is recommended for flavor, but margarine can work in a pinch. Just ensure it’s fully melted and unsalted if possible.
7. Can I make this in a slow cooker?
Yes! Layer the ingredients the same way in a slow cooker and cook on low for 2–3 hours or until the top is set and edges are cooked.
8. Why is part of my cake mix still dry after baking?
This usually happens when the melted butter isn’t evenly distributed. Drizzle carefully over the top and use the back of a spoon if needed to moisten the dry spots.
Conclusion
Chocolate Caramel Dump Cake is the kind of dessert that proves you don’t need complicated techniques to create something unforgettable. With just a few ingredients and a trusty baking dish, you get rich chocolate, silky caramel, and an irresistible gooey texture that wins over every crowd. It’s a stress-free way to impress guests, treat yourself midweek, or whip up something magical when time is short. Once you try it, this recipe is sure to earn a permanent spot in your dessert rotation.
Chocolate Caramel Dump Cake
- Total Time: 50 minutes
- Yield: 12 servings
Description
A rich, gooey, and indulgent dessert made effortlessly with layers of chocolate cake mix, sweetened condensed milk, and caramel sauce. This dump-and-bake delight comes together in one pan, creating a fudgy texture and molten caramel core that pairs perfectly with ice cream.
Ingredients
- 1 box (15.25 oz) chocolate cake mix
- 1 can (12–14 oz) sweetened condensed milk
- 1 jar (12 oz) caramel sauce or dulce de leche
- 1/2 cup (1 stick) unsalted butter, melted
- 1 cup semi-sweet chocolate chips
- Optional: 1/2 tsp sea salt flakes, 1/2 cup chopped pecans or walnuts, 1 tsp espresso powder
Instructions
- Preheat oven to 350°F (175°C). Grease a 9×13-inch baking dish.
- Pour sweetened condensed milk evenly into the dish.
- Drizzle caramel sauce over the milk without mixing.
- Sprinkle dry cake mix evenly over the caramel layer.
- Scatter chocolate chips (and nuts if using) over the cake mix.
- Drizzle melted butter across the top, covering as much as possible.
- Bake for 40–45 minutes until the edges bubble and the top is set.
- Let rest for 10–15 minutes before serving.
- Optional: Top with sea salt flakes or serve with vanilla ice cream.
- Prep Time: 10 minutes
- Cook Time: 40 minutes