
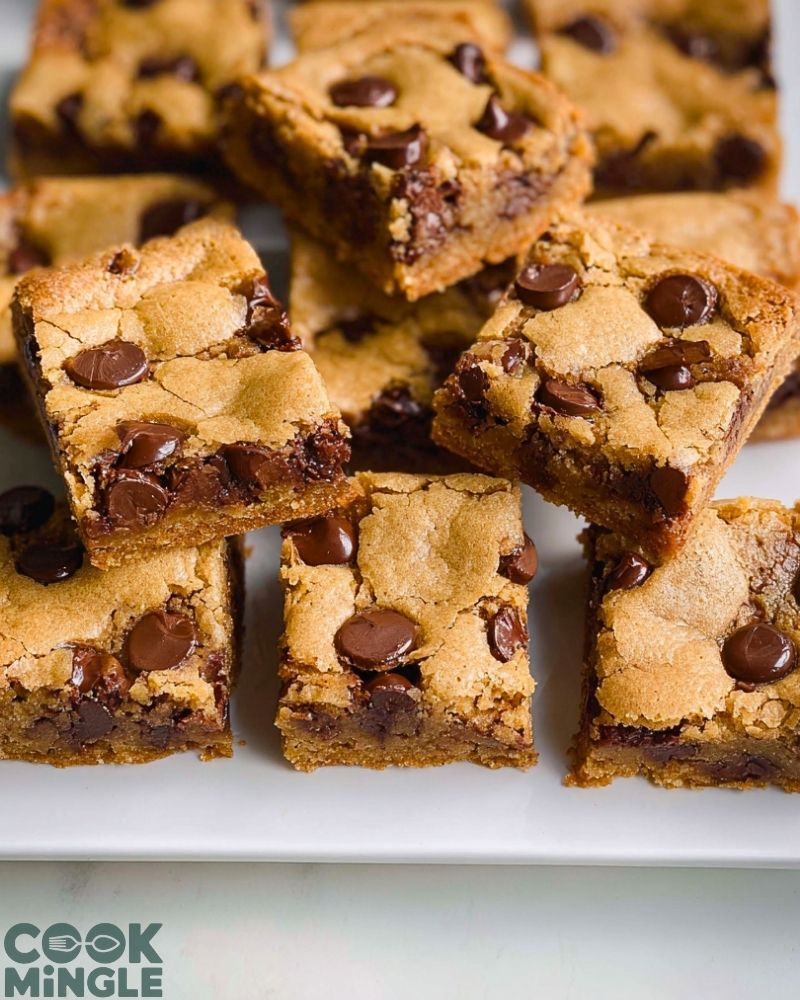
Chocolate Chip Cookie Bars are everything you love about classic cookies—but in thick, chewy, golden-brown bar form. Each bite is packed with gooey chocolate chips and a rich, buttery flavor that satisfies even the most serious dessert cravings. The top bakes to a lightly crisp finish while the inside stays soft and tender, creating the perfect contrast of textures. These bars are incredibly easy to make and ideal for when you want a crowd-pleasing treat without the hassle of scooping individual cookies.
Whether you’re baking for a weekend treat, a bake sale, or a cozy night in, Chocolate Chip Cookie Bars deliver big flavor with minimal effort. You can whip them up in one bowl, pour the batter into a pan, and let your oven do the rest. No need for chilling dough or managing multiple batches. Just slice, serve, and watch them disappear.
Why You’ll Love This Chocolate Chip Cookie Bars Recipe
- Thick, chewy texture that holds its shape while staying incredibly soft inside.
- Perfectly balanced sweetness with generous bursts of melty chocolate chips in every bite.
- No-fuss preparation—no mixer needed, no chilling time, just mix and bake.
- Great for sharing at parties, picnics, and potlucks.
- Easy to customize with nuts, white chocolate, or a sprinkle of sea salt.
- Freezer-friendly and keeps well for days without drying out.
Preparation Phase & Tools to Use (Essential Tools and Equipment, and the Importance of Each Tool)
To make these Chocolate Chip Cookie Bars flawlessly, having the right tools on hand will streamline the process and ensure consistent results every time.
- Mixing Bowls: You’ll need at least one large bowl for mixing the wet and dry ingredients together. Opt for a deep, sturdy bowl to keep everything well-contained while stirring.
- Whisk and Rubber Spatula: A whisk is ideal for beating the eggs and blending the sugars smoothly. The rubber spatula helps scrape down the sides of the bowl and fold the chocolate chips evenly into the dough.
- 9×13-Inch Baking Pan: This is the perfect size to yield thick, even bars. Make sure it’s metal or glass for consistent heat distribution.
- Parchment Paper: Lining your pan with parchment makes it easy to lift the entire slab out after baking—no sticking or crumbling.
- Measuring Cups and Spoons: Precision is key in baking. Dry and liquid measuring sets will help ensure your ingredients are just right.
- Cooling Rack: Allowing the bars to cool fully on a rack prevents overbaking and soggy bottoms by improving air circulation.
Preparation Tips
- Room Temperature Ingredients: Make sure your butter and eggs are at room temperature before starting. This helps them blend more easily and evenly into the batter.
- Don’t Overmix: Once you add the dry ingredients, mix just until combined. Overmixing can lead to tough bars.
- Reserve Some Chocolate Chips: Set aside a handful of chocolate chips to sprinkle on top before baking. It gives your bars that irresistible, bakery-style look.
- Even Spreading: Use an offset spatula or the back of a spoon to smooth the dough evenly in the pan before baking.
- Watch the Bake Time: Ovens vary, so begin checking a few minutes before the timer ends. The edges should be golden and the center just set—not dry.
Ingredients for This Chocolate Chip Cookie Bars Recipe
To create these soft, chewy bars bursting with chocolate flavor, you’ll need a handful of pantry staples. Here’s the full list of ingredients:
- 1 cup (2 sticks) unsalted butter, melted and slightly cooled
- 1 cup light brown sugar, packed
- ½ cup granulated sugar
- 2 large eggs
- 2 teaspoons pure vanilla extract
- 2½ cups all-purpose flour
- 1 teaspoon baking soda
- ½ teaspoon salt
- 2 cups semisweet chocolate chips, plus extra for topping
Optional Add-ins:
- ½ cup chopped walnuts or pecans (for a nutty crunch)
- Flaky sea salt (sprinkled on top before baking for a sweet-salty kick)
These ingredients come together to form a golden cookie base with melty chocolate pools in every bite.
Step 1: Preheat and Prep the Pan
Start by preheating your oven to 350°F (175°C). Line a 9×13-inch baking pan with parchment paper, leaving a bit of overhang on the sides for easy lifting after baking. Lightly grease the paper for extra non-stick assurance.
Step 2: Mix the Wet Ingredients
In a large mixing bowl, combine the melted butter, brown sugar, and granulated sugar. Whisk until smooth and glossy. Add the eggs and vanilla extract, and whisk again until everything is fully incorporated and slightly thickened.
Step 3: Add Dry Ingredients
In the same bowl, add the flour, baking soda, and salt. Use a rubber spatula or wooden spoon to gently fold the dry ingredients into the wet mixture. Stir just until you no longer see dry flour—don’t overmix.
Step 4: Fold in Chocolate Chips
Reserve a small handful of chocolate chips for topping. Fold the remaining chips into the dough until evenly distributed. The dough will be thick, almost like cookie dough.
Step 5: Transfer and Smooth
Scoop the dough into your prepared baking pan. Use an offset spatula or the back of a spoon to press and spread it into an even layer. Sprinkle the reserved chocolate chips on top, gently pressing them in.
Step 6: Bake
Place the pan in the oven and bake for 25 to 30 minutes, or until the edges are golden brown and the center is just set. A toothpick inserted in the center should come out with a few moist crumbs.
Step 7: Cool and Slice
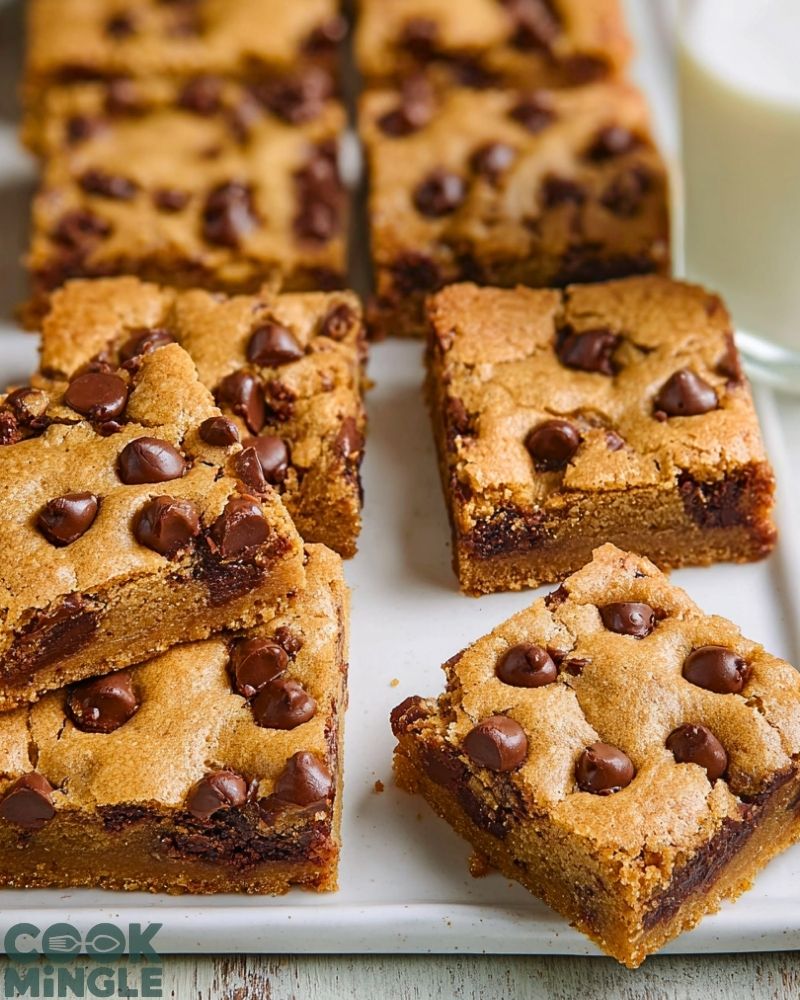
Remove the pan from the oven and let it cool on a wire rack for at least 1 hour. Once fully cooled, lift the bars out using the parchment overhang and slice into squares or rectangles. Enjoy!
Notes
- Soft vs. Crisp Texture: For extra-soft bars, bake closer to the 25-minute mark. For firmer, more cookie-like edges, go toward 30 minutes.
- Custom Mix-ins: Feel free to swap in white chocolate, peanut butter chips, or even butterscotch morsels for a fun twist.
- Parchment Paper Hack: Crumple your parchment paper first and then flatten it out—this helps it mold to the pan more easily.
- Serve Warm: For an ultra-gooey experience, microwave individual bars for 10–15 seconds before serving.
Watch Out for These Mistakes While Cooking
- Overbaking: The bars may appear slightly underdone in the center when you pull them out—that’s okay! They will continue to set as they cool.
- Skipping Parchment Paper: This makes removing the bars messy and can lead to breakage. Always line the pan.
- Uneven Spreading: If the dough isn’t evenly distributed, you’ll end up with bars that are overcooked on one side and underdone on the other.
- Using Cold Butter: Melted butter blends more easily with the sugars and creates that classic chewy texture. Cold butter will throw off the consistency.
- Not Measuring Flour Properly: Spoon the flour into your measuring cup and level it off. Scooping directly can lead to too much flour and dense bars.
- Cutting Too Soon: Wait until they’ve completely cooled, or you’ll risk a crumbly, gooey mess that won’t hold its shape.
- Skipping the Chocolate Topper: Those extra chips on top aren’t just for looks—they help give that irresistible bakery-style finish.
- Using Expired Leavening: Make sure your baking soda is fresh, or the bars may turn out flat and dense.
What to Serve With Chocolate Chip Cookie Bars?
Here are 8 Tasty Pairings
- Vanilla Ice Cream: A scoop on top of a warm bar creates the ultimate dessert duo—melty, creamy, and indulgent.
- Fresh Berries: Add some freshness with strawberries, raspberries, or blueberries to balance the sweetness.
- Espresso or Coffee: The bold bitterness of coffee complements the richness of the bars perfectly.
- Whipped Cream: Light and airy whipped cream adds a delicate contrast to the dense texture of the bars.
- Milk (Classic): A tall glass of cold milk is a timeless and comforting choice that never fails.
- Salted Caramel Drizzle: For an extra layer of decadence, a drizzle of warm caramel adds sweet-salty magic.
- Greek Yogurt: If you’re aiming for a lighter combo, a spoonful of vanilla or honey yogurt works surprisingly well.
- Chocolate Sauce: Because when you’re all-in on chocolate, a drizzle of warm sauce only makes it better.
These pairings elevate Chocolate Chip Cookie Bars into an all-out dessert experience—whether you’re serving guests or just treating yourself.
Storage Instructions
To keep your Chocolate Chip Cookie Bars fresh and chewy:
- Room Temperature: Store in an airtight container at room temperature for up to 5 days. Place parchment between layers to prevent sticking.
- Refrigerator: If your kitchen is warm, refrigerate in a sealed container for up to 1 week. Let them come to room temp before serving for best texture.
- Freezer: These bars freeze beautifully. Wrap individual pieces in plastic wrap, then place in a freezer-safe bag or container. They’ll keep for 2 to 3 months. Thaw at room temp or microwave briefly to soften.
Estimated Nutrition (Per Bar – Based on 24 Bars)
- Calories: ~230 kcal
- Total Fat: 12g
- Saturated Fat: 7g
- Cholesterol: 35mg
- Sodium: 120mg
- Carbohydrates: 30g
- Sugar: 18g
- Protein: 2g
These numbers are estimates and can vary based on the exact brands and portion sizes used.
Frequently Asked Questions
1. Can I use salted butter instead of unsalted?
Yes, but reduce the added salt in the recipe to ¼ teaspoon to balance the flavor.
2. Can I make these cookie bars gluten-free?
Absolutely. Substitute the all-purpose flour with a 1:1 gluten-free baking flour blend. Check that your chocolate chips are also gluten-free.
3. Why are my cookie bars dry?
This usually happens from overbaking or using too much flour. Be sure to measure flour correctly and remove the bars when the center is just set.
4. Can I double the recipe?
Yes, but you’ll need two pans or a larger sheet pan. Increase the baking time slightly and monitor for doneness.
5. Can I make this recipe ahead of time?
Definitely. Bake and store at room temperature for up to 2 days, or freeze and thaw as needed.
6. How do I know when they’re done baking?
The edges will be golden and the center slightly firm but not hard. A toothpick should come out with a few moist crumbs, not wet batter.
7. Can I add peanut butter to the mix?
Yes! Swirl in ¼ to ½ cup of creamy peanut butter into the dough before baking for a nutty twist.
8. Do I need to chill the dough?
No chilling is needed—just mix and bake! That’s one of the beauties of this recipe.
Conclusion
Chocolate Chip Cookie Bars combine all the joy of fresh-baked cookies with the ease of a one-pan dessert. Their chewy texture, rich buttery taste, and gooey chocolate pockets make them irresistible and foolproof. Whether you’re baking for a casual get-together or just want a sweet fix without the fuss, this recipe delivers every time. Slice up a batch, share (or don’t), and savor the comfort of this classic turned crowd-pleasing favorite.
Chocolate Chip Cookie Bars
- Total Time: 35 minutes
- Yield: 24 bars
Description
These chewy, buttery cookie bars are loaded with rich chocolate chips and bake up beautifully in one pan. Perfect for any occasion, they require minimal effort and no dough chilling.
Ingredients
- 1 cup (2 sticks) unsalted butter, melted
- 1 cup light brown sugar, packed
- 1/2 cup granulated sugar
- 2 large eggs
- 2 tsp vanilla extract
- 2 1/2 cups all-purpose flour
- 1 tsp baking soda
- 1/2 tsp salt
- 2 cups semisweet chocolate chips, plus extra for topping (optional)
Instructions
- Preheat oven to 350°F (175°C). Line a 9×13-inch baking pan with parchment paper and lightly grease.
- In a large bowl, whisk together melted butter, brown sugar, and granulated sugar until smooth.
- Add eggs and vanilla extract; whisk until well combined.
- Stir in flour, baking soda, and salt just until no flour streaks remain.
- Fold in chocolate chips, reserving a handful for topping.
- Spread dough evenly into prepared pan and top with reserved chocolate chips.
- Bake for 25–30 minutes, until edges are golden and center is just set.
- Let cool completely in the pan before lifting out and slicing into bars.
- Prep Time: 10 minutes
- Cook Time: 25 minutes