
Rich, fudgy, and irresistibly unique — Dr. Pepper Brownies are a decadent twist on the classic treat. These brownies are deeply chocolatey with a chewy interior and a crackly top, complemented by the unexpected addition of Dr. Pepper soda. The carbonation helps create a light texture while the soda’s signature blend of 23 flavors subtly enhances the cocoa, adding complexity and a hint of spice.
Perfect for gatherings, bake sales, or a late-night dessert fix, these brownies are simple to prepare yet packed with flavor. Whether you’re a lifelong fan of Dr. Pepper or just curious to try something new, this recipe promises a satisfying combination of comfort and surprise in every bite.
Why You’ll Love This Dr. Pepper Brownies Recipe
- One-of-a-kind flavor: The soda gives the brownies a unique caramel-cherry undertone without overpowering the chocolate.
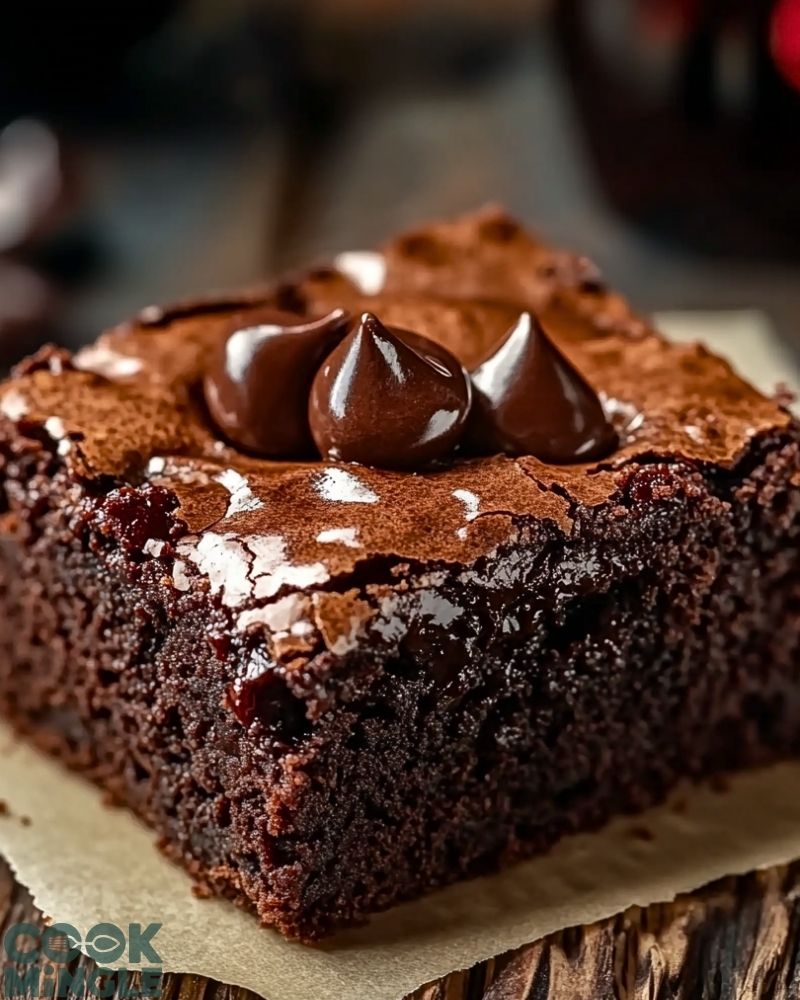
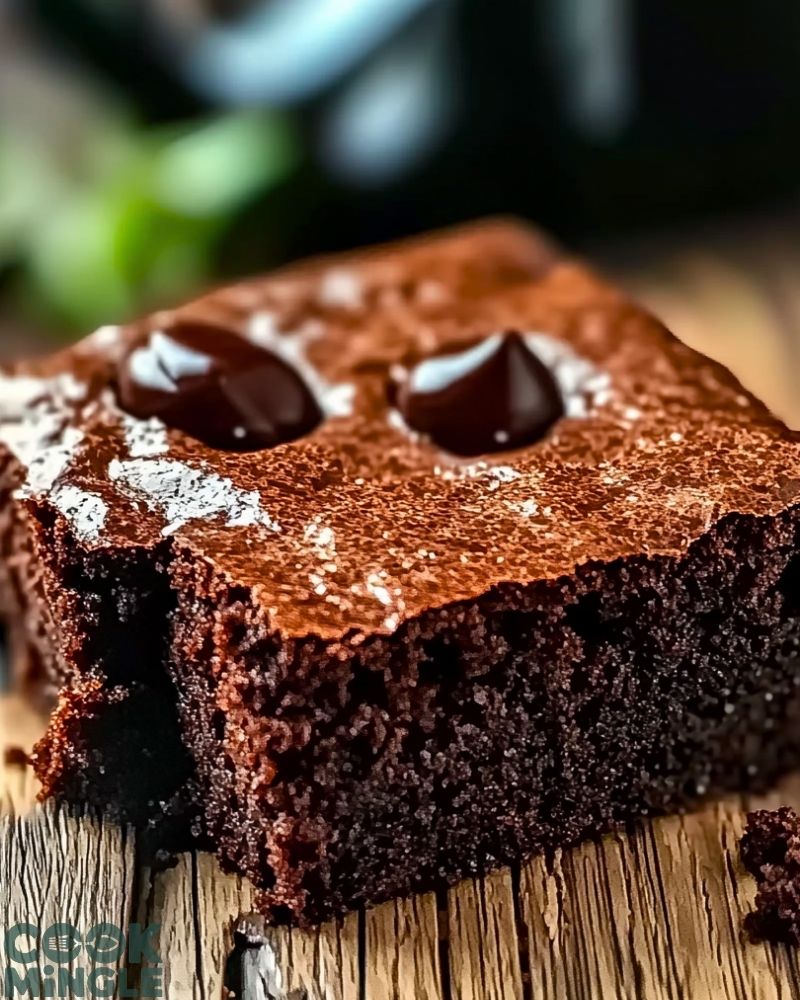
- Perfect texture: Moist, fudgy centers with crackled tops — just how brownies should be.
- Crowd-pleaser: A fun twist that always gets people talking and asking for seconds.
- No mixer required: Easy enough to whip up with basic kitchen tools.
- Customizable: Works well with add-ins like chocolate chips, nuts, or even a Dr. Pepper glaze.
Preparation Phase & Tools to Use
Before diving into the baking magic, it’s important to gather your tools and understand how each one plays a key role in the success of your Dr. Pepper Brownies.
Essential Tools and Equipment
- Medium Saucepan: Used for melting butter and mixing in the cocoa powder and sugar. Melting the ingredients together on the stove brings out a richer, more developed chocolate flavor.
- Mixing Bowls (at least 2): You’ll need one for the wet ingredients and another for combining dry ones before folding them in. Helps with even mixing and prevents clumping.
- Whisk & Silicone Spatula: The whisk ensures smooth blending, especially for integrating eggs and Dr. Pepper. The spatula is perfect for folding the batter gently, preserving the airy texture.
- Measuring Cups & Spoons: Precise measurements matter in baking, especially when balancing the liquid soda with dry ingredients.
- 8×8 or 9×9 Baking Pan: This size is ideal for thick, chewy brownies. Line it with parchment paper or lightly grease it to ensure clean removal.
- Toothpick or Cake Tester: Useful for checking doneness — fudgy but not raw.
Investing a few moments to prepare your kitchen space and tools will make the process smoother and far more enjoyable.
Preparation Tips
- Use room temperature eggs: This helps them incorporate better with the warm butter-sugar mixture, ensuring a uniform texture.
- Don’t overmix once flour is added: Overmixing develops gluten, which can make brownies cakey instead of fudgy.
- Reduce soda carbonation: Let the Dr. Pepper sit for a few minutes before using if you want to limit the bubble reaction, especially if you’re adjusting sweetness levels.
- Sift your cocoa powder: This prevents lumps and guarantees a smooth, velvety chocolate base.
- Line your pan: Parchment paper makes for easy lift-out and cleaner slices, plus it prevents sticking.
Ingredients for This Dr. Pepper Brownies Recipe
To create these unforgettable brownies, you’ll need a blend of classic baking staples and, of course, a splash of Dr. Pepper. Each ingredient contributes to the rich texture and flavor that makes this dessert stand out.
Dry Ingredients:
- 1 cup (125g) all-purpose flour – The structure-building base for your brownies.
- ½ cup (45g) unsweetened cocoa powder – Delivers the deep chocolate flavor.
- ½ teaspoon salt – Enhances the sweetness and balances flavors.
- ½ teaspoon baking powder – Just a touch to assist in a gentle rise.
Wet Ingredients:
- ½ cup (115g) unsalted butter – Melted to give that glossy, fudgy texture.
- 1 cup (200g) granulated sugar – Sweetens the batter and aids in the crusty top.
- ½ cup (100g) brown sugar – Adds moisture and depth with hints of molasses.
- 2 large eggs – Bind the batter and create richness.
- 1 teaspoon vanilla extract – Enhances both chocolate and soda flavors.
- ½ cup (120ml) Dr. Pepper (regular) – Brings in a subtle cherry-spiced tone and a fluffy texture.
Optional Add-Ins:
- ½ cup chocolate chips or chunks – For extra gooey goodness.
- ½ cup chopped walnuts or pecans – Adds crunch and earthiness if desired.
Step-by-Step Instructions for Dr. Pepper Brownies
Follow this straightforward process to whip up the most indulgent and unique brownies you’ve ever made. These steps ensure the right balance of fudgy texture and bold flavor.
Step 1: Preheat and Prep
Preheat your oven to 350°F (175°C). Line an 8×8 or 9×9-inch baking pan with parchment paper, or lightly grease it with butter or nonstick spray. Set aside.
Step 2: Melt and Mix
In a medium saucepan over low heat, melt ½ cup of unsalted butter. Once melted, remove from heat and whisk in 1 cup granulated sugar and ½ cup brown sugar until smooth and glossy. Then stir in the cocoa powder and Dr. Pepper until fully combined and slightly cooled.
Step 3: Add Eggs and Vanilla
Whisk in 2 eggs, one at a time, making sure each is fully incorporated before adding the next. Then stir in 1 teaspoon of vanilla extract. The mixture should be thick and shiny.
Step 4: Combine Dry Ingredients
In a separate bowl, sift together:
- 1 cup all-purpose flour
- ½ teaspoon salt
- ½ teaspoon baking powder
Gradually fold the dry mixture into the wet ingredients using a silicone spatula. Mix just until combined—avoid overmixing to keep the texture soft and fudgy.
Step 5: Optional Add-ins
Gently fold in any optional add-ins like ½ cup chocolate chips or chopped nuts for extra indulgence.
Step 6: Pour and Bake
Pour the batter into your prepared pan and smooth out the top with a spatula. Bake in the preheated oven for 28–32 minutes, or until a toothpick inserted in the center comes out with a few moist crumbs.
Step 7: Cool and Slice
Let the brownies cool completely in the pan before slicing. This helps the texture set and gives you those perfect, clean edges.
Notes
- Flavor Development Improves with Time: These brownies taste even better the next day after the flavors have had time to mingle and settle.
- Custom Soda Twist: While Dr. Pepper is the star, you can experiment with variations like Cherry Dr. Pepper or even Dr. Pepper Cream Soda for subtle changes in flavor.
- Adjusting Sweetness: If you’re sensitive to sweetness, reduce the sugar slightly by 2–3 tablespoons — the soda already adds a natural sweetness.
- Go Gluten-Free: You can substitute the all-purpose flour with a gluten-free baking blend (1:1 ratio) for a celiac-friendly version.
- Double the Batch: This recipe can easily be doubled and baked in a 9×13-inch pan. Just increase the bake time slightly to 35–40 minutes.
Watch Out for These Mistakes While Cooking
- Skipping the Cooling Step: Cutting into brownies before they’ve fully cooled can cause them to fall apart. Give them at least 30–60 minutes to set.
- Overbaking: Because they’re meant to be fudgy, avoid baking until completely dry in the center. A few moist crumbs on the toothpick mean they’re done.
- Overmixing the Batter: Once the flour goes in, stir gently. Overmixing leads to a tougher texture.
- Using Cold Eggs or Soda: Ingredients should be at room temperature to incorporate more smoothly and create a uniform batter.
- Not Measuring Flour Properly: Scooping flour directly from the bag can lead to compacted, excess flour. Always spoon and level to avoid dry, cakey brownies.
- Ignoring Pan Size: Using a pan that’s too large will make your brownies too thin and risk overbaking.
- Skipping the Lining or Greasing: Unlined pans can cause sticking, making it hard to get clean squares.
- Using Flat Soda: Make sure your Dr. Pepper still has carbonation when you pour it in; it helps create the right texture and rise.
What to Serve With Dr. Pepper Brownies?
These rich, fudgy brownies shine on their own, but pairing them with the right complements can turn a simple dessert into an indulgent experience. Whether you’re planning a dessert platter, party spread, or cozy night in, here are some standout options.
8 Recommendations
- Vanilla Bean Ice Cream
The creamy, cold texture contrasts beautifully with the warm, gooey brownie — a timeless dessert duo. - Whipped Cream with a Cherry Garnish
A nod to Dr. Pepper’s subtle cherry notes. Light, fluffy, and adds elegance to each bite. - Espresso or Dark Roast Coffee
The deep bitterness of coffee balances the sweetness of the brownie and enhances the chocolatey flavors. - Salted Caramel Sauce
Drizzle it on top for a sweet-salty combo that adds richness and a gourmet twist. - Fresh Berries
Strawberries, raspberries, or blackberries add brightness and a juicy contrast that cuts through the decadence. - Milkshakes or Root Beer Floats
Especially fun for parties — serve with a vanilla milkshake or a classic root beer float for a playful treat. - Cheesecake Slices or Bites
The tangy creaminess of cheesecake pairs exceptionally well with the dense brownie texture. - Crushed Pretzels or Potato Chips
Sprinkle on top for crunch and a salty surprise that keeps guests reaching for more.
Storage Instructions
To keep your Dr. Pepper Brownies fresh and delicious for days (or even weeks), proper storage is essential. Here’s how to make the most of them:
- Room Temperature:
Store the brownies in an airtight container at room temperature for up to 4 days. Keep them out of direct sunlight and away from heat to prevent melting or drying out. - Refrigeration:
If your kitchen is warm or humid, refrigerate them to extend freshness. Wrap tightly in plastic wrap or foil and place in a container. They’ll last up to 7 days this way. Let them come to room temperature before serving for best texture. - Freezing:
Dr. Pepper Brownies freeze beautifully. Wrap individual squares in plastic wrap, then store in a zip-top freezer bag or airtight container. Freeze for up to 3 months. Thaw overnight in the fridge or microwave for 20–30 seconds when ready to enjoy. - Pro Tip:
Place a slice of bread in the container to help maintain the brownies’ moisture if storing for several days.
Estimated Nutrition (Per Serving – based on 16 squares)
These values are approximations and can vary based on specific ingredients and add-ins.
- Calories: 210
- Total Fat: 9g
- Saturated Fat: 5g
- Cholesterol: 40mg
- Sodium: 110mg
- Total Carbohydrates: 32g
- Dietary Fiber: 1g
- Sugars: 23g
- Protein: 2g
Frequently Asked Questions
1. Can I use diet Dr. Pepper instead of regular?
Yes, you can — diet versions work similarly in terms of texture. However, the flavor might be slightly different due to artificial sweeteners, and the richness could be less pronounced.
2. What makes these brownies different from regular ones?
Dr. Pepper adds a subtle layer of complexity — hints of cherry, spice, and caramel that deepen the chocolate flavor without overpowering it. The soda also contributes to the texture, making them light but fudgy.
3. Can I make these brownies gluten-free?
Absolutely! Replace the all-purpose flour with a 1:1 gluten-free baking blend. Make sure it includes xanthan gum for best results.
4. How do I know when the brownies are done?
Insert a toothpick into the center — if it comes out with a few moist crumbs (not raw batter), they’re ready. Don’t wait for it to come out clean or you’ll overbake them.
5. Can I double the recipe?
Yes, double all ingredients and use a 9×13-inch baking pan. Adjust the baking time to 35–40 minutes, but still do the toothpick test.
6. What kind of cocoa powder should I use?
Unsweetened natural cocoa powder works best. If you use Dutch-processed, the flavor will be richer, but the texture may change slightly due to different acidity levels.
7. Can I add frosting on top?
Sure! A chocolate ganache or Dr. Pepper glaze would be amazing. Let the brownies cool fully before topping to avoid melting.
8. Why did my brownies turn out cakey?
Likely causes include overbaking, overmixing the batter after flour was added, or not using enough fat. Stick to the recommended measurements and times for fudgier results.
Conclusion
Dr. Pepper Brownies are more than just a fun twist — they’re a flavor-packed dessert that’s both nostalgic and gourmet. With the soda’s complex blend of notes enhancing the chocolate, these brownies deliver an unforgettable treat that’s easy to prepare yet rich in payoff.
Whether you’re baking for a party, surprising a soda-loving friend, or simply looking for your next indulgent snack, this recipe is sure to satisfy. From the chewy edges to the soft, fudgy centers, every bite offers comfort, curiosity, and a bit of culinary adventure.
Dr. Pepper Brownies Recipe
- Total Time: 40 minutes
- Yield: 16 brownies
Description
Dive into a rich, fudgy experience with these irresistible Dr. Pepper Brownies — a deliciously unique twist on a classic treat. Infused with the subtle cherry-caramel spice of Dr. Pepper, these brownies are perfect for those looking for new dessert ideas, quick baking recipes, and fun food ideas that wow a crowd. Their chewy centers, crackly tops, and layers of chocolatey depth make them an ideal choice for easy dinner desserts, casual snacking, or even impressive party trays. This easy recipe brings a playful soda pop kick to a beloved favorite, creating one of the best brownie mashups you’ll ever bake.
Ingredients
- 1 cup (125g) all-purpose flour
- 1/2 cup (45g) unsweetened cocoa powder
- 1/2 teaspoon salt
- 1/2 teaspoon baking powder
- 1/2 cup (115g) unsalted butter, melted
- 1 cup (200g) granulated sugar
- 1/2 cup (100g) brown sugar
- 2 large eggs
- 1 teaspoon vanilla extract
- 1/2 cup (120ml) Dr. Pepper
- Optional: 1/2 cup chocolate chips or chopped nuts
Instructions
- Preheat oven to 350°F (175°C). Line an 8×8 or 9×9-inch pan with parchment paper or grease lightly.
- Melt butter in a medium saucepan over low heat. Remove from heat and whisk in both sugars until glossy.
- Stir in cocoa powder and Dr. Pepper until well blended and cooled slightly.
- Whisk in eggs one at a time, followed by the vanilla extract.
- In a separate bowl, sift together flour, salt, and baking powder.
- Gently fold dry ingredients into the wet mixture until just combined.
- Fold in chocolate chips or nuts if using.
- Pour batter into prepared pan and smooth out the top.
- Bake for 28–32 minutes, or until a toothpick inserted comes out with moist crumbs.
- Let cool completely before slicing.
- Prep Time: 10 minutes
- Cook Time: 30 minutes