
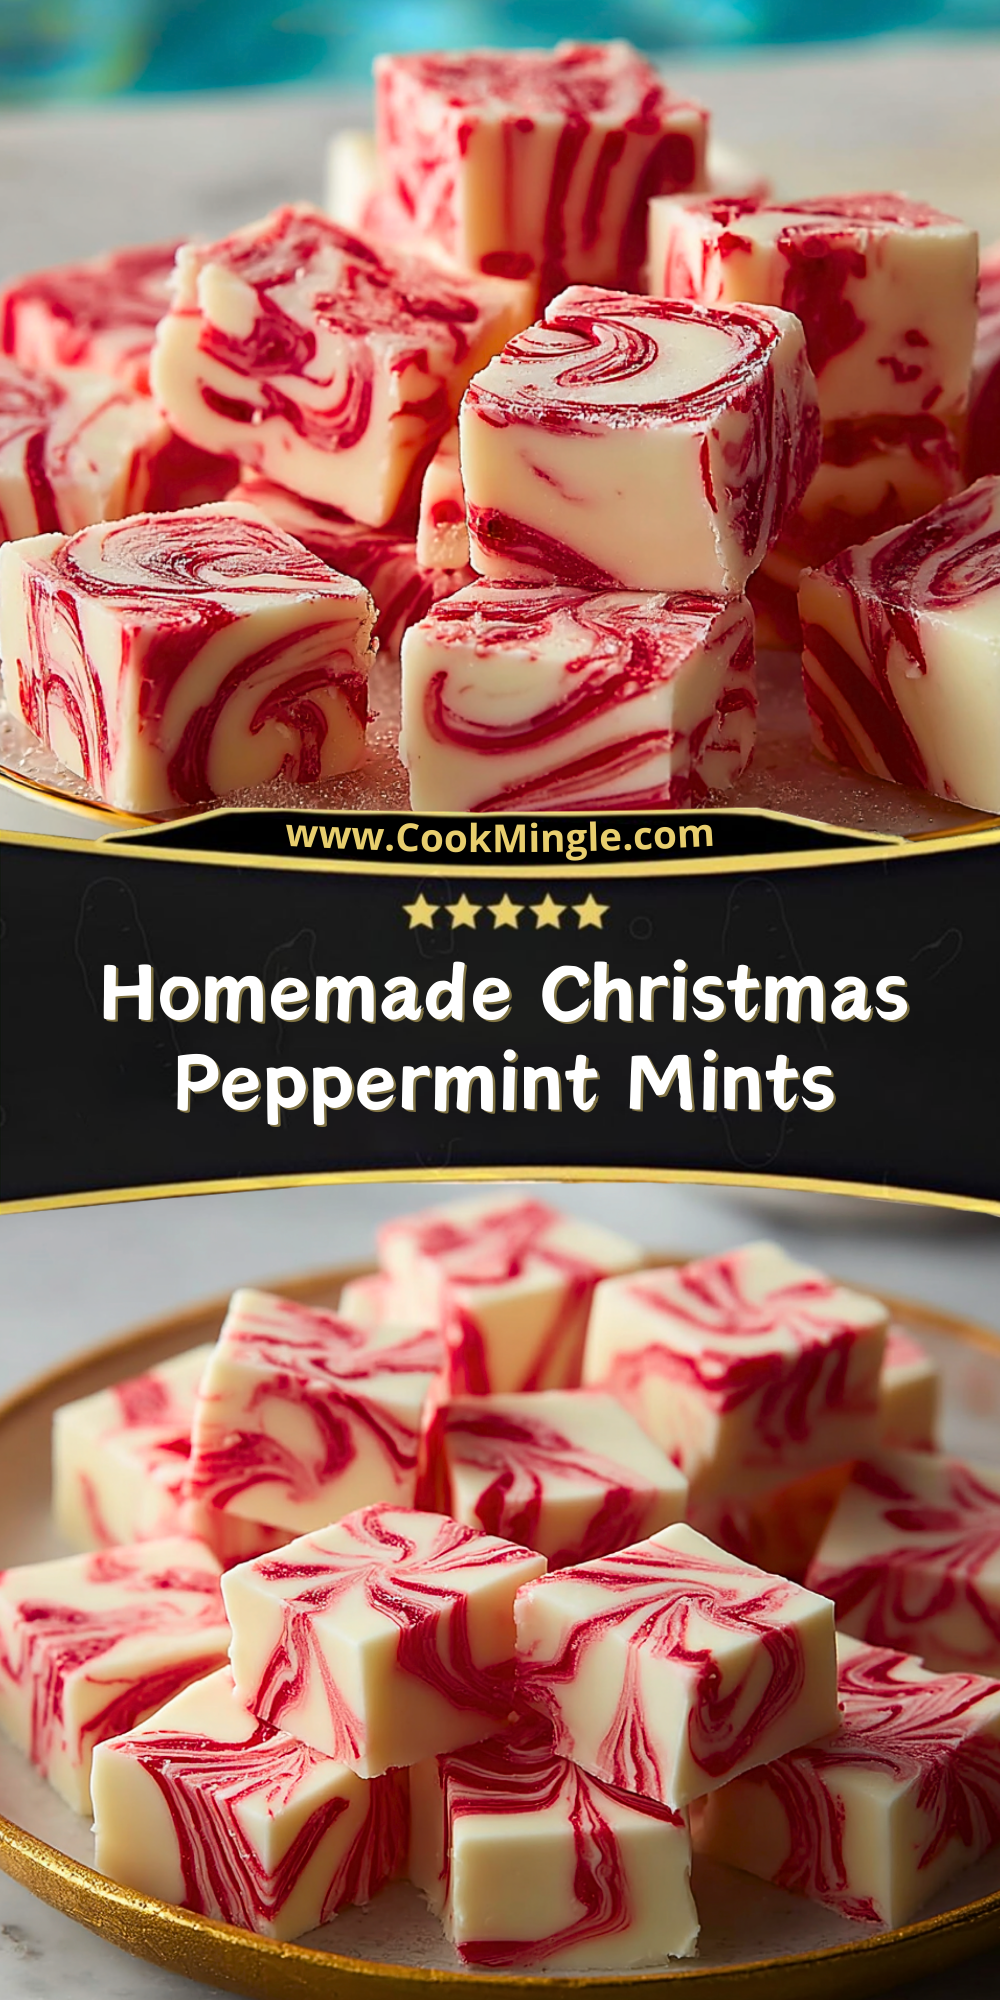
I make these Homemade Christmas Peppermint Mints every single year, and somehow, they never get old. They’re a festive favorite in our household, partly because they look like little edible candy cane tiles and partly because they’re just so incredibly simple to make. The red and white swirls bring instant holiday cheer, and the creamy peppermint flavor is nostalgic in all the right ways.
Whether you’re hosting a holiday party, making edible gifts, or just craving a quick peppermint fix, these mints check every box. They come together with just a few ingredients, no baking required, and they’re a breeze to customize. Plus, they make your kitchen smell like a winter wonderland.
Why You’ll Love This Homemade Christmas Peppermint Mints
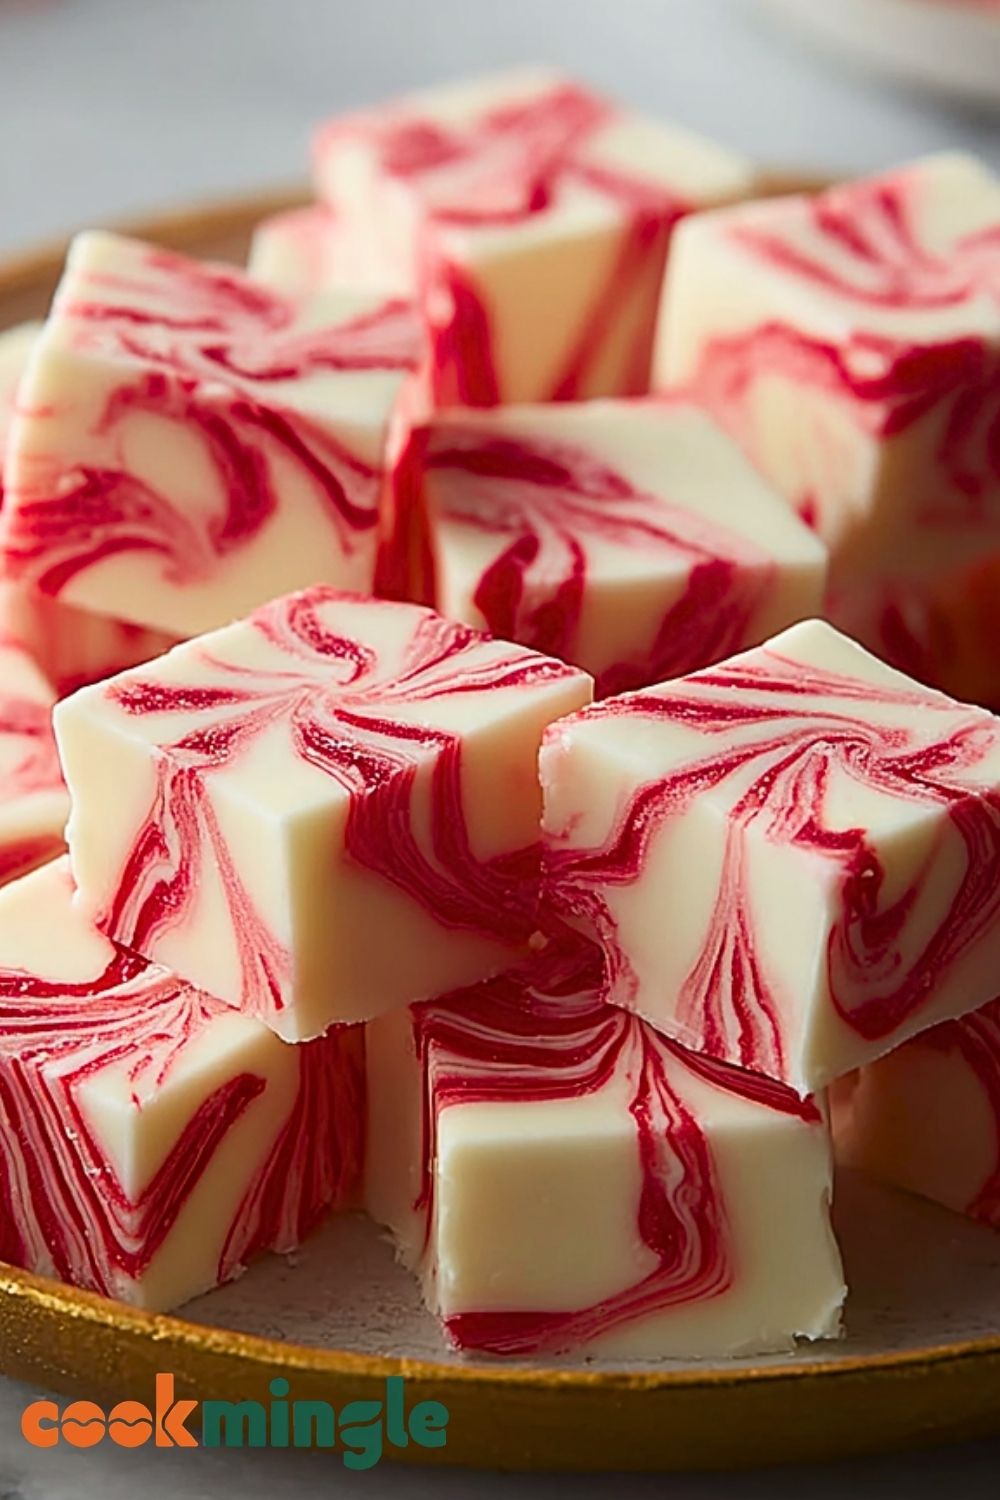
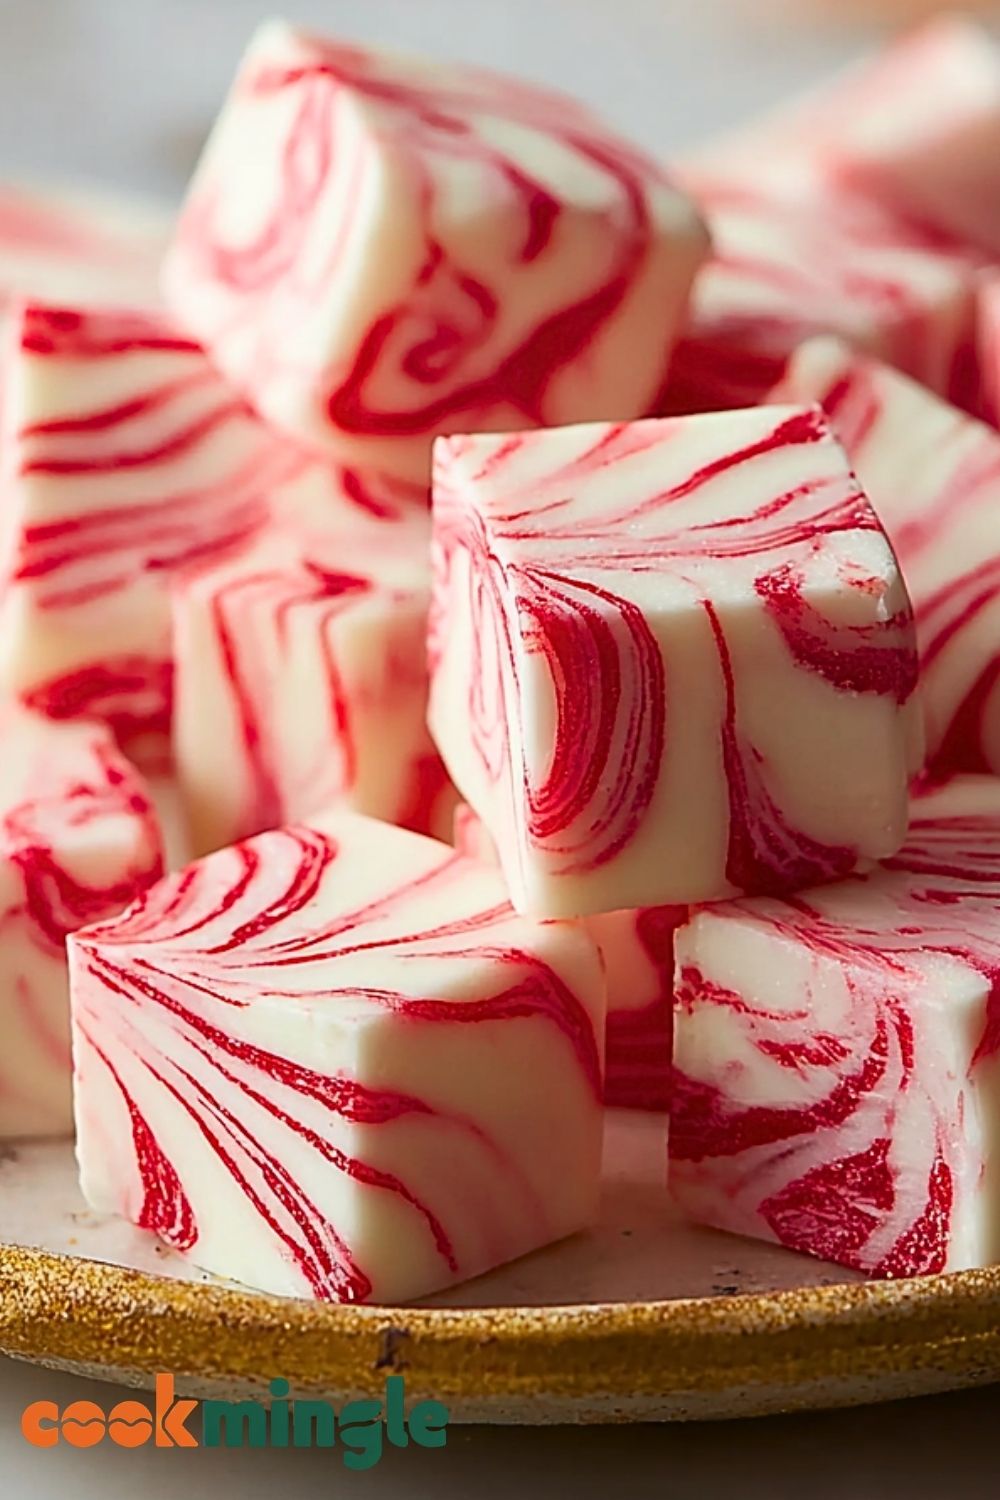
These peppermint mints are equal parts beautiful and delicious. They’re creamy with a melt-in-your-mouth texture and just the right hint of peppermint—not overpowering, but definitely refreshing. They look stunning on dessert tables and gift trays and can be made in big batches without much effort.
Another reason I love them: they store really well. You can make them days in advance and still have them tasting perfect when it’s time to serve. Plus, the red-and-white swirl gives off serious holiday vibes, perfect for brightening up any cookie platter.
What Kind of Peppermint Should I Use?
You can use peppermint extract or peppermint oil—just be sure it’s food-safe if you’re opting for oil. A little goes a long way, especially with oil, which is much more concentrated. I personally prefer extract because it blends more smoothly with the base and is easier to control. If you’re after a strong minty punch, go ahead and dial it up slightly, but remember: too much and you risk crossing into toothpaste territory!
Options for Substitutions
These mints are quite forgiving. If you don’t have white chocolate, you can use vanilla candy coating or almond bark—both melt beautifully and offer a smooth finish. For the swirl, red gel food coloring works best, but any food-safe red dye will do. If you want to switch up the flavor, try using spearmint or even cinnamon extract for a fun twist. And yes, you can make them dairy-free by using a dairy-free white chocolate alternative.
Ingredients for Homemade Christmas Peppermint Mints
White chocolate chips or chopped white chocolate
This is the rich, creamy base of the mints. Choose high-quality white chocolate for the best melt and flavor.
Sweetened condensed milk
It gives the mints their fudgy texture and helps bind everything together without needing any baking.
Peppermint extract
Adds that classic holiday mint flavor. Start with a small amount and adjust to your taste.
Red gel food coloring
Used to create the beautiful red swirls. Gel food coloring is more vibrant and doesn’t affect the consistency of the mixture.
Butter (optional)
A touch of butter can make the texture even smoother and add a subtle richness.
Step 1: Prepare Your Pan
Line an 8×8-inch or 9×9-inch square pan with parchment paper, making sure the paper extends up the sides for easy removal. Lightly grease if desired.
Step 2: Melt the White Chocolate
In a heat-safe bowl, combine white chocolate and sweetened condensed milk. Microwave in 30-second intervals, stirring each time, until smooth and fully melted. Alternatively, use a double boiler on the stove.
Step 3: Add the Peppermint Flavor
Once the mixture is melted and smooth, stir in the peppermint extract. Taste and adjust as needed—just a few drops can go a long way!
Step 4: Swirl in the Red Coloring
Drop small amounts of red gel food coloring over the top of the mixture. Use a toothpick or skewer to gently swirl the color throughout the white base, creating a marbled effect. Don’t overmix—you want visible swirls, not a uniform pink color.
Step 5: Set and Chill
Pour the swirled mixture into your prepared pan and smooth the top with a spatula. Tap the pan on the counter to release any air bubbles. Refrigerate for at least 2 hours, or until firm.
Step 6: Cut and Serve
Once fully set, lift the slab from the pan using the parchment paper and transfer to a cutting board. Use a sharp knife to slice into small squares. Store in an airtight container.
How Long to Prepare the Homemade Christmas Peppermint Mints
Prep Time: 10–15 minutes. Most of your time will be spent melting the chocolate and swirling in the color. It’s a quick process, especially if you’re using a microwave.
Chilling Time: 2 hours minimum. This is crucial for the mints to firm up and become easy to cut into clean squares. You can even leave them overnight if you want to make them ahead of time.
Tips for Perfect Homemade Christmas Peppermint Mints
- Use high-quality white chocolate to avoid grainy or clumpy results.
- Make sure your bowl and utensils are completely dry—any water can seize the chocolate.
- Add the food coloring after the peppermint extract to avoid overmixing.
- Chill thoroughly before cutting to get clean, sharp edges.
- Warm your knife slightly under hot water (then dry it) for even smoother cuts.
Watch Out for These Mistakes While Cooking
- Overheating the white chocolate: This can cause it to seize or become grainy. Heat slowly and stir often.
- Adding too much peppermint extract: It can overpower quickly. Always taste test.
- Using liquid food coloring: This can affect the consistency. Stick with gel or paste-based coloring.
- Not chilling long enough: The mints won’t slice well and may become sticky.
- Overmixing the swirl: You’ll end up with a pink mass instead of a beautiful marbled look.
What to Serve With Homemade Christmas Peppermint Mints?
1. Hot Chocolate
The creamy mints pair perfectly with a warm mug of cocoa for the ultimate winter treat.
2. Coffee or Peppermint Mocha
Drop a cube into your cup to melt slightly and infuse your drink with a sweet peppermint twist.
3. Christmas Cookie Platters
Add a pop of color and texture by mixing these mints in with classic holiday cookies.
4. Vanilla Ice Cream
Serve a few cubes alongside a scoop of vanilla or peppermint ice cream for a chilled dessert.
5. Festive Dessert Charcuterie Board
Combine with chocolate bark, truffles, and spiced nuts for an elegant and fun dessert board.
Storage Instructions
Room Temperature: If your house is cool and dry, these mints can stay fresh in an airtight container for up to 1 week. Keep them out of direct sunlight.
Refrigerator: For longer storage, place them in a sealed container and refrigerate for up to 3 weeks. They’ll maintain their firmness and flavor well.
Freezer: Yes, you can freeze them! Wrap tightly and store in a freezer-safe bag or container. They’ll last up to 2 months. Let them thaw in the fridge before serving to avoid condensation.
Estimated Nutrition
Serving size: 1 piece (based on 36 pieces from a batch)
- Calories: ~90
- Fat: 5g
- Saturated Fat: 3g
- Carbohydrates: 10g
- Sugar: 9g
- Protein: 1g
- Sodium: 15mg
Frequently Asked Questions
Can I use milk or dark chocolate instead?
You can, but the classic look and flavor come from white chocolate. Dark chocolate will overpower the peppermint and won’t showcase the red swirls as well.
Is it safe to use peppermint essential oil?
Only if it’s labeled food-grade. Essential oils are potent and must be used sparingly.
Can I make these mints vegan?
Yes! Use dairy-free white chocolate and sweetened condensed coconut milk to make a vegan-friendly version.
How can I prevent the chocolate from seizing?
Avoid getting water into the bowl and melt the chocolate gently. Always stir between intervals.
Can I double the batch?
Absolutely. Use a 9×13-inch pan and increase the chilling time slightly for best results.
Conclusion
These Homemade Christmas Peppermint Mints are a festive treat that combines beauty with flavor. They’re easy enough for beginners yet elegant enough for gifting or impressing at a holiday party. With minimal ingredients and endless charm, they’re a must-have for your seasonal dessert table. Whether you’re serving them with hot drinks, packaging them as gifts, or simply snacking, they bring a delightful burst of holiday spirit in every bite.
Homemade Christmas Peppermint Mints
- Total Time: 2 hours 15 minutes
- Yield: 36 pieces
- Diet: Vegetarian
Description
These Homemade Christmas Peppermint Mints are the ultimate no-bake holiday treat—easy to make, stunning to serve, and bursting with classic peppermint flavor. Creamy white chocolate, a touch of peppermint, and vibrant red swirls come together to create a festive, melt-in-your-mouth candy that’s perfect for gifting, snacking, or adorning any dessert table. Whether you’re looking for quick Christmas dessert ideas, fun holiday food gifts, or an easy recipe to brighten your cookie box, this peppermint fudge is a must-try.
Ingredients
2 cups white chocolate chips or chopped white chocolate
1 can (14 ounces) sweetened condensed milk
1 teaspoon peppermint extract
3–4 drops red gel food coloring
1 tablespoon butter (optional)
Instructions
1. Line an 8×8-inch or 9×9-inch square pan with parchment paper, allowing the edges to overhang for easy removal.
2. In a microwave-safe bowl, combine the white chocolate, sweetened condensed milk, and butter (if using). Microwave in 30-second intervals, stirring between each, until fully melted and smooth.
3. Stir in the peppermint extract and mix well. Taste and adjust if needed.
4. Drop in red gel food coloring and gently swirl using a toothpick or skewer—do not overmix.
5. Pour the mixture into the prepared pan and smooth the top. Tap lightly to remove air bubbles.
6. Refrigerate for at least 2 hours or until fully set.
7. Once firm, lift out using the parchment and cut into squares using a sharp knife.
8. Store in an airtight container at room temp, fridge, or freezer as desired.
Notes
For the best results, use high-quality white chocolate—it melts smoother and tastes richer.
Gel food coloring works better than liquid to keep the texture intact and create vibrant swirls.
Don’t skip the chill time—this helps the mints set up properly for easy cutting and clean edges.
- Prep Time: 15 minutes
- Cook Time: 2 hours
- Category: Dessert
- Method: No-bake
- Cuisine: American
Nutrition
- Serving Size: 1 piece
- Calories: 90
- Sugar: 9g
- Sodium: 15mg
- Fat: 5g
- Saturated Fat: 3g
- Unsaturated Fat: 1g
- Trans Fat: 0g
- Carbohydrates: 10g
- Fiber: 0g
- Protein: 1g
- Cholesterol: 5mg