
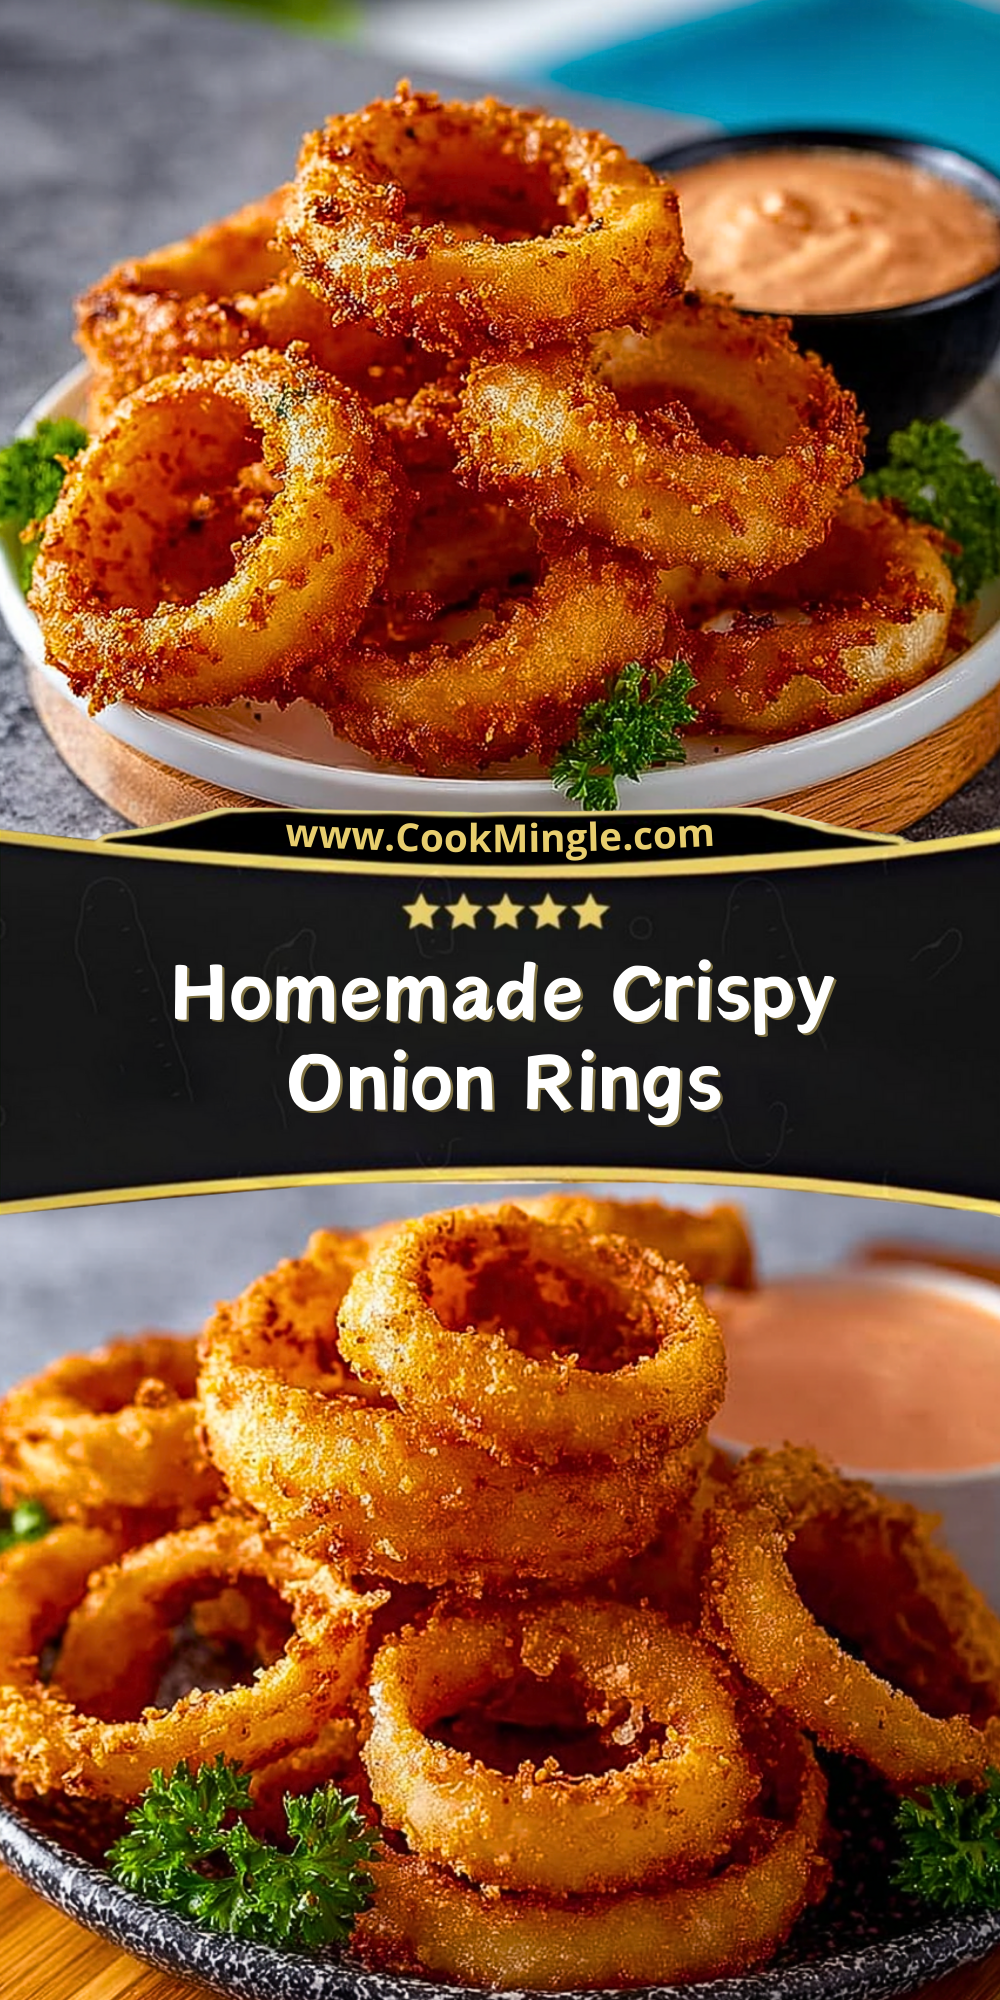
I’ve always had a soft spot for perfectly golden, crunchy onion rings. There’s something about that crisp exterior paired with the sweet, tender onion inside that hits every satisfying note. It’s the kind of snack that disappears from the table faster than anything else I make — especially when served with a cool, creamy dipping sauce.
Making onion rings at home means you can control the texture, the seasoning, and the ingredients — no more limp, soggy rings from a freezer bag. With just a handful of pantry staples and a bit of know-how, you’ll be biting into crispy, golden perfection in no time. Whether you’re hosting friends, craving a fun appetizer, or looking for a crispy side dish to upgrade your burger night, this recipe has you covered.
Why You’ll Love This Homemade Crispy Onion Rings Recipe
These onion rings come out beautifully crunchy every time, thanks to a few key steps in the battering process. They’re made with everyday ingredients and come together surprisingly fast. Unlike store-bought versions, these are light, airy, and full of real flavor — no additives, just fresh goodness.
They’re also incredibly versatile. You can spice them up, make them gluten-free, or pair them with any sauce you like. Plus, they’re an instant crowd-pleaser, whether served at parties, game nights, or just as a treat-yourself snack.
What Kind of Onions Should I Use for Onion Rings?
The best onions for this recipe are sweet onions like Vidalia, Walla Walla, or Maui. These varieties have a mild, pleasant flavor that turns almost candy-like when fried. If you prefer a bit more bite, yellow onions work well too. The key is to slice them into thick, even rings to ensure they hold up well during frying and deliver that satisfying crunch.
Options for Substitutions
Don’t have buttermilk? You can easily make a substitute by mixing regular milk with a splash of vinegar or lemon juice. No sparkling water on hand? Use regular water, though it may slightly affect the lightness of the batter.
For a gluten-free version, swap the all-purpose flour with a 1:1 gluten-free blend. You can also make these dairy-free by using plant-based milk and skipping the buttermilk soak. And if you’re feeling adventurous, season the batter with paprika, garlic powder, or even cayenne for a spicier twist.
Ingredients for This Homemade Crispy Onion Rings Recipe
Sweet Onions – The star of the show. Sweet onions like Vidalia or Walla Walla offer a mellow flavor and turn beautifully tender when fried.
All-Purpose Flour – Creates the base for both the dredging and the batter. It adds structure and helps the rings crisp up nicely.
Cornstarch – This helps lighten the batter and provides an extra crunch factor. It’s a game-changer for that airy texture.
Baking Powder – Adds lift to the batter so it puffs slightly when fried, making each bite lighter and crispier.
Buttermilk – Used to soak the onions, tenderizing them and adding a subtle tang. It also helps the flour stick better.
Sparkling Water or Club Soda – Gives the batter a lightness that helps it puff up and fry to a delicate crunch.
Salt & Pepper – Essential seasonings that enhance the natural flavor of the onions and batter.
Garlic Powder & Paprika (optional) – Add a little depth and subtle warmth to the batter.
Oil for Frying (vegetable or canola) – Neutral oils with high smoke points work best to ensure a golden, crispy finish.
Step 1: Prepare the Onions
Peel the onions and slice them into ½-inch thick rings. Carefully separate the rings and discard or save the small inner rings for another use. Soak the rings in buttermilk for at least 30 minutes — this helps them soften and soak up flavor.
Step 2: Heat the Oil
Pour enough oil into a deep skillet or pot to submerge the onion rings, about 2–3 inches deep. Heat the oil to 375°F (190°C). Use a thermometer for accuracy — too hot and they’ll burn, too cool and they’ll absorb oil.
Step 3: Prepare the Dry Dredge
In one bowl, mix a cup of flour with salt, pepper, and any optional seasonings like garlic powder or paprika. This will be the dry coating that helps the batter stick to the rings.
Step 4: Make the Batter
In another bowl, combine flour, cornstarch, baking powder, and a pinch of salt. Whisk in the sparkling water until a smooth batter forms — it should be thick enough to coat the back of a spoon but still flow easily.
Step 5: Dredge and Batter the Onion Rings
Remove the onion rings from the buttermilk and shake off the excess. First, coat each ring in the dry flour mixture, then dip into the wet batter. Let the excess batter drip off slightly.
Step 6: Fry Until Golden
Carefully lower the battered rings into the hot oil in batches, being sure not to overcrowd. Fry for 2–3 minutes per side, until golden and crisp. Transfer to a wire rack or paper towel-lined tray to drain.
Step 7: Serve Immediately
Serve your crispy onion rings while they’re hot and crunchy. Pair them with your favorite dipping sauces like spicy mayo, ranch, or barbecue sauce for a winning snack or side.
How Long to Prepare Homemade Crispy Onion Rings
Prep Time:
The prep work will take about 20 to 30 minutes. This includes slicing the onions, soaking them in buttermilk, and preparing both the dredge and the batter. For the best flavor and texture, soak the onion rings for at least 30 minutes, though you can let them sit up to an hour if you’re not in a rush.
Cook Time:
Frying the onion rings takes around 15 to 20 minutes, depending on the batch size and size of your pot. Each batch fries in about 2 to 3 minutes per side. Work in batches to avoid overcrowding and ensure even crisping.
Tips for Perfect Onion Rings
- Use cold ingredients: Keep your sparkling water and buttermilk cold for the lightest, crispiest batter.
- Don’t skip the soak: Soaking in buttermilk enhances flavor and softens the onions.
- Use a thermometer: Maintaining oil at 375°F ensures a crisp texture without becoming greasy.
- Drain properly: Use a wire rack instead of paper towels to keep them from going soggy.
- Season right after frying: A pinch of salt immediately after frying helps flavor stick.
Watch Out for These Mistakes While Cooking
- Overcrowding the pan: This lowers the oil temperature and results in soggy onion rings.
- Too thick batter: If the batter is too heavy, it won’t crisp properly. It should coat the ring lightly.
- Using raw onion types: Avoid red onions — they’re too strong and not sweet enough for frying.
- Not letting oil reheat: Let the oil return to temperature between batches.
- Skipping the double coat: If you want extra crunch, try dredging, battering, and dredging again before frying.
What to Serve With Homemade Crispy Onion Rings?
1. Classic Cheeseburgers
The most iconic pairing. Juicy burgers and crispy onion rings were made for each other.
2. Grilled Hot Dogs
Add a fun twist to your BBQ by serving crispy onion rings as a side to grilled hot dogs.
3. Spicy Mayo Dip
Whip up a quick dip with mayo, ketchup, and sriracha for the perfect zesty contrast.
4. Buffalo Wings
Crispy onion rings can cut through the heat and sauciness of wings like a pro.
5. Loaded Nachos or Quesadillas
Use the onion rings as a crunchy side to Tex-Mex dishes — they balance gooey cheese perfectly.
Storage Instructions
Refrigeration:
Store leftover onion rings in an airtight container in the fridge for up to 3 days. Place a paper towel inside the container to absorb moisture and keep them as crisp as possible.
Reheating:
Avoid the microwave if you want them crispy again. Instead, reheat in the oven at 375°F for 8–10 minutes or air fry them for 3–5 minutes until heated through and crisped up.
Freezing:
You can freeze cooked onion rings. Let them cool completely, then flash-freeze on a tray before transferring to a zip-top freezer bag. Reheat directly from frozen in the oven or air fryer.
Estimated Nutrition
Per Serving (based on 4 servings total):
- Calories: 280
- Fat: 14g
- Saturated Fat: 2.5g
- Carbohydrates: 32g
- Fiber: 2g
- Sugar: 4g
- Protein: 4g
- Sodium: 380mg
Frequently Asked Questions
How do I keep the onion rings from getting soggy?
Make sure the oil is hot enough, and always drain on a wire rack. Avoid stacking them while hot.
Can I make these ahead of time?
They’re best fresh, but you can prep the rings and batter in advance. Fry just before serving.
What oil should I use for frying?
Choose a neutral oil with a high smoke point, like vegetable, canola, or peanut oil.
Are these onion rings gluten-free?
Not by default, but you can easily make them gluten-free by using a 1:1 GF flour blend.
Can I bake these instead of frying?
You can, but the texture won’t be as crisp. Air frying is a better alternative to keep the crunch.
Conclusion
Homemade crispy onion rings are the kind of indulgent treat that turns an average meal into something special. They’re golden, crunchy, and full of real flavor with every bite. Once you’ve made them from scratch, it’s hard to go back to the frozen kind. Perfect as a side, snack, or party bite, these onion rings are guaranteed to impress. So grab some onions, heat up the oil, and get ready to fry up a batch of deliciousness!
Homemade Crispy Onion Rings
- Total Time: 50 minutes
- Yield: 4 servings
Description
Crispy, golden, and irresistibly delicious — these Homemade Crispy Onion Rings are the perfect snack, appetizer, or side dish. With their light, airy batter and tender sweet onions inside, they outshine any fast food version. Perfect for game nights, BBQs, or burger dinners, this easy recipe is a must-try for anyone who loves a satisfying crunch. Whether you’re searching for quick appetizers, snack ideas, or easy dinner sides, these onion rings are your go-to. A total crowd-pleaser that delivers big flavor in every bite!
Ingredients
1 ½ pounds sweet onions, sliced into ½-inch rings
2 cups buttermilk
1 ½ cups all-purpose flour
½ cup cornstarch
1 teaspoon baking powder
1 cup sparkling water (cold)
1 teaspoon salt
½ teaspoon black pepper
½ teaspoon paprika (optional)
½ teaspoon garlic powder (optional)
Vegetable oil for frying
Instructions
1. Peel and slice the onions into ½-inch thick rings. Separate the rings and soak them in buttermilk for at least 30 minutes.
2. Heat about 2–3 inches of oil in a deep pot to 375°F (190°C). Use a thermometer to maintain consistent temperature.
3. In a bowl, mix 1 cup flour with salt, pepper, and optional paprika and garlic powder for dredging.
4. In a second bowl, combine remaining flour, cornstarch, baking powder, and a pinch of salt. Whisk in sparkling water until a smooth batter forms.
5. Remove onions from buttermilk, shake off excess, dredge in flour mixture, then dip into the batter. Let excess drip off.
6. Fry the onion rings in batches for 2–3 minutes per side, or until golden brown and crisp.
7. Transfer to a wire rack to drain and season immediately with salt.
8. Serve hot with your favorite dipping sauce.
Notes
For extra crunch, double dip the rings: dredge, batter, then dredge again before frying.
Use cold sparkling water in the batter to ensure a light and crispy texture.
Don’t skip the wire rack; it prevents sogginess better than paper towels.
- Prep Time: 30 minutes
- Cook Time: 20 minutes
- Category: Appetizer
- Method: Deep Fry
- Cuisine: American
Nutrition
- Serving Size: 1 serving
- Calories: 280
- Sugar: 4g
- Sodium: 380mg
- Fat: 14g
- Saturated Fat: 2.5g
- Unsaturated Fat: 9g
- Trans Fat: 0g
- Carbohydrates: 32g
- Fiber: 2g
- Protein: 4g
- Cholesterol: 5mg