

There’s something about the bright tang of lemon and the creamy indulgence of cheesecake that just makes perfect sense together—especially when frozen into a dreamy, velvety scoop of ice cream. I’ve always been a fan of classic flavors, but when I first tried combining the citrusy sharpness of lemon zest with the sweet richness of cheesecake, I knew I was onto something special. This recipe is all about capturing that balance: tart, sweet, creamy, and refreshing all at once.
I made this homemade lemon cheesecake ice cream on a summer afternoon, inspired by a leftover wedge of cheesecake and a bowl of sun-yellow lemons. No fancy equipment, no complicated methods—just real ingredients and a love for bold, comforting desserts. If you’ve ever wished your favorite cheesecake could be enjoyed on a hot day straight from the freezer, this recipe is for you.
Why You’ll Love This Homemade Lemon Cheesecake Ice Cream
- Velvety Texture: It’s rich and smooth, like your favorite scoop shop quality—without any stabilizers.
- Zesty Flavor: Fresh lemon zest and juice bring brightness to every bite.
- Real Cheesecake Goodness: Cream cheese adds authentic cheesecake flavor and creaminess.
- No Ice Cream Maker Needed (Optional): You can churn it traditionally or go no-churn for ease.
- Perfect for Summer: Light yet decadent, ideal for sunny days or citrus cravings.
What Kind of Cream Cheese Should I Use?
When it comes to making homemade lemon cheesecake ice cream, the cream cheese plays a starring role—so quality matters. I recommend using full-fat block cream cheese for the best texture and flavor. The kind that comes in foil, not in a tub. The block version has less water content, which keeps the ice cream thick and creamy instead of icy. If you’re aiming for richness that mimics a real cheesecake, avoid low-fat versions—they just won’t deliver the same silky body or tangy depth.
Options for Substitutions
If you’re working with what you have or want to adapt this recipe for dietary needs, here are a few smart swaps that still give great results:
- Cream Cheese → Greek Yogurt or Mascarpone: You can use full-fat Greek yogurt for a lighter tang or mascarpone for an even richer twist.
- Lemon Juice and Zest → Lime or Orange: These citrus cousins work beautifully if you want a different flavor profile.
- Heavy Cream → Coconut Cream: For a dairy-free option, full-fat coconut cream offers richness without the lactose.
- Sweetened Condensed Milk (if going no-churn) → Honey or Maple Syrup: These natural sweeteners can work in churned versions, just adjust for taste.
- Sugar → Monk Fruit or Stevia Blend: A great option if you’re watching your sugar intake, but be cautious with the ratios—these are much sweeter.
These substitutions won’t change the heart of this dessert: a lush, tangy-sweet ice cream with the soul of a cheesecake.
Ingredients for This Homemade Lemon Cheesecake Ice Cream
Every ingredient in this recipe has a purpose, working together to create a creamy, balanced, and deeply satisfying frozen dessert. Here’s a look at what you’ll need and why it matters:
Cream Cheese
This is the base that gives the ice cream its cheesecake essence. It brings richness, a slight tang, and a creamy texture that sets it apart from traditional ice cream.
Heavy Cream
Essential for creating that smooth, scoopable consistency. It whips air into the base, which helps make the final ice cream light and creamy rather than dense or icy.
Whole Milk
Combines with the cream to provide the right balance of fat and liquid. It ensures the mixture churns well and doesn’t turn grainy.
Granulated Sugar
Sweetens the ice cream and also helps with the texture by lowering the freezing point, which keeps it soft and scoopable straight from the freezer.
Fresh Lemon Juice
Adds bright acidity that cuts through the richness. It brings life to the ice cream and intensifies that signature lemon cheesecake flavor.
Lemon Zest
Packed with aromatic oils, lemon zest deepens the citrus flavor without adding more liquid. It adds a fragrant, fresh finish to every spoonful.
Vanilla Extract
A small but vital background note—it rounds out the tanginess of the lemon and the richness of the cream cheese, adding balance.
Graham Cracker Crumbs (Optional but Recommended)
If you want that classic cheesecake crust vibe swirled into your ice cream, graham cracker crumbs are a must. They add a slight crunch and nostalgic flavor.

Step 1: Soften the Cream Cheese
Start by letting the cream cheese sit at room temperature for about 15–20 minutes. This softens it enough to blend smoothly, ensuring there are no lumps in your ice cream base.
Step 2: Mix the Cream Cheese and Sugar
In a large mixing bowl, beat the softened cream cheese and granulated sugar together using a hand mixer (or stand mixer) until the mixture is smooth and creamy. This should take 1–2 minutes.
Step 3: Add Lemon Zest, Juice, and Vanilla
Stir in the lemon zest, freshly squeezed lemon juice, and vanilla extract. Mix until well combined—this is where the tangy brightness starts to shine through.
Step 4: Pour in the Milk
Gradually add the whole milk to the mixture, beating on low speed until everything is fully incorporated. Scrape down the sides of the bowl as needed to ensure even mixing.
Step 5: Whip the Heavy Cream
In a separate bowl, whip the heavy cream until stiff peaks form. This whipped cream is what gives the ice cream its airy texture, especially in no-churn versions.
Step 6: Fold It All Together
Gently fold the whipped cream into the cream cheese mixture. Take your time—fold carefully to keep the mixture light and fluffy.
Step 7: Optional – Swirl in Graham Cracker Crumbs
If you’re using graham cracker crumbs, layer them into the mixture as you transfer it into a loaf pan or container. You can also swirl them in for a marbled effect.
Step 8: Freeze
Pour the finished mixture into a freezer-safe container. Smooth the top and cover tightly with a lid or plastic wrap. Freeze for at least 6 hours or overnight for best results.
How Long to Freeze Homemade Lemon Cheesecake Ice Cream
Since this is a no-cook, no-churn ice cream (though it works with a churn too), the magic happens in the freezer. After assembling and transferring the mixture to a container, you should freeze it for at least 6 hours, though overnight is ideal for the best texture and flavor development.
If you’re using an ice cream maker, follow your machine’s instructions for churning, which usually takes 20–25 minutes, then freeze the churned ice cream for another 2–4 hours until firm enough to scoop.
Tips for Perfect Homemade Lemon Cheesecake Ice Cream
1. Use Full-Fat Ingredients
Low-fat milk or cream cheese will make the texture icy or watery. Stick with full-fat versions to achieve that luxurious, creamy finish.
2. Don’t Overmix the Whipped Cream
Fold gently to preserve the air you’ve whipped into the cream. Overmixing deflates the volume, leading to a denser texture.
3. Chill the Mixing Bowl
If you’re making this on a hot day, chilling your mixing bowl helps keep the whipped cream stable and firm.
4. Zest Before Juicing
Always zest the lemons before you juice them. It’s much easier, and you’ll get more flavor out of the citrus.
5. Add Graham Cracker Crumbs Just Before Freezing
Mix them in lightly so they stay slightly crunchy. Too early, and they’ll get soggy.
6. Taste Before Freezing
Once everything is mixed, give it a taste. If you want it more tart or sweet, you can adjust before it sets.
7. Freeze in a Shallow Container
This speeds up the freezing process and makes it easier to scoop later on.
Watch Out for These Mistakes While Cooking
Even with a simple recipe like homemade lemon cheesecake ice cream, a few small missteps can throw off the texture or flavor. Here’s what to keep in mind:
Using Cold Cream Cheese
Trying to mix cream cheese straight from the fridge will result in lumps. Always let it soften at room temperature first.
Skipping the Whipping Step
Whipping the heavy cream is crucial—don’t skip or rush it. Under-whipped cream won’t hold air, and your ice cream will be dense and flat.
Overmixing the Base
Be gentle when folding whipped cream into the base. Overmixing knocks out the air and can make the texture heavy or icy.
Adding Too Much Lemon Juice
Lemon juice is powerful. Adding too much can throw off the texture and make the base curdle or become too sour. Stick to the recommended amount and adjust gently if needed.
Freezing in a Deep Bowl
Thick containers freeze unevenly. A shallow, wide container helps the mixture chill faster and scoop easier.
Not Covering the Container Properly
Exposure to air causes ice crystals to form. Always press plastic wrap or parchment directly against the surface before sealing with a lid.
What to Serve With Homemade Lemon Cheesecake Ice Cream?
Elevate each scoop with a thoughtful pairing—these are some of my favorite ways to enjoy it:
Fresh Berries
A spoonful of blueberries, raspberries, or strawberries complements the tart lemon flavor beautifully.
Shortbread Cookies
Their buttery crumb and hint of saltiness create the perfect contrast with the creamy ice cream.
Warm Blueberry Compote
A warm, syrupy topping of stewed blueberries takes this dessert to a new level—tangy, sweet, and irresistible.
Crumble Topping
A quick oat and brown sugar crumble adds crunch and an extra layer of indulgence.
Toasted Coconut Flakes
For a tropical twist, sprinkle some toasted coconut on top.
Lemon Curd
Double down on lemony goodness with a swirl of rich, tangy lemon curd over each scoop.
Honey Drizzle
A light drizzle of honey adds sweetness and a beautiful finish.
Biscotti or Almond Cookies
Crunchy, nutty cookies make a great partner—perfect for dipping or crumbling on top.
Storage Instructions
To keep your homemade lemon cheesecake ice cream at its best, proper storage is key. Once the ice cream is fully frozen, here’s how to store it for freshness and texture:
- Container Choice: Use an airtight, freezer-safe container. A shallow, rectangular one works best for even freezing and easy scooping.
- Surface Protection: Press a piece of parchment paper or plastic wrap directly against the surface before sealing the container. This prevents freezer burn and unwanted ice crystals.
- Freezer Placement: Store the container toward the back of the freezer where the temperature is most stable.
- Shelf Life: Enjoy it within 2–3 weeks for the best flavor and texture. While it’s still safe after that, the texture may start to degrade.
- Softening for Serving: If it’s too firm to scoop right away, let it sit at room temperature for 5–10 minutes before serving.
Estimated Nutrition (Per 1/2 Cup Serving)
Here’s a general estimate based on full-fat dairy ingredients and no additional toppings. Actual values will vary depending on substitutions and portion size:
- Calories: ~280
- Total Fat: ~22g
- Saturated Fat: ~14g
- Cholesterol: ~75mg
- Sodium: ~95mg
- Carbohydrates: ~18g
- Sugars: ~17g
- Protein: ~3g
This treat is definitely indulgent, but worth every spoonful when you’re craving something creamy, tangy, and sweet.
Frequently Asked Questions
How long does this ice cream take to fully freeze?
You’ll need to freeze it for at least 6 hours, but overnight is best for a scoopable texture that holds its shape.
Can I use bottled lemon juice instead of fresh?
Fresh lemon juice is strongly recommended. Bottled versions often have preservatives and lack the bright flavor that makes this ice cream shine.
Is an ice cream maker required?
Not at all! This recipe works perfectly without one. Just fold the whipped cream into the base, pour into a container, and freeze.
Can I make it dairy-free?
Yes—use coconut cream in place of heavy cream, and a plant-based cream cheese alternative. Just note the texture and taste will be slightly different.
Can I reduce the sugar?
You can cut the sugar by a few tablespoons, but keep in mind sugar helps with texture. Reducing too much may make the ice cream harder and less creamy.
How do I prevent ice crystals from forming?
Make sure the container is sealed tightly and press plastic wrap or parchment directly on the surface of the ice cream before freezing.
Can I add mix-ins like berries or cookie chunks?
Definitely! Swirl in blueberries, bits of graham cracker crust, or white chocolate chips just before freezing for fun texture and flavor.
How long does it last in the freezer?
It stays at its best for 2 to 3 weeks, though technically safe to eat longer. After that, texture and flavor can start to fade.
Conclusion
Homemade lemon cheesecake ice cream is one of those desserts that feels fancy, but comes together with real ingredients and minimal effort. Whether you’re making it for a summer get-together, a citrus-loving friend, or just to stash in the freezer for “just because” moments, it’s guaranteed to hit the spot. Creamy, tangy, and indulgent—this is a recipe that’ll have everyone coming back for seconds. Or thirds.

Homemade Lemon Cheesecake Ice Cream
- Total Time: 6 hours 20 minutes
- Yield: About 1.5 quarts (8–10 servings)
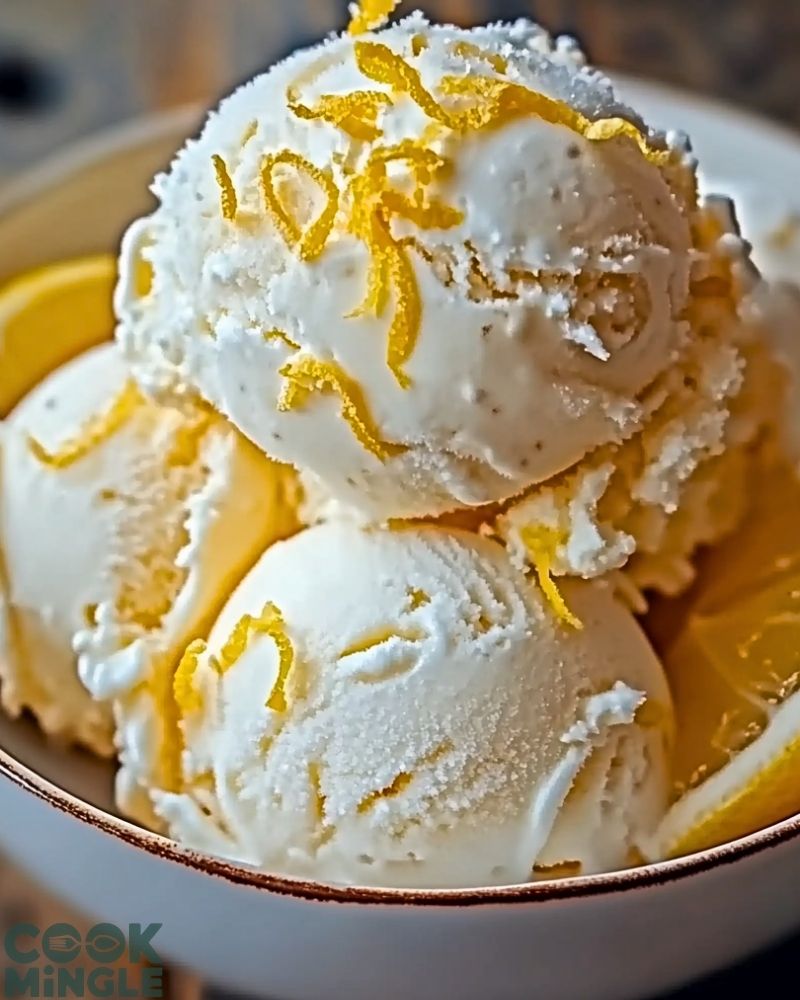
Description
Creamy, tangy, and bursting with fresh lemon flavor, this homemade lemon cheesecake ice cream captures the best parts of both classic cheesecake and refreshing ice cream. With real cream cheese, lemon zest, and optional graham cracker swirls, it’s a frozen dessert that’s both nostalgic and luxurious.
Ingredients
- 8 oz full-fat cream cheese, softened
- 1 cup granulated sugar
- 1 tablespoon fresh lemon zest
- 1/3 cup fresh lemon juice
- 1 teaspoon vanilla extract
- 1 cup whole milk
- 2 cups heavy cream
- 1/2 cup graham cracker crumbs (optional)
Instructions
- Let cream cheese sit at room temperature until softened.
- In a large bowl, beat cream cheese and sugar until smooth and creamy.
- Add lemon zest, lemon juice, and vanilla extract. Mix until well combined.
- Gradually mix in the whole milk, blending until smooth.
- In a separate bowl, whip heavy cream until stiff peaks form.
- Gently fold the whipped cream into the cream cheese mixture.
- If using graham cracker crumbs, layer or swirl them into the mixture.
- Transfer mixture into a shallow, freezer-safe container.
- Press parchment or plastic wrap directly on the surface and seal with lid.
- Freeze for at least 6 hours or overnight.
- Prep Time: 20 minutes
- Freezing Time: 6 hours