

When I first stumbled upon the idea of Oreo Sushi Rolls, I couldn’t stop thinking about how genius it was. Dessert lovers and creative foodies alike will appreciate this no-bake treat that takes everyone’s favorite cookie and turns it into something completely unexpected. It’s playful, indulgent, and incredibly easy to make—plus, it looks stunning on a dessert table.
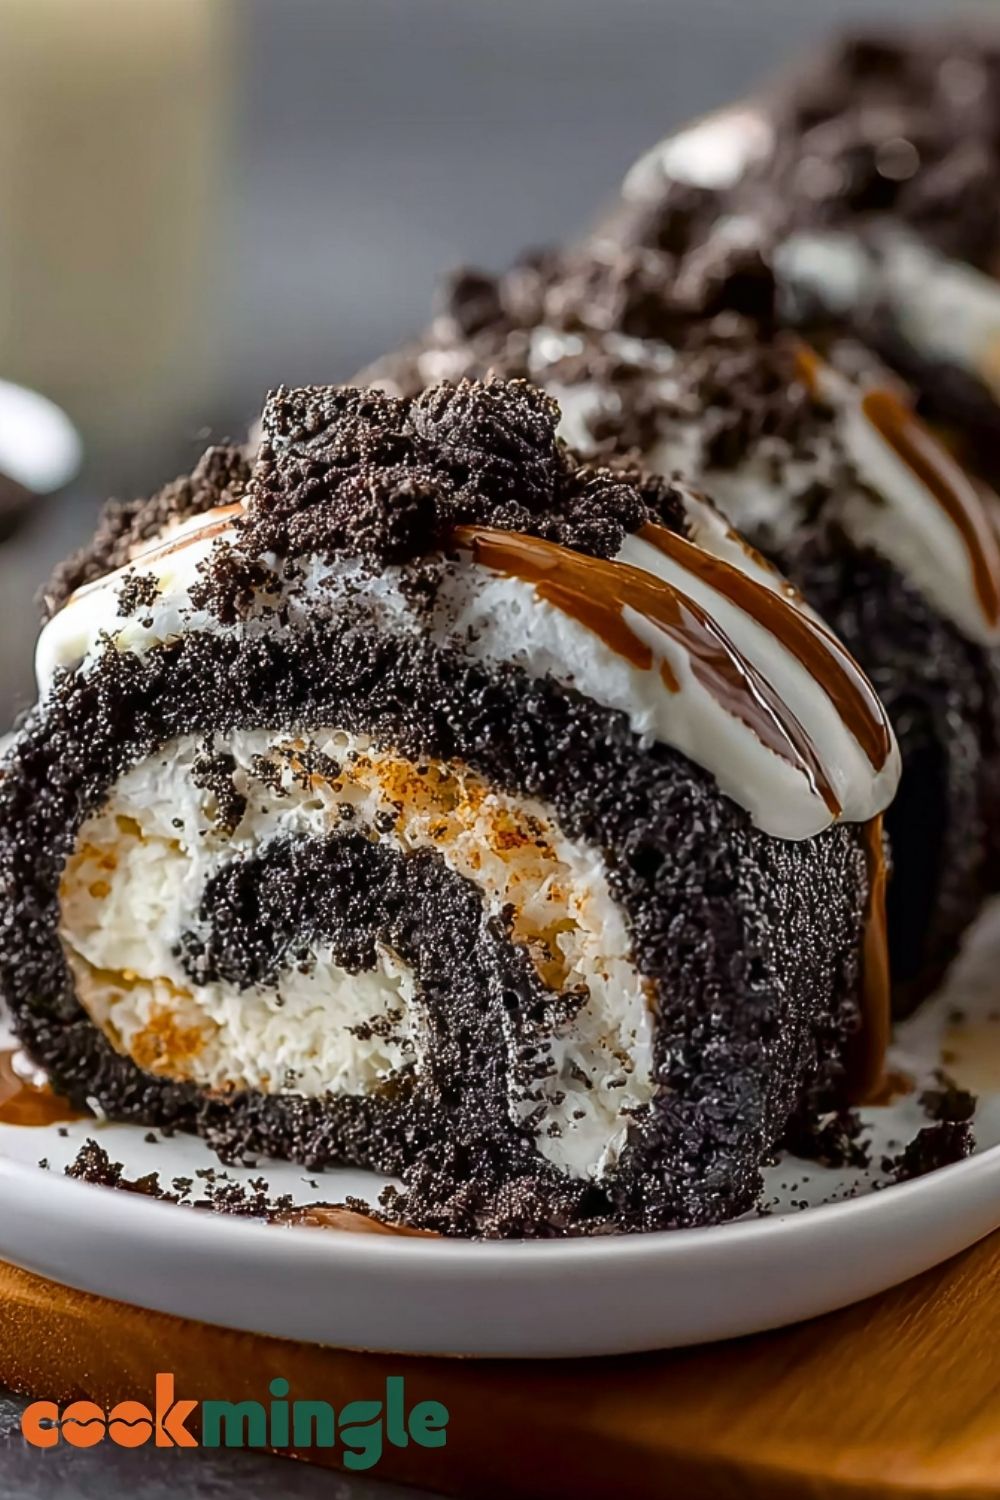
The first time I served these at a party, guests were stunned—half of them thought it was actual sushi at first glance! But one bite in, the creamy filling and rich Oreo crumble had them hooked. If you’re looking to impress without spending hours in the kitchen, this might just become your new go-to sweet.
Why You’ll Love This Oreo Sushi Rolls Recipe
This dessert is fun, unique, and only requires a handful of ingredients. You won’t need an oven, a fancy mixer, or even much time. It’s perfect for when you need a quick crowd-pleaser or something special for a themed party. Plus, it’s easy enough that kids can help make it too!
What Kind of Oreos Should I Use?
Classic Oreos work best for the base of these sushi rolls, but you can absolutely play with different flavors like Golden Oreos, Mint, or even Birthday Cake for a fun twist. The key is to use the full cookies—including the cream—when making the cookie “dough” that gets flattened and rolled.
Options for Substitutions
- Cream Cheese Filling: You can substitute it with whipped mascarpone, Nutella, or even peanut butter for a different taste profile.
- Toppings: Don’t have mini Oreos or chocolate drizzle? Use white chocolate shavings, crushed nuts, or colorful sprinkles.
- Vegan Option: Use dairy-free cream cheese and vegan sandwich cookies to make it completely plant-based.
Ingredients for Oreo Sushi Rolls
- Oreos (classic) – These cookies are the foundation of the roll. Once crushed and mixed, they form a moldable, dough-like consistency.
- Cream cheese – Softened cream cheese adds richness and creates a smooth, tangy filling that pairs beautifully with the chocolate cookies.
- Powdered sugar – This adds sweetness to the filling and helps balance the tanginess of the cream cheese.
- Vanilla extract – A small amount enhances the flavor of the filling.
- Mini Oreos or extra crushed Oreos – Perfect for topping and giving texture and crunch to the final presentation.
- Chocolate syrup – Drizzled on top for visual appeal and a decadent chocolate boost.
- Optional: White chocolate or sweetened shredded coconut – For extra garnish and added flavor layers.
Step 1: Crush the Oreos
Place all the Oreos in a food processor and blend until they become fine crumbs. Make sure the filling is included—it helps the mixture bind.
Step 2: Form the Oreo Dough
Transfer the Oreo crumbs to a large mixing bowl. Add 1-2 tablespoons of milk (only if the dough feels too dry) and knead until you get a play-dough-like texture.
Step 3: Roll Out the Base
Place the dough between two sheets of parchment paper or plastic wrap. Use a rolling pin to flatten it into a thin rectangle, about 1/4 inch thick.
Step 4: Make the Filling
In a separate bowl, mix softened cream cheese, powdered sugar, and vanilla extract until smooth and creamy. You can use a hand mixer or just a sturdy spoon.
Step 5: Spread the Filling
Evenly spread the cream cheese mixture over the flattened Oreo layer, leaving a small border around the edges.
Step 6: Roll It Up
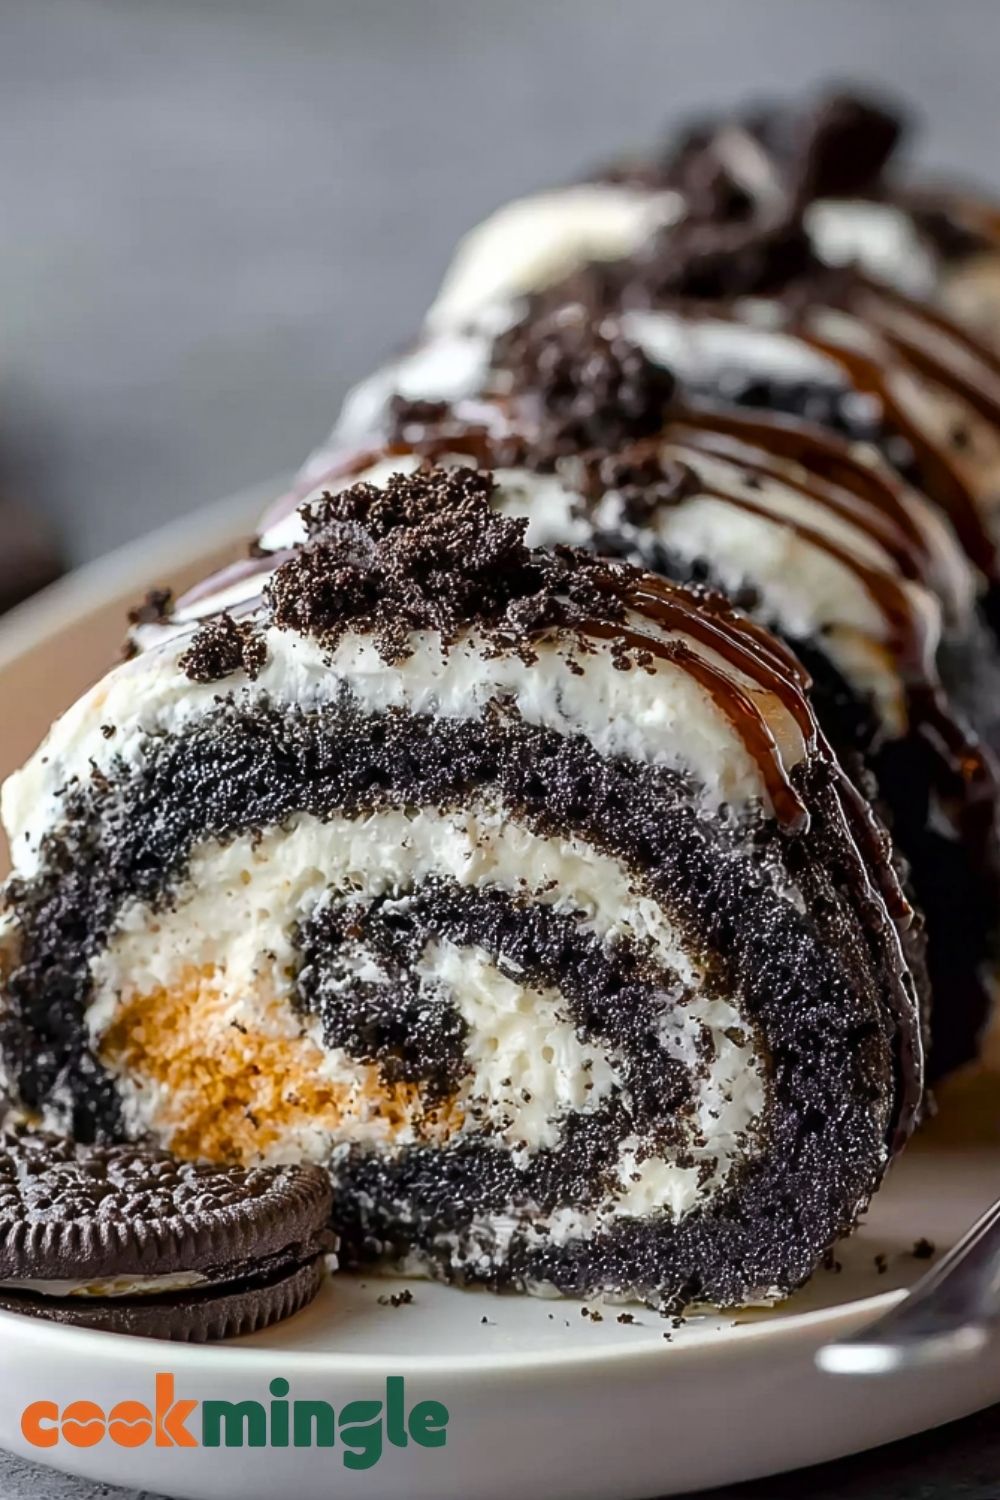
Using the parchment or plastic wrap to help, carefully roll the Oreo layer (from the shorter side) into a tight log, like a sushi roll. Chill the roll in the fridge for 30–60 minutes to firm up.
Step 7: Slice and Garnish
Once chilled, slice the roll into 1-inch rounds using a sharp knife. Wipe the knife clean between cuts for neat slices. Top each roll with a mini Oreo or a drizzle of chocolate syrup, and add crushed Oreos or coconut if desired.
How Long to Prepare Oreo Sushi Rolls
This no-bake dessert is incredibly quick to whip up. The actual hands-on time is about 15–20 minutes, and then you’ll need some chilling time to help the roll set properly before slicing.
- Prep Time: Around 15 minutes to crush the Oreos, mix the filling, and roll everything together.
- Chill Time: About 30–60 minutes in the refrigerator. This step is essential for clean slicing and firm texture.
Tips for Perfect Oreo Sushi Rolls
- Make sure your cream cheese is fully softened before mixing—it helps create a smooth, spreadable filling.
- Use parchment or plastic wrap to roll the dough evenly and prevent sticking.
- Chill the rolled log before slicing to avoid squishing the shape.
- Wipe your knife clean between slices for that perfect sushi-roll look.
- Don’t overdo the filling—a thin, even layer prevents it from spilling out while rolling.
Watch Out for These Mistakes While Cooking
- Using dry Oreo crumbs: If your mixture feels too dry to form a dough, add a splash of milk—but don’t overdo it.
- Overfilling: It can cause the roll to tear or not hold shape.
- Skipping the chill: This will result in messy, uneven slices.
- Crushing with hands instead of a processor: The texture won’t be fine enough to bind properly.
- Cutting with a dull knife: It can drag the filling and ruin presentation.
What to Serve With Oreo Sushi Rolls?
1. Fresh Berries
Strawberries, raspberries, or blueberries add a refreshing tart contrast.
2. Vanilla Ice Cream
A scoop of ice cream makes this an indulgent plated dessert.
3. Hot Espresso or Coffee
The bitterness pairs wonderfully with the sweet, rich rolls.
4. Chocolate Dipping Sauce
Serve extra sauce on the side for dipping fun.
5. Whipped Cream
Add a swirl next to the sushi rolls for a creamy, light topping.
Storage Instructions
Refrigerator: Store leftover rolls in an airtight container for up to 3 days. Place parchment between slices to prevent sticking.
Freezer: While not ideal, you can freeze them if needed. Wrap tightly in plastic wrap and store in a zip-top bag. Thaw in the fridge before serving.
Estimated Nutrition (Per Piece)
- Calories: ~160 kcal
- Fat: 9g
- Saturated Fat: 4g
- Sugar: 12g
- Carbohydrates: 18g
- Protein: 2g
- Fiber: 1g
- Sodium: 100mg
Frequently Asked Questions
Can I make Oreo Sushi Rolls ahead of time?
Yes! You can prepare and chill the roll up to a day in advance. Just slice before serving.
Can I use flavored Oreos?
Absolutely. Flavored Oreos like mint, peanut butter, or golden can add fun twists.
Is there a dairy-free version?
Yes, use vegan cream cheese and dairy-free cookies to make this dessert plant-based.
What if I don’t have a food processor?
You can place Oreos in a zip-top bag and crush them with a rolling pin, though it may take longer.
Can I add other fillings?
Definitely! Try Nutella, peanut butter, or even jam for unique combinations.
Conclusion
Oreo Sushi Rolls are the ultimate fun and fuss-free dessert for any occasion. Whether you’re hosting a party, craving a sweet snack, or looking to entertain the kids with a creative treat, this recipe delivers both flavor and visual wow-factor. Once you try it, it’s bound to become a regular in your no-bake dessert rotation.
Oreo Sushi Rolls
- Total Time: 45 minutes
- Yield: 12 pieces
- Diet: Vegetarian
Description
Turn your favorite cookies into a fun and no-bake dessert with these irresistible Oreo Sushi Rolls! This playful twist on sushi brings together crushed Oreos and a sweet cream cheese filling in bite-sized rolls that are perfect for parties, easy dessert ideas, or quick snacks. With no oven required and simple ingredients, it’s an ideal choice for breakfast ideas, creative food ideas for kids, or any time you want to impress without stress.
Ingredients
24 Oreos (classic)
4 oz cream cheese (softened)
2 tablespoons powdered sugar
1/2 teaspoon vanilla extract
1 tablespoon milk (optional, for dough)
6 mini Oreos (for garnish)
2 tablespoons chocolate syrup
2 tablespoons shredded coconut or white chocolate (optional)
Instructions
1. Crush the Oreos in a food processor until fine crumbs form.
2. Transfer crumbs to a bowl. If too dry, add milk a little at a time and knead into a dough.
3. Place dough between parchment or plastic wrap and roll into a 1/4-inch thick rectangle.
4. In a bowl, mix cream cheese, powdered sugar, and vanilla until smooth.
5. Spread the filling evenly over the Oreo base, leaving a small border.
6. Use the wrap to help roll the rectangle into a tight log. Chill for 30–60 minutes.
7. Slice into 1-inch rounds with a clean, sharp knife.
8. Top each piece with a mini Oreo, drizzle of chocolate, and optional toppings like coconut.
9. Serve chilled and enjoy!
Notes
Make sure to chill the roll before slicing to maintain its shape.
Use parchment paper for easy rolling and cleanup.
Flavored Oreos can add a unique spin to the recipe.
- Prep Time: 15 minutes
- Cook Time: 0 minutes
- Category: Dessert
- Method: No-Bake
- Cuisine: American
Nutrition
- Serving Size: 1 piece
- Calories: 160
- Sugar: 12g
- Sodium: 100mg
- Fat: 9g
- Saturated Fat: 4g
- Unsaturated Fat: 3g
- Trans Fat: 0g
- Carbohydrates: 18g
- Fiber: 1g
- Protein: 2g
- Cholesterol: 15mg