
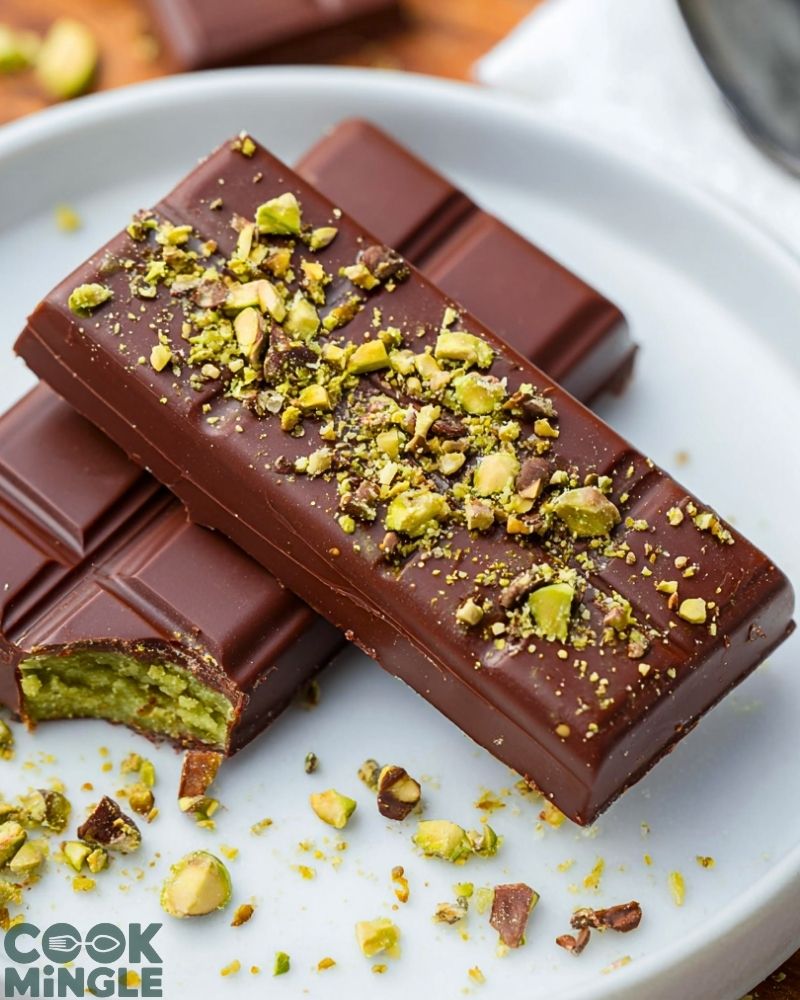
This Pistachio Chocolate Bar is a divine creation that perfectly balances the richness of silky chocolate with the nutty, slightly sweet crunch of pistachios. Each bite is a satisfying blend of creamy and crunchy textures, with a surprise center layer of pistachio paste that melts on the tongue. It’s indulgent without being overly sweet, and every element—from the snap of the tempered chocolate to the subtle saltiness of the nuts—comes together in harmony.
Whether you’re looking to impress guests with a homemade treat or just want to elevate your snack game, this pistachio chocolate bar delivers on all fronts. It’s not just a dessert—it’s a luxurious experience you can create with just a handful of quality ingredients. Great as a gift, a party favor, or a personal reward after a long day, this recipe transforms basic pantry staples into a showstopper.
Why You’ll Love This Pistachio Chocolate Bar
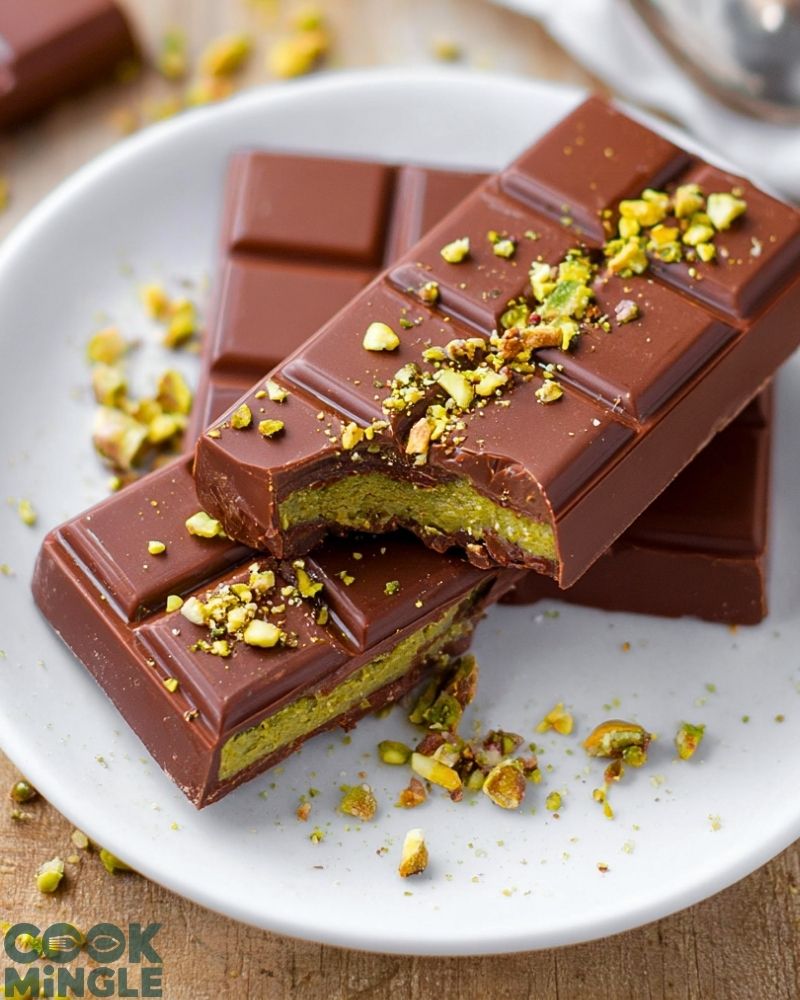
- Incredible Texture: The contrast between the smooth chocolate shell and the dense pistachio filling makes for an irresistible mouthfeel.
- Naturally Elegant: Pistachios lend a subtle sophistication and beautiful green color that makes this bar visually stunning.
- Customizable: Add a dash of sea salt, orange zest, or even a hint of cardamom to play with flavor profiles.
- Great for Gifting: Wrapped in parchment and tied with twine, these bars make thoughtful handmade gifts.
- Surprisingly Simple: You don’t need to be a chocolatier to get professional-looking results.
Preparation Phase & Tools to Use (Essential Tools and Equipment, and Why They Matter)
Before diving into making your Pistachio Chocolate Bar, gather the right tools to ensure smooth preparation and a polished result:
- Silicone Chocolate Bar Mold: This is key to achieving that glossy, store-bought appearance. It also helps with even portioning and clean release.
- Double Boiler or Heatproof Bowl + Saucepan: Melting chocolate gently is crucial. Using a double boiler prevents scorching and helps temper the chocolate properly.
- Food Processor: Essential for making the pistachio paste. It grinds the nuts into a smooth, creamy consistency.
- Spatula: Useful for spreading the chocolate and pistachio layers evenly without air bubbles.
- Kitchen Scale: For precision. Chocolate making benefits from accurate measurements, especially with ratios of chocolate to filling.
- Refrigerator or Freezer: To quickly set the chocolate between layering and finalize the texture without melting inconsistencies.
Having these tools ready means less stress and more focus on creating something beautiful.
Preparation Tips
- Roast Your Pistachios: If you’re using raw nuts, a quick roast enhances their flavor and makes them easier to blend into a creamy paste.
- Use High-Quality Chocolate: Look for chocolate with at least 60% cocoa content and minimal additives. This ensures better melting, tempering, and flavor.
- Tempering Is Key: For a glossy finish and that satisfying snap, temper your chocolate. If you’re short on time, use compound chocolate or melt carefully to 88–90°F.
- Chill Between Layers: Let each chocolate and pistachio layer firm up in the fridge before adding the next. This creates sharp layers and avoids blending.
- Blend Pistachios with Sweetener: A touch of maple syrup, honey, or powdered sugar can smooth the paste and balance the flavors.
- Avoid Moisture: Water can seize melted chocolate. Keep tools dry and avoid steam contact when melting.
With a little preparation, your Pistachio Chocolate Bars will come together with ease and elegance.
Ingredients for This Pistachio Chocolate Bar
To create this indulgent treat, you’ll need just a few quality ingredients. Choose fresh, flavorful pistachios and good-quality chocolate for the best results.
- 200g dark or milk chocolate, finely chopped (use couverture if possible for smoother texture)
- 100g shelled unsalted pistachios (roasted, if possible)
- 1–2 tablespoons maple syrup or honey (for sweetening the pistachio paste)
- 1 tablespoon neutral oil (like coconut or grapeseed, to smooth out the pistachio filling)
- Pinch of sea salt (to enhance flavors)
- Optional: 1/2 teaspoon vanilla extract or cardamom for flavor depth
- Extra crushed pistachios (for sprinkling on top)
These ingredients come together to create rich layers of texture and taste, delivering a candy-bar experience with a gourmet twist.
Step 1: Prepare the Pistachio Filling
In a food processor, blend the pistachios until they start to clump together and form a paste. This may take a few minutes—scrape down the sides as needed. Add maple syrup (or honey), neutral oil, and a pinch of sea salt. Blend again until the mixture becomes smooth and spreadable. Set aside.
Step 2: Melt and Temper the Chocolate
Using a double boiler or a heatproof bowl over simmering water, gently melt two-thirds of the chopped chocolate. Stir constantly until fully melted, then remove from heat and add the remaining chocolate to temper it. Stir until completely smooth and glossy.
Step 3: Pour the First Chocolate Layer
Spoon a layer of melted chocolate into your silicone mold, filling each cavity about 1/3 full. Use a spoon or spatula to spread it up the sides of the mold slightly, creating a shell. Chill in the refrigerator for 10–15 minutes until just set.
Step 4: Add the Pistachio Layer
Once the chocolate base is firm, add a layer of pistachio filling—about 1 to 2 teaspoons per bar cavity. Press it gently to flatten and ensure even coverage without breaking the chocolate shell.
Step 5: Seal with More Chocolate
Top the pistachio layer with the remaining melted chocolate, spreading it smoothly over the surface. Gently tap the mold to release air bubbles and ensure the layers settle evenly.
Step 6: Chill and Finish
Refrigerate the bars for 30–45 minutes, or until completely firm. Once set, carefully remove from the mold and sprinkle crushed pistachios on top for a crunchy finish.
Notes
- Chocolate Type: You can use dark, milk, or even white chocolate depending on your preference. Just make sure it’s high-quality for best results.
- Nut Variations: While pistachios are the star, you can also substitute with cashews or hazelnuts if desired.
- Sweetness Level: Adjust the amount of sweetener in the pistachio paste to match your taste or the sweetness of the chocolate used.
- Flavor Enhancers: A touch of vanilla, almond extract, or citrus zest can add an extra flavor dimension to the pistachio layer.
- Batch Size: This recipe is easily scalable. Double it to make gift sets or freeze extras for future indulgence.
Watch Out for These Mistakes While Cooking
- Overheating the Chocolate: This is a common mistake. Chocolate burns easily—keep the heat low and avoid direct contact with water.
- Skipping the Tempering Process: If you don’t temper, your bars may bloom (white streaks) and lack that signature glossy snap.
- Adding Too Much Oil to the Pistachio Paste: This can cause separation or make the filling too runny to hold its shape in the bar.
- Overfilling the Mold: If the pistachio layer is too thick, you won’t have enough chocolate to seal the top, leading to uneven or fragile bars.
- Not Leveling the Layers: Use a spatula to smooth each layer so the bars look clean and professional when cut or bitten.
- Removing from Mold Too Early: Let the bars set completely. Removing them too soon can crack the chocolate or ruin the finish.
Avoiding these mistakes ensures your Pistachio Chocolate Bars come out flawless and photo-worthy every time.
What to Serve With Pistachio Chocolate Bar?
8 Recommendations
- Espresso or Strong Coffee – The bitterness of espresso beautifully contrasts with the sweet and nutty richness of the chocolate bar.
- Vanilla Bean Ice Cream – A scoop of cold, creamy vanilla ice cream balances the dense texture and adds a temperature contrast.
- Fresh Berries – Raspberries, strawberries, or blueberries add a fresh, tart element that lightens the richness of the bar.
- Dessert Wine – A sweet Moscato or Port pairs excellently with the earthy pistachio and creamy chocolate notes.
- Chai Tea or Matcha Latte – Warm, spiced tea or earthy matcha complements the nutty flavors and adds aromatic depth.
- Greek Yogurt with Honey – Serve a small piece of the bar alongside a dollop of yogurt for a satisfying, well-rounded dessert plate.
- Crushed Over a Cheesecake – Chop the bar and sprinkle over cheesecake for an elevated presentation and taste.
- Charcuterie Dessert Board – Include pieces of the chocolate bar on a dessert board with nuts, fruits, and other artisanal sweets.
These pairings enhance the enjoyment of your Pistachio Chocolate Bar and can turn it into a standout course or snack at any event.
Storage Instructions
Store your Pistachio Chocolate Bars in an airtight container in a cool, dry place away from sunlight. If your kitchen is warm, refrigerate the bars to prevent melting—but allow them to come to room temperature before serving for optimal texture.
- Room Temperature: Up to 1 week in a sealed container.
- Refrigerator: Up to 2 weeks.
- Freezer: Up to 2 months. Wrap individually in parchment and store in a freezer-safe bag or container.
Avoid humidity, which can cause sugar bloom on the chocolate surface, affecting appearance (but not taste).
Estimated Nutrition
Per serving (1 small bar, approx. 40g)
- Calories: 230
- Total Fat: 17g
- Saturated Fat: 6g
- Unsaturated Fat: 9g
- Trans Fat: 0g
- Cholesterol: 0mg
- Sodium: 30mg
- Total Carbohydrates: 18g
- Dietary Fiber: 3g
- Sugars: 11g
- Protein: 4g
- Serving Size: 40g
- Category: Dessert / Snack
These values may vary slightly depending on the type of chocolate and sweetener used, but they provide a close estimate for planning.
Frequently Asked Questions
1. Can I make the Pistachio Chocolate Bar without a mold?
Yes! You can use a parchment-lined loaf pan and slice the bars after setting. The look may be more rustic but still delicious.
2. What type of chocolate is best for this recipe?
Couverture chocolate is ideal for its high cocoa butter content and smooth melting properties. Dark, milk, or white chocolate all work depending on your preference.
3. How do I know when the pistachio paste is ready?
It should be thick yet spreadable, similar to nut butter. If it’s too dry, add a bit more oil; if it’s too oily, pulse with more nuts.
4. Can I use store-bought pistachio paste?
Absolutely! Just ensure it’s unsweetened or minimally sweetened to keep control over the overall sweetness of the bar.
5. How do I prevent chocolate bloom?
Temper the chocolate properly and store the bars in a cool, dry environment to avoid that white, chalky appearance.
6. Is this recipe vegan?
Yes, if you use dairy-free dark chocolate and maple syrup instead of honey, it becomes fully vegan.
7. Can I double the recipe?
Definitely. Just scale all ingredients evenly and ensure your mold or pan can accommodate the larger batch.
8. Do I need to roast the pistachios first?
It’s optional, but roasting enhances their nutty flavor and makes the paste smoother and more aromatic.
Conclusion
The Pistachio Chocolate Bar is more than just a sweet treat—it’s a refined indulgence that marries creamy chocolate with the rich, earthy flavor of pistachios. Whether enjoyed solo, gifted to a friend, or served as part of an elegant dessert spread, this bar is guaranteed to impress. Its beauty lies not only in its presentation but in the simplicity of its ingredients and the ease of its assembly. Perfect for both beginners and seasoned home cooks, this recipe invites you to create something luxurious from scratch—and savor every bite.
Pistachio Chocolate Bar
- Total Time: 45 minutes
- Yield: 6 bars
- Diet: Vegetarian
Description
This Pistachio Chocolate Bar is an irresistible combination of creamy chocolate and nutty pistachios, featuring a silky smooth chocolate shell wrapped around a rich pistachio paste center. It’s easy to make and perfect for gifting, sharing, or indulging on your own.
Ingredients
200g dark or milk chocolate, finely chopped
100g shelled unsalted pistachios
2 tablespoons maple syrup or honey
1 tablespoon neutral oil (coconut or grapeseed)
1 pinch sea salt
1/2 teaspoon vanilla extract (optional)
2 tablespoons crushed pistachios for garnish
Instructions
1. In a food processor, blend pistachios until a paste forms, scraping the sides as needed.
2. Add maple syrup, oil, and sea salt. Blend until smooth and creamy.
3. Melt two-thirds of the chocolate in a double boiler or heatproof bowl over simmering water.
4. Remove from heat and stir in the remaining third of chocolate to temper it.
5. Spoon a layer of melted chocolate into silicone molds, about 1/3 full.
6. Use a spatula to push chocolate up the sides, forming a shell. Chill until set.
7. Add a layer of pistachio paste into each mold cavity and press to flatten.
8. Cover with remaining melted chocolate, smoothing the surface.
9. Tap the mold gently to remove air bubbles. Chill until fully set.
10. Unmold and garnish with crushed pistachios. Serve or store.
Notes
Store in an airtight container at room temperature for 1 week, refrigerated for 2 weeks, or frozen for up to 2 months. Bring to room temperature before serving for best texture.
- Prep Time: 20 minutes
- Cook Time: 0 minutes
- Category: Dessert
- Method: No-Bake
- Cuisine: Gourmet
Nutrition
- Serving Size: 1 bar (40g)
- Calories: 230
- Sugar: 11g
- Sodium: 30mg
- Fat: 17g
- Saturated Fat: 6g
- Unsaturated Fat: 9g
- Trans Fat: 0g
- Carbohydrates: 18g
- Fiber: 3g
- Protein: 4g
- Cholesterol: 0mg