
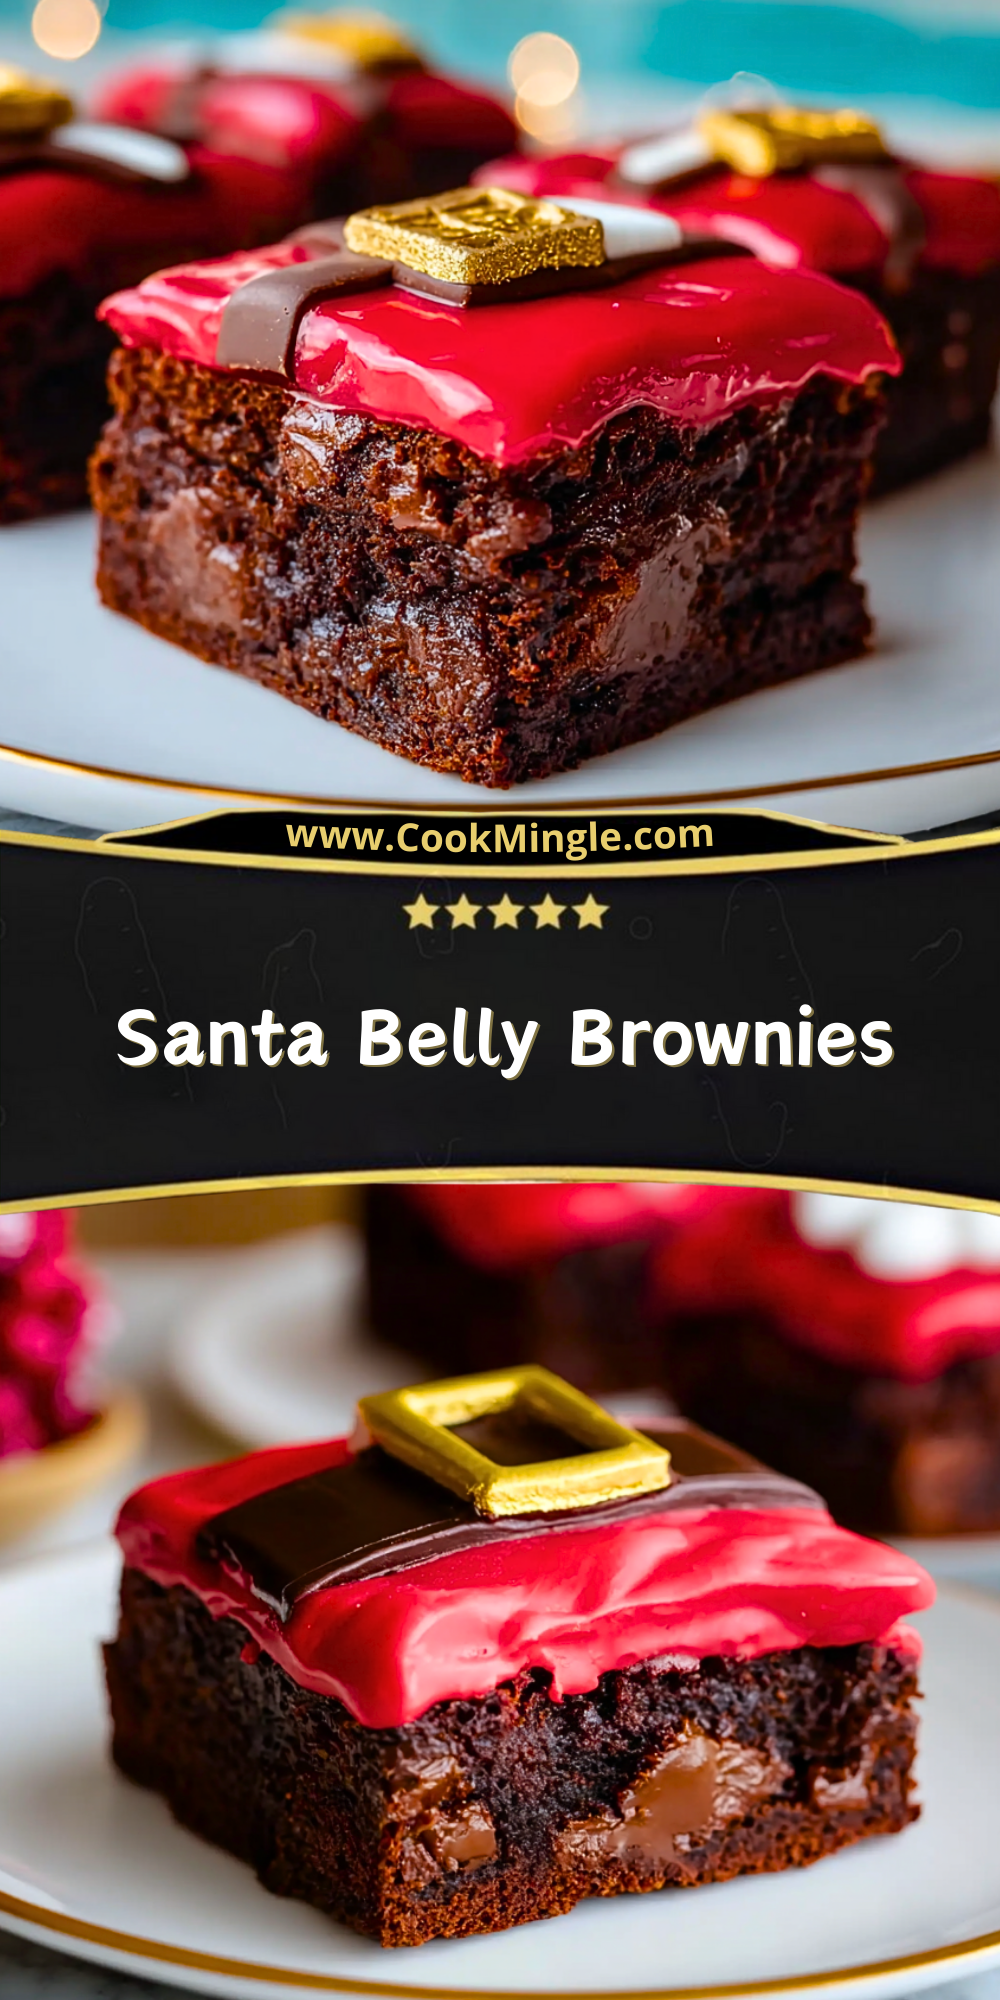
I’ve always loved baking during the holiday season, but there’s something especially magical about whipping up a batch of Santa Belly Brownies. Maybe it’s the festive charm or the way they instantly light up the dessert table, but these adorable treats always bring out smiles. With their deep chocolatey base and eye-catching red glaze topped with a candy Santa belt, they’re almost too cute to eat—almost.
The first time I made them, they were an instant hit at my Christmas party. Not only did they taste incredible, with their rich, fudgy texture and bursts of dark chocolate chunks, but everyone kept asking how I made them look so perfect. Trust me, you don’t need to be a pro to pull these off. With a little patience and the right ingredients, these brownies are a sweet showstopper that even Santa would approve of.
Why You’ll Love These Santa Belly Brownies
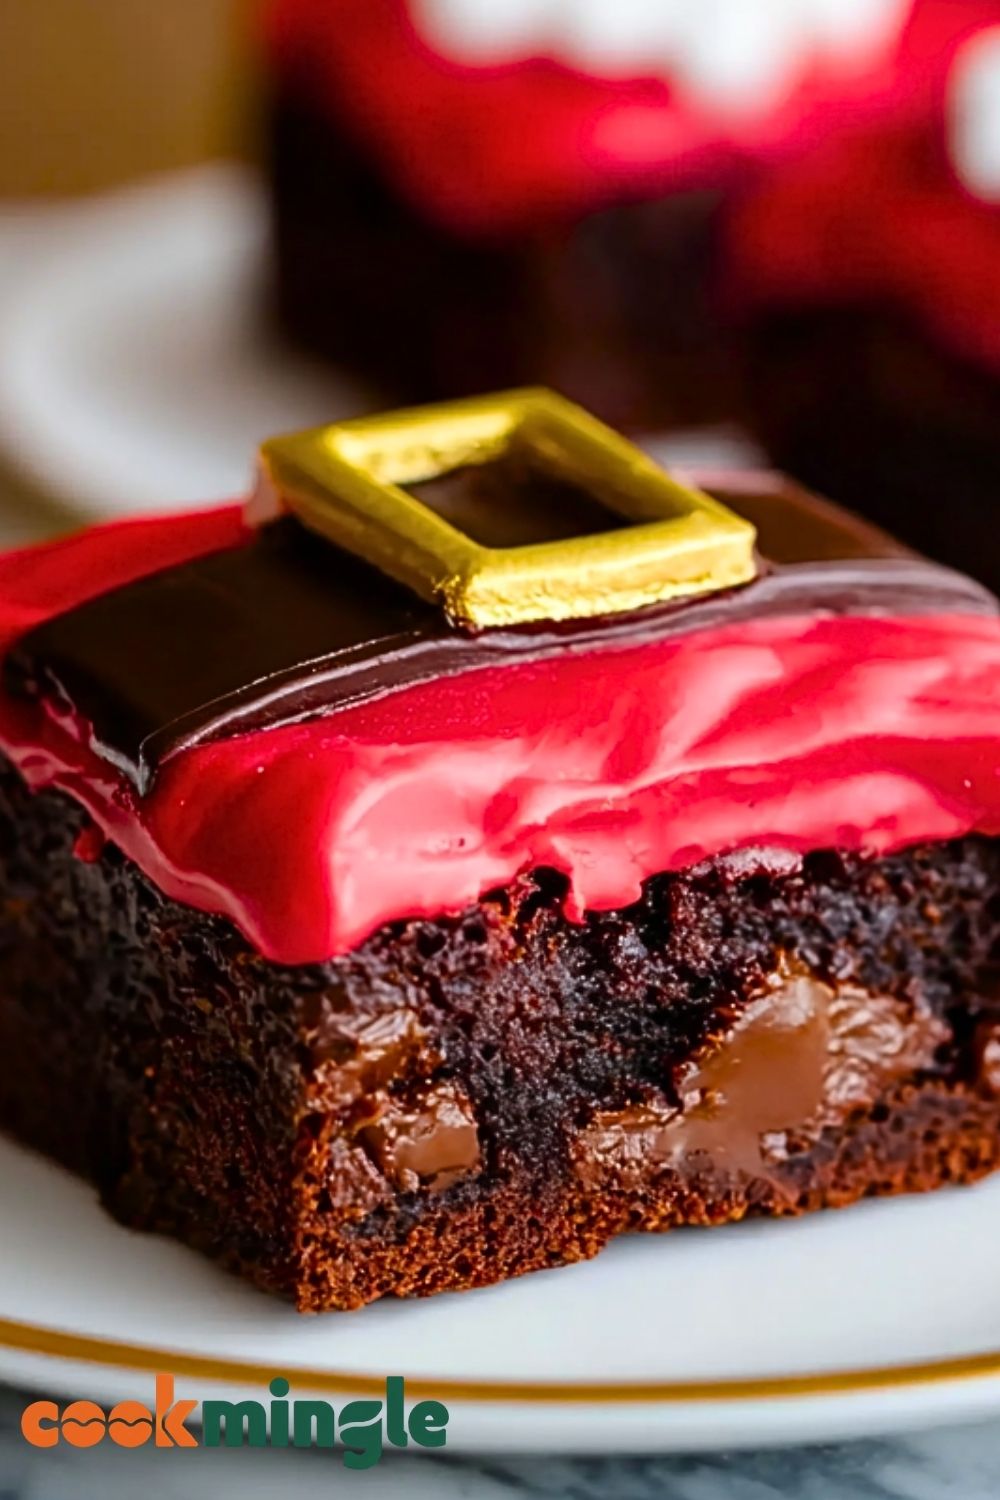
Santa Belly Brownies are the ultimate holiday treat: festive, fun, and ridiculously delicious. You get a chewy, fudgy brownie base packed with chocolate, topped with a glossy red glaze and a decorative candy belt that makes them almost too cute to eat. They’re perfect for cookie swaps, school parties, or just a night in with hot cocoa. Plus, the decorating is fun to do with kids or friends—making them as joyful to make as they are to eat.
What Kind of Brownie Batter Should I Use?
You can use your favorite homemade brownie recipe (I recommend one that leans fudgy rather than cakey) or opt for a high-quality box mix if you’re short on time. The important part is ensuring the brownies are thick enough to hold their shape when cut into squares, so avoid underbaking. Adding chocolate chunks or chips helps create extra richness and texture, which pairs beautifully with the sweet glaze on top.
Options for Substitutions
- Red Glaze: If you’re not into making a mirror glaze, you can substitute it with red-tinted frosting or melted red candy melts for a simpler topping.
- Chocolate Belt: Use a strip of fruit leather or black licorice if you don’t have modeling chocolate on hand.
- Buckle: A yellow candy like a Reese’s piece or fondant shaped into a square works great.
- Brownies: Gluten-free or dairy-free brownie mixes can be used depending on dietary needs.
- Toppings: Add edible glitter, gold sprinkles, or crushed candy cane for extra flair.
Ingredients for These Santa Belly Brownies
- Unsalted Butter: Provides a rich, moist base and helps achieve that perfect fudgy texture.
- Granulated Sugar: Sweetens the brownies and helps create the shiny top crust.
- Brown Sugar: Adds depth of flavor and extra moisture.
- Eggs: Binds the ingredients and gives the brownies structure.
- Vanilla Extract: Enhances the chocolate flavor.
- All-Purpose Flour: Gives the brownies their shape while keeping them soft.
- Unsweetened Cocoa Powder: Provides deep chocolate flavor—use high-quality cocoa.
- Salt: Balances the sweetness and enhances flavor.
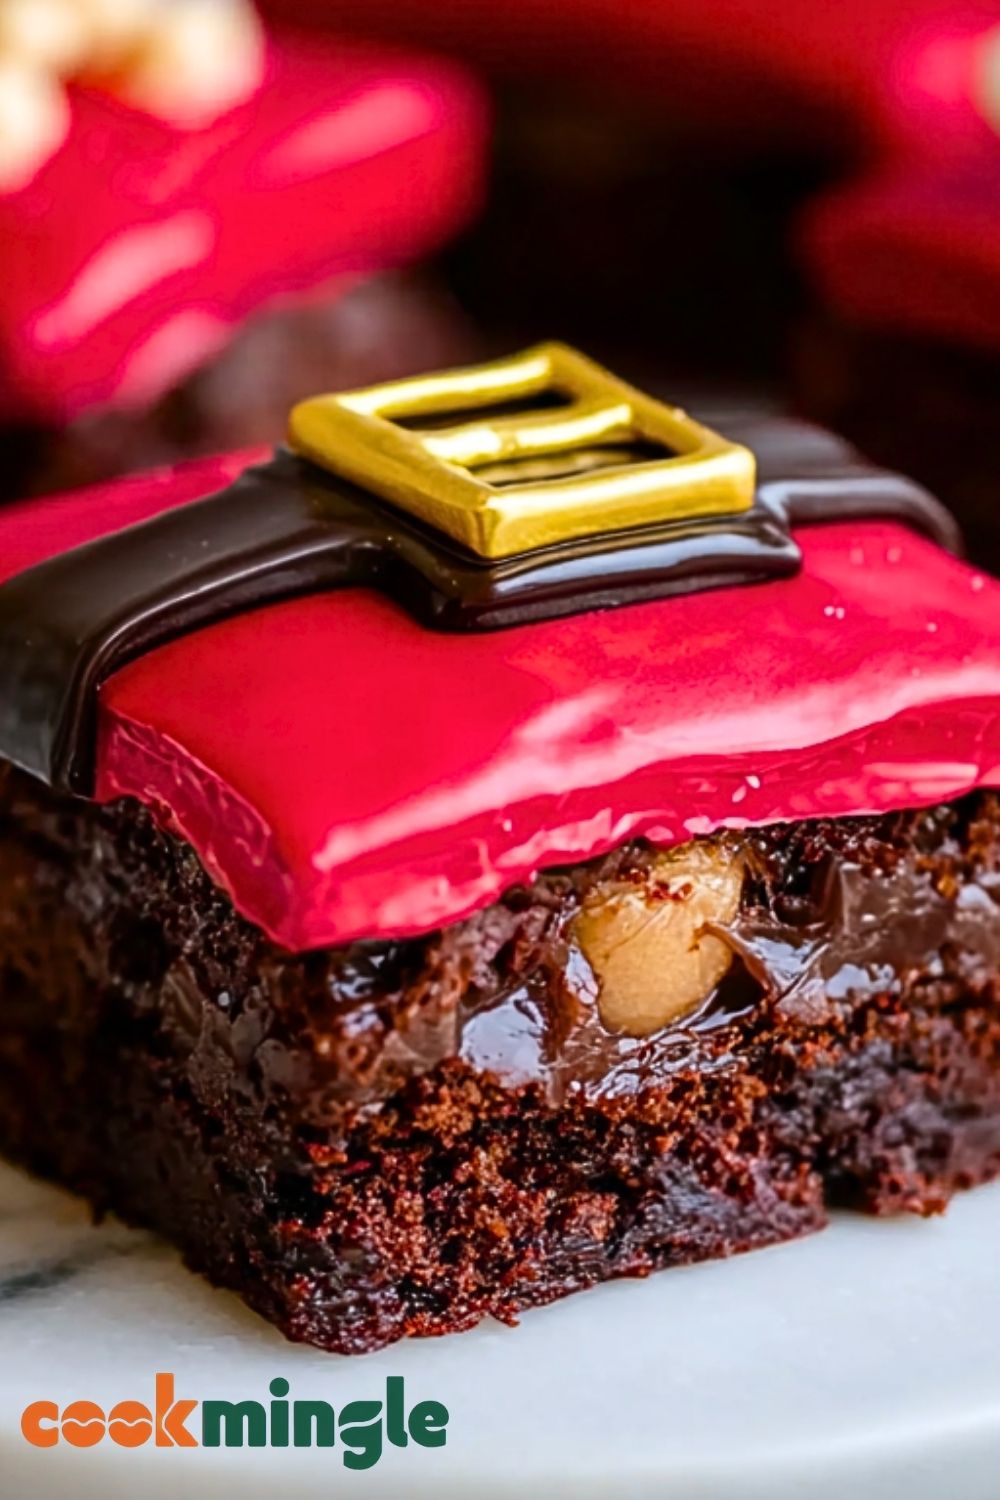
- Dark Chocolate Chunks or Chips: Melty pockets of chocolate make the brownies extra indulgent.
- Red Mirror Glaze or Red Candy Melts: For the festive red topping that makes the brownies stand out.
- Modeling Chocolate or Licorice Strips: Used to create Santa’s belt.
- Yellow Fondant or Candy Buckles: To mimic Santa’s belt buckle.
- Gold Sprinkles or Edible Glitter (Optional): Adds sparkle and a festive touch.
Step 1: Make the Brownie Batter
In a saucepan, melt the butter over medium heat. Once melted, stir in the granulated and brown sugar until well combined. Remove from heat and let cool slightly before whisking in the eggs and vanilla. In a separate bowl, whisk together the flour, cocoa powder, and salt, then gently mix into the wet ingredients. Fold in the dark chocolate chunks.
Step 2: Bake the Brownies
Preheat your oven to 350°F (175°C). Line an 8×8-inch baking pan with parchment paper. Pour the brownie batter into the pan and spread evenly. Bake for 30–35 minutes or until a toothpick inserted in the center comes out with a few moist crumbs. Let the brownies cool completely in the pan.
Step 3: Prepare the Red Topping
If using a red mirror glaze, follow the package instructions or prepare it in advance to allow proper cooling. Alternatively, melt red candy melts until smooth and pourable. Let the glaze cool slightly so it thickens enough to sit on the brownies without running.
Step 4: Cut and Glaze the Brownies
Once cooled, lift the brownies out of the pan and cut into squares. Pour the red glaze over each square, allowing it to drip slightly down the sides for an even coat. Let the glaze set until it firms up.
Step 5: Decorate with Santa Belts
Roll out modeling chocolate or use licorice to form thin strips. Place one strip across the top of each glazed brownie as Santa’s belt. For the buckle, use a small square of yellow fondant or a yellow candy, and press gently into the center of the belt. Add gold sprinkles or glitter if desired for extra flair.
Step 6: Let Everything Set
Allow the decorated brownies to sit for at least 30 minutes or until all decorations are firmly in place. You can refrigerate them briefly if needed, but bring them back to room temperature before serving for the best texture.
How Long to Prepare the Santa Belly Brownies
Preparation Time:
Mixing the batter and prepping your ingredients will take about 15–20 minutes. This includes melting the butter, mixing your sugars, and folding in the chocolate chunks. You’ll also need an extra 10 minutes if you’re making your own red glaze.
Baking & Decorating Time:
The brownies take approximately 30–35 minutes to bake. Cooling time is around 1 hour (essential for clean cuts and smooth glazing). Decorating, including glazing and crafting the belts, adds another 30–40 minutes. In total, set aside about 2.5 hours from start to finish, especially if you’re making everything from scratch.
Tips for Perfect Santa Belly Brownies
- Use room-temperature eggs to ensure the batter mixes smoothly.
- Don’t overmix once the flour goes in—this keeps the brownies tender.
- Line your pan with parchment for easy lifting and neat edges.
- Let brownies cool completely before cutting or glazing to prevent a melted mess.
- A serrated knife or plastic knife gives the cleanest cuts.
Watch Out for These Mistakes While Cooking
- Rushing the cooling: Pouring glaze on warm brownies will make it run and lose its shine.
- Overbaking: Fudgy brownies can turn dry quickly—check early and remove once the center is just set.
- Using watery glaze: Let it thicken before pouring to prevent a sloppy finish.
- Skimping on the decorations: The belt and buckle are what sell the look—don’t leave them out!
- Cutting unevenly: Use a ruler if needed to ensure consistent square shapes.
What to Serve With Santa Belly Brownies?
1. Hot Cocoa with Marshmallows
The cozy pairing of rich brownies and warm cocoa is a winter classic.
2. Peppermint Ice Cream
Adds a refreshing, seasonal contrast to the dense chocolate.
3. Fresh Berries
Balances the sweetness and gives a festive pop of color.
4. Spiced Apple Cider
The warm spices in cider enhance the holiday feel of the dessert.
5. Whipped Cream with Crushed Candy Cane
Top each brownie with a swirl and a sprinkle for extra holiday cheer.
Storage Instructions
Room Temperature:
If your kitchen is cool and dry, store the brownies in an airtight container for up to 3 days. Place parchment between layers to prevent sticking.
Refrigerated:
Refrigerate in a sealed container for up to 5 days. Let them come to room temperature before serving for best texture and flavor.
Freezer:
Undecorated brownies can be frozen for up to 2 months. Wrap tightly in plastic wrap and foil. Add glaze and decorations after thawing to maintain visual appeal.
Estimated Nutrition (Per Serving – 1 brownie)
- Calories: 310
- Total Fat: 16g
- Saturated Fat: 9g
- Carbohydrates: 40g
- Sugar: 28g
- Protein: 3g
- Fiber: 2g
- Sodium: 120mg
- Cholesterol: 45mg
Frequently Asked Questions
How do I get the glaze to shine like in the photo?
Let the mirror glaze cool to around 90°F before pouring. This temperature ensures a glossy finish that clings to the brownie.
Can I make these brownies ahead of time?
Yes! You can bake and cut the brownies a day ahead. Glaze and decorate the day you plan to serve them for the best appearance.
What’s the best way to cut brownies cleanly?
Use a warm, sharp knife (wipe it between cuts) or a plastic knife, which surprisingly works very well.
Can I make these gluten-free?
Absolutely. Use your favorite gluten-free brownie mix and ensure any toppings or decorations are certified gluten-free.
Do I need special tools to decorate them?
Not at all. A small offset spatula or spoon works for glazing, and the belts can be crafted by hand. A little creativity goes a long way!
Conclusion
Santa Belly Brownies are more than just a dessert—they’re a festive experience! From their chewy chocolate base to the charming Santa belt decor, they’re guaranteed to be the star of your holiday spread. Whether you’re baking with kids, prepping for a party, or just want to treat yourself, this recipe brings a delightful mix of fun and flavor. So grab your apron and get ready to make a batch that’ll sleigh at any celebration.
Santa Belly Brownies
- Total Time: 2 hours 30 minutes
- Yield: 16 brownies
Description
These Santa Belly Brownies are the ultimate holiday dessert—fun to make, rich and chocolatey, and topped with a festive red glaze that steals the spotlight. With a fudgy brownie base and Santa’s iconic belt crafted from candy, these treats are perfect for cookie swaps, holiday parties, or a creative family baking night. Whether you’re looking for a fun food idea, an easy recipe for a Christmas treat, or just need new dessert or snack inspiration, these brownies will check every box. They’re a delightful blend of visual appeal and decadent flavor, making them a must-try for your next winter gathering.
Ingredients
1 cup unsalted butter
1 cup granulated sugar
1/2 cup brown sugar
3 large eggs
1 teaspoon vanilla extract
3/4 cup all-purpose flour
1/2 cup unsweetened cocoa powder
1/2 teaspoon salt
1 cup dark chocolate chunks or chips
1 cup red mirror glaze or melted red candy melts
1/4 cup modeling chocolate or licorice strips
1/4 cup yellow fondant or candy buckles
1 tablespoon gold sprinkles or edible glitter (optional)
Instructions
1. Melt butter in a saucepan over medium heat. Stir in granulated and brown sugar until dissolved. Let cool slightly.
2. Whisk in eggs and vanilla until smooth.
3. In a separate bowl, mix flour, cocoa powder, and salt. Combine with the wet ingredients.
4. Fold in chocolate chunks.
5. Preheat oven to 350°F (175°C) and line an 8×8-inch pan with parchment paper.
6. Pour batter into the pan, spread evenly, and bake for 30–35 minutes.
7. Let the brownies cool completely in the pan—about 1 hour.
8. If using mirror glaze, let it cool to about 90°F. If using candy melts, melt and let slightly thicken.
9. Lift brownies out and cut into squares once cooled.
10. Pour red glaze over each square, letting it drip slightly over edges.
11. Form belts with modeling chocolate or licorice strips and place across the top.
12. Add a yellow fondant buckle or candy buckle to the center of each belt.
13. Sprinkle gold glitter if using.
14. Let the decorations set at room temperature for 30 minutes before serving.
Notes
For clean cuts, use a serrated or plastic knife and wipe between each slice.
Let the brownies cool fully before decorating to avoid melting the glaze.
Mirror glaze works best when cooled to about 90°F for a shiny finish.
- Prep Time: 20 minutes
- Cook Time: 35 minutes
- Category: Dessert
- Method: Baking
- Cuisine: American
Nutrition
- Serving Size: 1 brownie
- Calories: 310
- Sugar: 28g
- Sodium: 120mg
- Fat: 16g
- Saturated Fat: 9g
- Carbohydrates: 40g
- Fiber: 2g
- Protein: 3g
- Cholesterol: 45mg