
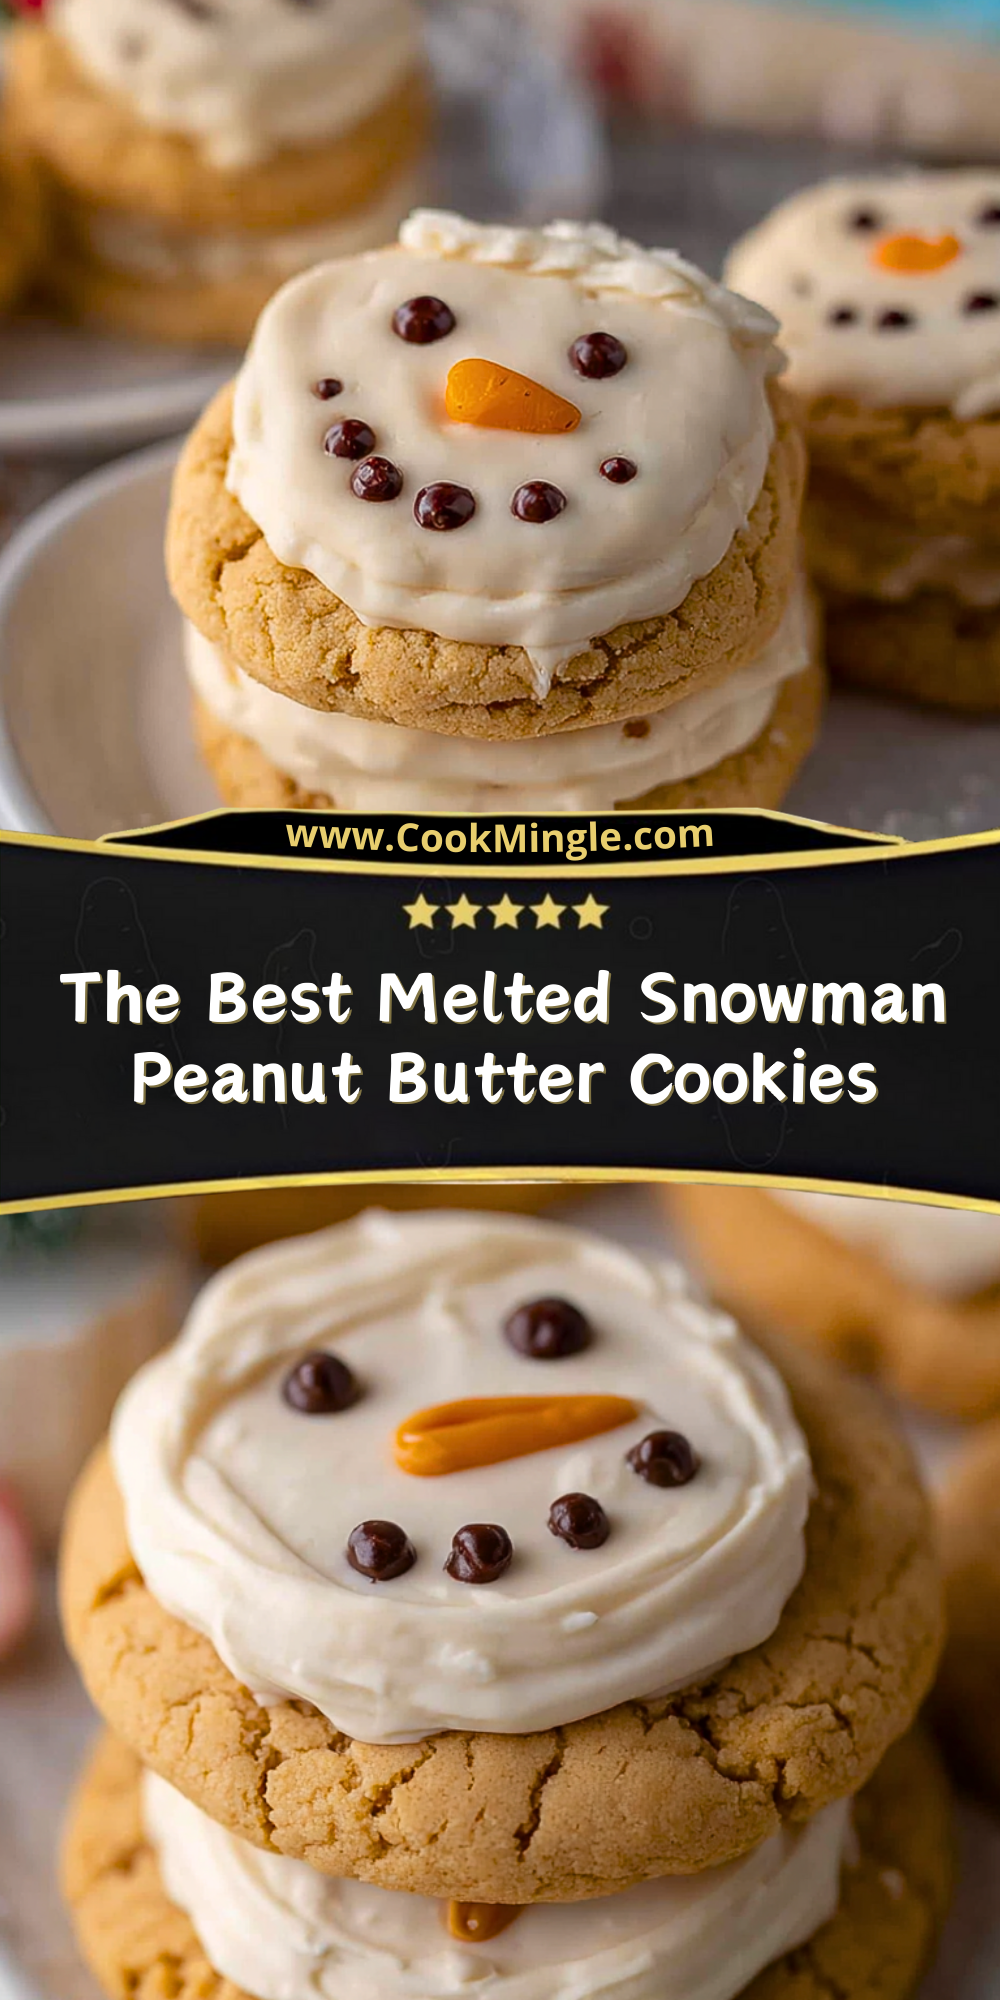
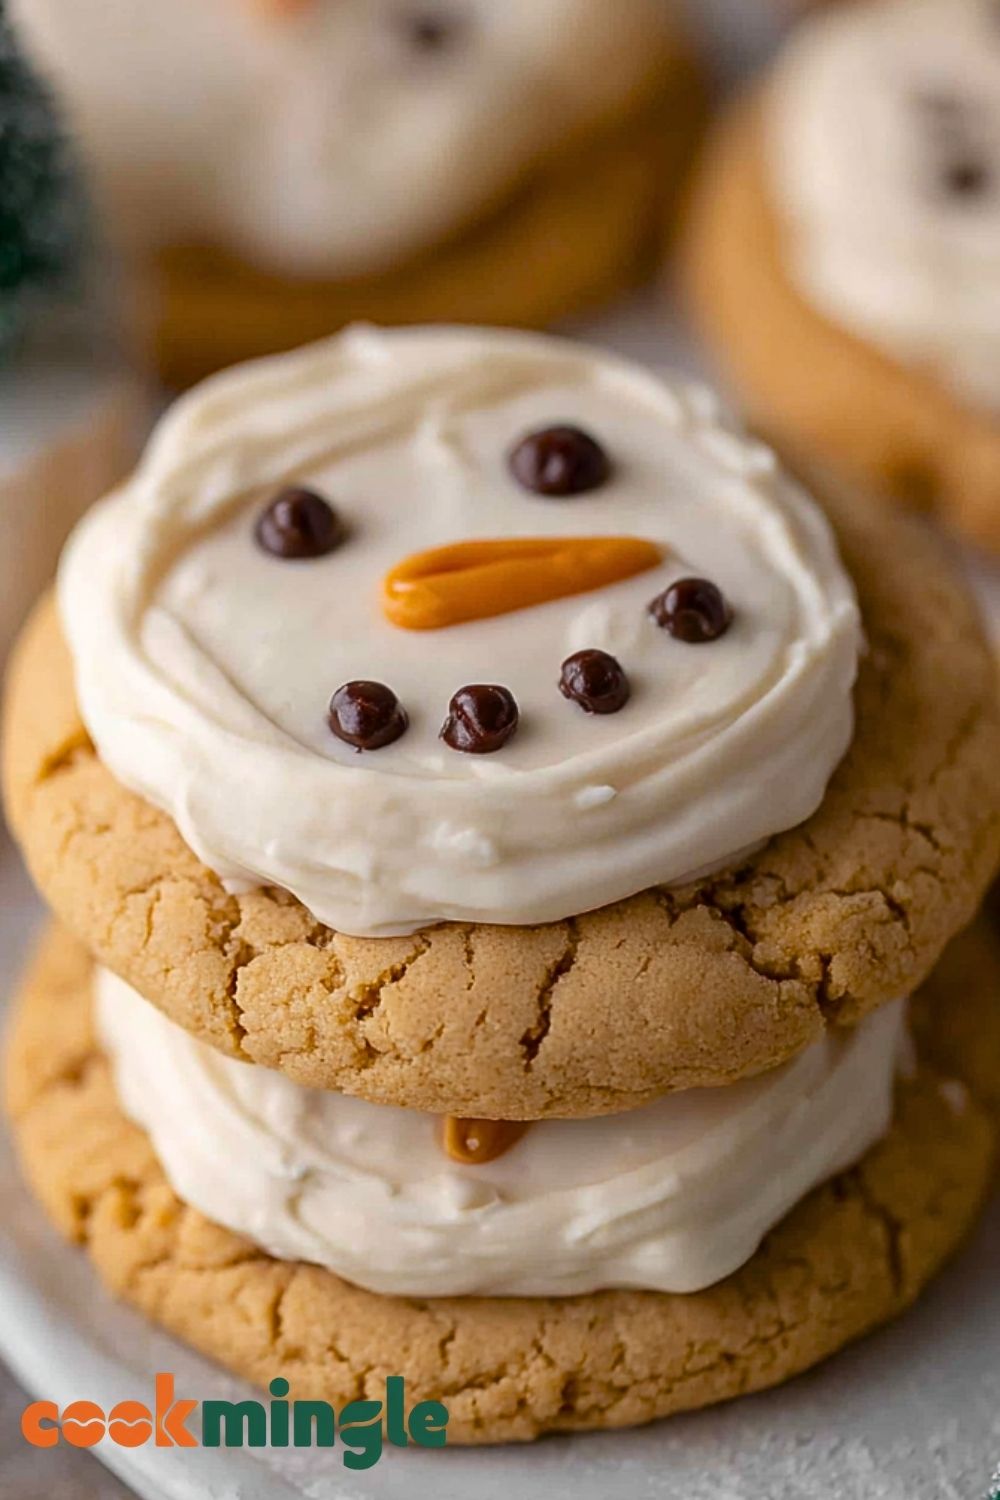
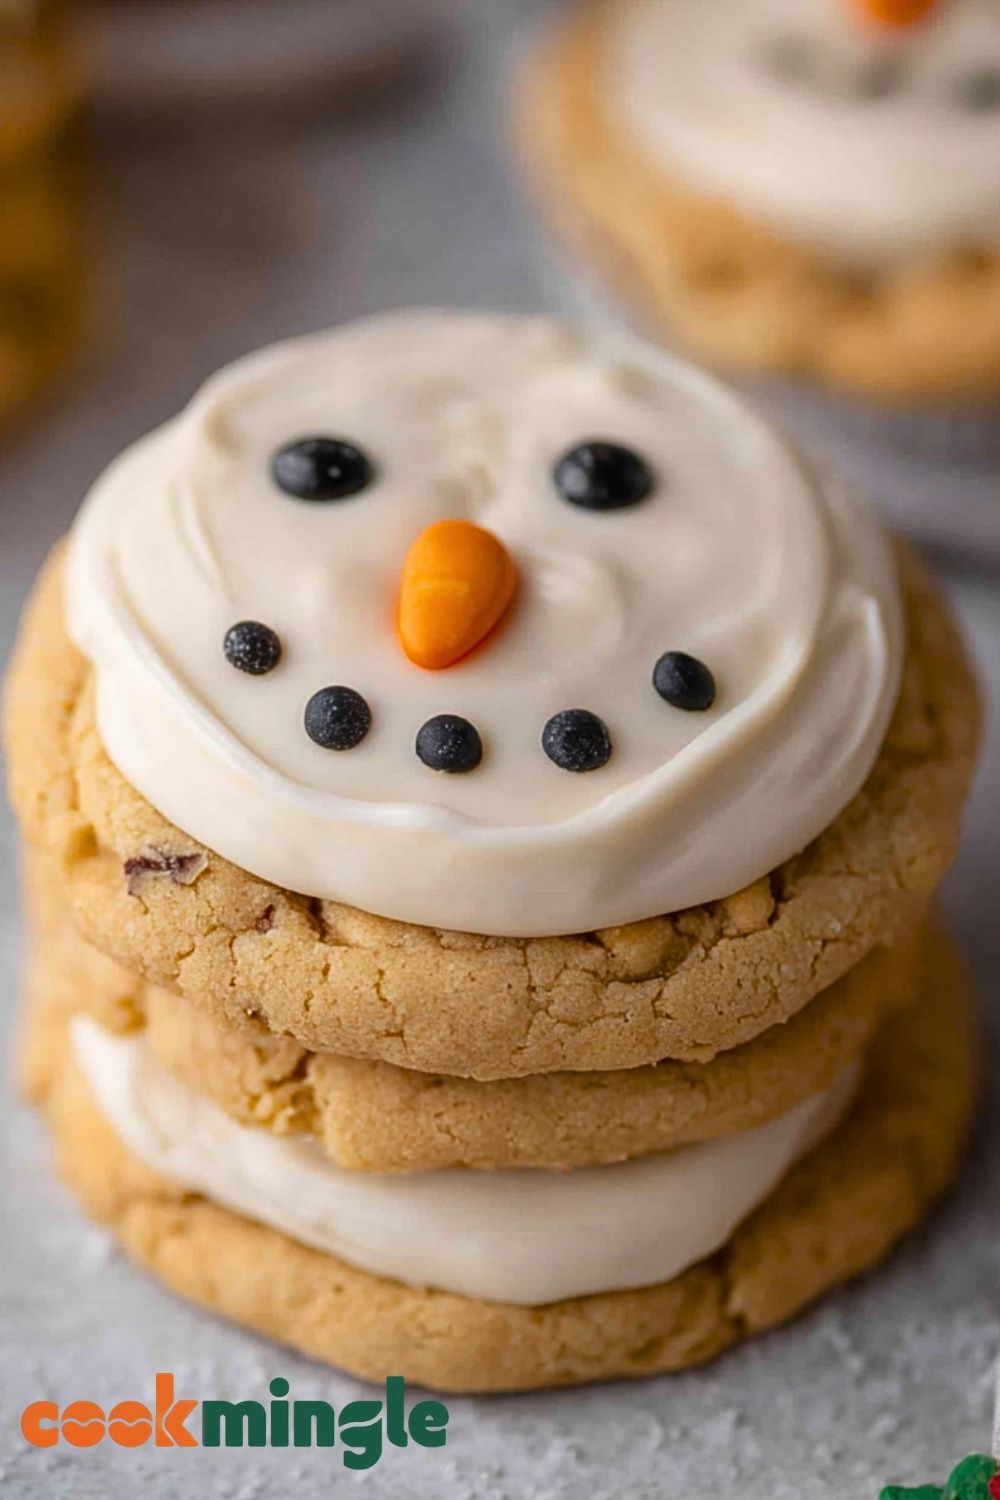
These Melted Snowman Peanut Butter Cookies are as festive as they are delicious. Each bite delivers the rich, nutty warmth of classic peanut butter cookies, topped with a playful melted snowman made of sweet vanilla frosting and candy accents. They’re a whimsical holiday treat perfect for cookie exchanges, kids’ parties, or cozy winter baking sessions. The combination of soft, chewy peanut butter cookie and creamy, decorative frosting turns a simple cookie into a seasonal showstopper.
What makes these cookies even better is how fun and customizable they are. Whether you’re decorating them with kids or preparing a cute holiday dessert tray, these cookies add charm and flavor to the celebration. You don’t have to be an artist to make each snowman face come to life—they’re meant to look adorably melty and imperfect, just like the magic of winter.
Why You’ll Love This Melted Snowman Peanut Butter Cookies Recipe
- A perfect balance of nutty flavor and sweet icing.
- Kid-friendly and fun to decorate.
- A holiday hit for parties and gifts.
- Simple ingredients with a big visual payoff.
- Soft, chewy texture that’s always a crowd-pleaser.
Preparation Phase & Tools to Use (Essential Tools and Equipment)
To create these cookies with ease and precision, gather these essential tools:
- Mixing Bowls: For creaming together the cookie dough ingredients.
- Electric Mixer: Helps achieve a smooth, fluffy peanut butter dough.
- Baking Sheet + Parchment Paper: Prevents sticking and ensures even baking.
- Cooling Rack: Cools the cookies evenly after baking.
- Offset Spatula or Spoon: Spreads the melted white chocolate or frosting cleanly.
- Piping Bags or Squeeze Bottles: Crucial for decorating snowman faces with precision.
- Round Cookie Cutter or Ice Cream Scoop: Keeps your cookies uniform in size for a neat presentation.
Each tool adds efficiency to your baking process, making prep, baking, and decorating smoother and more enjoyable.
Preparation Tips
For best results, make sure your butter is softened—not melted—before creaming it with the sugar and peanut butter. This helps create that perfect soft and chewy texture. Chill the dough for about 30 minutes if it feels too sticky to scoop easily, especially if your kitchen is warm. When decorating, allow cookies to cool completely so the icing doesn’t melt or run. And remember, perfection isn’t the goal with these snowmen—let their unique expressions shine for extra character!
Ingredients for The Best Melted Snowman Peanut Butter Cookies
For the Peanut Butter Cookies:
- 1/2 cup unsalted butter, softened
- 1/2 cup creamy peanut butter
- 1/2 cup granulated sugar
- 1/2 cup packed brown sugar
- 1 large egg
- 1/2 teaspoon vanilla extract
- 1 1/4 cups all-purpose flour
- 3/4 teaspoon baking soda
- 1/2 teaspoon baking powder
- 1/4 teaspoon salt
For the Decorations:
- 12 large marshmallows (one per cookie)
- 1 1/2 cups white melting chocolate or vanilla candy melts
- Black decorating gel or melted dark chocolate (for eyes, mouth, and buttons)
- Orange decorating gel or candy (for the snowman noses)
- Optional: Mini chocolate chips, candy eyes, or sprinkles for added detail
Step 1: Make the Cookie Dough
In a large mixing bowl, cream together the softened butter, peanut butter, granulated sugar, and brown sugar until light and fluffy. Add in the egg and vanilla extract and mix well until combined.
Step 2: Combine Dry Ingredients
In a separate bowl, whisk together the flour, baking soda, baking powder, and salt. Slowly add the dry mixture to the wet ingredients, stirring until a soft dough forms.
Step 3: Scoop and Bake
Preheat the oven to 350°F (175°C). Line a baking sheet with parchment paper. Scoop out tablespoon-sized balls of dough and place them 2 inches apart. Bake for 10-12 minutes, or until the edges are golden and the centers are just set. Let them cool on the baking sheet for 5 minutes before transferring to a wire rack.
Step 4: Prepare the Marshmallows
While the cookies are cooling, cut each marshmallow in half widthwise. Place the cut side down on a microwave-safe plate. Microwave for about 5-8 seconds until slightly puffed but not melted. Immediately transfer one onto each cookie to resemble a melted snowman head.
Step 5: Add the Melting Effect
Melt the white chocolate or candy melts according to package instructions. Spoon a generous amount over each marshmallow, letting it drip slightly over the cookie edges for the melted snow look. Let the coating set slightly before decorating.
Step 6: Decorate the Snowman Faces
Using black decorating gel or melted dark chocolate, add two dots for eyes and a curved smile. Use orange gel for the nose. Finish by adding three buttons down the cookie or sprinkle with candy eyes or chips for extra personality.
Step 7: Let Them Set Completely
Allow the cookies to sit at room temperature or refrigerate briefly until the chocolate topping and decorations are completely set and firm to the touch. Once set, your adorable melted snowman cookies are ready to enjoy or gift!
Notes
For a soft, chewy cookie texture, do not overbake—cookies should look slightly underdone when removed from the oven. The white chocolate coating adds both decoration and sweetness, balancing the savory notes of peanut butter perfectly. If decorating with kids, prep all the tools and candies beforehand to keep things fun and stress-free.
Watch Out for These Mistakes While Cooking
- Overbaking the cookies: They will firm up as they cool, so take them out when they look slightly soft.
- Melting marshmallows too long: Just a few seconds is enough. Overheating can cause a sticky mess.
- Decorating before the icing sets: Wait until the melted chocolate starts to firm slightly so decorations stay in place.
- Not letting cookies cool before icing: Warm cookies can cause the white chocolate to slide off.
- Using too much icing: A little goes a long way. Excess may cover too much detail.
Storage Instructions
Store the finished cookies in a single layer or with parchment between layers in an airtight container at room temperature for up to 4 days. For longer storage, refrigerate for up to a week, but bring them to room temperature before serving. You can also freeze the baked cookies (undecorated) for up to 2 months, then thaw and decorate when ready.
Estimated Nutrition (per cookie, approx.)
- Calories: 220
- Total Fat: 11g
- Saturated Fat: 4g
- Unsaturated Fat: 6g
- Trans Fat: 0g
- Cholesterol: 20mg
- Sodium: 150mg
- Carbohydrates: 27g
- Fiber: 1g
- Sugar: 17g
- Protein: 4g
Frequently Asked Questions
How do I keep the marshmallows from melting too much?
Microwave them for just 5-8 seconds—just enough to puff slightly without losing their shape.
Can I use natural peanut butter?
Natural peanut butter tends to separate and makes the dough oily. Stick with a standard creamy peanut butter for best results.
Can I make these ahead of time?
Yes! You can bake the cookies a day in advance and decorate them the next day. Just store them in an airtight container.
Can I freeze the decorated cookies?
Freezing with decorations isn’t recommended as the chocolate may discolor or crack. Freeze the plain cookies instead.
What can I use instead of decorating gel?
You can melt chocolate and use a piping bag or even a zip-top bag with a tiny corner cut off for precision.
How many cookies does this recipe make?
This recipe yields about 12 cookies, depending on the size of your scoop.
What kind of white chocolate should I use?
White candy melts or high-quality white chocolate chips work best for a smooth melted look.
Can I make these without peanut butter?
Yes, you can substitute a sugar cookie or snickerdoodle base if there’s a peanut allergy.
Conclusion
These Melted Snowman Peanut Butter Cookies are the perfect blend of whimsy and flavor, capturing the holiday spirit in every bite. Easy to make, delightful to decorate, and absolutely adorable, they’re sure to become a seasonal favorite for families, parties, and cookie exchanges. With just a bit of prep and creativity, you’ll have a batch of cookies that both taste amazing and bring smiles to everyone’s face.
The Best Melted Snowman Peanut Butter Cookies
- Total Time: 32 minutes
- Yield: 12 cookies
- Diet: Vegetarian
Description
Bring magic to your holiday table with these adorable and delicious Melted Snowman Peanut Butter Cookies! Perfect for festive cookie trays, school parties, or fun baking days with the kids, this easy recipe combines soft, chewy peanut butter cookies with a creative snowy twist. Each snowman melts charmingly across the top of the cookie, complete with expressive faces made from icing and candy. Whether you’re searching for holiday baking ideas, a cute Christmas cookie project, or a winter treat that’s both tasty and fun, this is the perfect easy recipe to make your season brighter.
Ingredients
0.5 cup unsalted butter, softened
0.5 cup creamy peanut butter
0.5 cup granulated sugar
0.5 cup packed brown sugar
1 large egg
0.5 teaspoon vanilla extract
1.25 cups all-purpose flour
0.75 teaspoon baking soda
0.5 teaspoon baking powder
0.25 teaspoon salt
12 large marshmallows
1.5 cups white melting chocolate or vanilla candy melts
black decorating gel or melted dark chocolate
orange decorating gel or candy
optional: mini chocolate chips, candy eyes, or sprinkles
Instructions
1. In a large mixing bowl, cream together the softened butter, peanut butter, granulated sugar, and brown sugar until light and fluffy. Add in the egg and vanilla extract and mix well until combined.
2. In a separate bowl, whisk together the flour, baking soda, baking powder, and salt. Slowly add the dry mixture to the wet ingredients, stirring until a soft dough forms.
3. Preheat the oven to 350°F (175°C). Line a baking sheet with parchment paper. Scoop out tablespoon-sized balls of dough and place them 2 inches apart. Bake for 10-12 minutes. Let them cool on the baking sheet for 5 minutes before transferring to a wire rack.
4. While cookies are cooling, cut each marshmallow in half widthwise. Place cut side down on a microwave-safe plate. Microwave for 5-8 seconds until puffed but not melted. Place one marshmallow on each cookie.
5. Melt white chocolate or candy melts according to package instructions. Spoon a generous amount over each marshmallow, letting it drip for a melted effect.
6. Decorate using black gel or melted chocolate for eyes, smile, and buttons. Add orange gel for the nose. Use candy eyes or sprinkles for extra personality.
7. Let the cookies sit at room temperature or refrigerate until the topping and decorations are completely set.
Notes
Don’t overbake—the cookies will continue to cook slightly after removal from the oven.
Prep all decorating items beforehand to make assembly smooth and fun.
For perfect shapes, use a cookie scoop to ensure uniformity and even baking.
- Prep Time: 20 minutes
- Cook Time: 12 minutes
- Category: Dessert
- Method: Baking
- Cuisine: American
Nutrition
- Serving Size: 1 cookie
- Calories: 220
- Sugar: 17g
- Sodium: 150mg
- Fat: 11g
- Saturated Fat: 4g
- Unsaturated Fat: 6g
- Trans Fat: 0g
- Carbohydrates: 27g
- Fiber: 1g
- Protein: 4g
- Cholesterol: 20mg