

If you’re searching for a silky-smooth, old-fashioned frosting that doesn’t rely on powdered sugar, let me introduce you to Vintage Ermine Frosting. I fell in love with this recipe the first time I made it—its light, creamy texture and subtle sweetness reminded me of the kind of frosting you’d find in a vintage bakery, not overly sweet or dense, just beautifully balanced. It’s the perfect complement to a rich chocolate cake or a classic red velvet.
What makes Ermine Frosting so special is its unique preparation method. Unlike typical buttercreams, this one starts with a cooked flour and milk base, which is then whipped into butter to create a dreamy, cloud-like frosting. It might sound a little unconventional at first, but once you try it, you’ll understand why this frosting has stood the test of time.
Why You’ll Love This Vintage Ermine Frosting
This frosting is unlike anything you’ll find in a can. It’s incredibly smooth, holds its shape beautifully for piping, and most importantly—it’s not cloyingly sweet. The subtle vanilla flavor enhances any cake it’s paired with, rather than overpowering it. It’s also stable at room temperature for a good while, making it great for layer cakes and decorated cupcakes alike.
What Makes Ermine Frosting Different from Other Frostings?
Ermine frosting (also known as boiled milk frosting or flour frosting) doesn’t use powdered sugar at all. Instead, you cook a milk and flour mixture until thickened, cool it completely, and then whip it into butter. The result is an ultra-smooth, custard-like texture that’s lighter and less greasy than traditional buttercream. It’s a fantastic choice for anyone who prefers a refined, less sugary frosting.
Options for Substitutions
If you need to adapt the frosting for dietary preferences or ingredient availability, here are a few options:
- Dairy-Free: Substitute the whole milk with an unsweetened non-dairy milk like oat or almond. Make sure it’s unflavored.
- Vegan: Use vegan butter sticks in place of regular butter and pair with plant-based milk.
- Gluten-Free: You can replace the all-purpose flour with a 1:1 gluten-free flour blend. Just be sure to cook it until thickened.
- Flavor Variations: Add citrus zest, cocoa powder, espresso powder, or a flavored extract (almond, peppermint, etc.) to create custom versions of the frosting.
Ingredients for this Vintage Ermine Frosting
- Whole Milk – This is the base of the frosting and creates the creamy consistency. Whole milk is preferred for richness, but 2% can work if needed.
- All-Purpose Flour – Used to thicken the milk mixture into a roux-like paste. It’s the secret to the frosting’s signature smoothness.
- Granulated Sugar – Unlike powdered sugar, this is creamed into the butter for a smoother texture and milder sweetness.
- Unsalted Butter – The body and richness of the frosting come from high-quality unsalted butter. It’s crucial that the butter is at room temperature.
- Vanilla Extract – Adds classic flavor. Use pure vanilla extract for best results.
- Salt – Just a pinch enhances the overall flavor and balances the sweetness.
Step 1: Cook the Milk and Flour
In a saucepan over medium heat, whisk together the flour and milk until no lumps remain. Stir constantly until the mixture thickens into a smooth, pudding-like consistency. This should take about 5–7 minutes. Remove from heat and let it cool completely. You can cover the surface with plastic wrap to prevent a skin from forming.
Step 2: Cream the Butter and Sugar
While the milk mixture is cooling, beat the butter and granulated sugar in a stand mixer using the paddle attachment. Mix on high for about 5–7 minutes until the mixture is light, fluffy, and the sugar is mostly dissolved. Don’t rush this step—it’s key to a smooth frosting.
Step 3: Combine the Mixtures
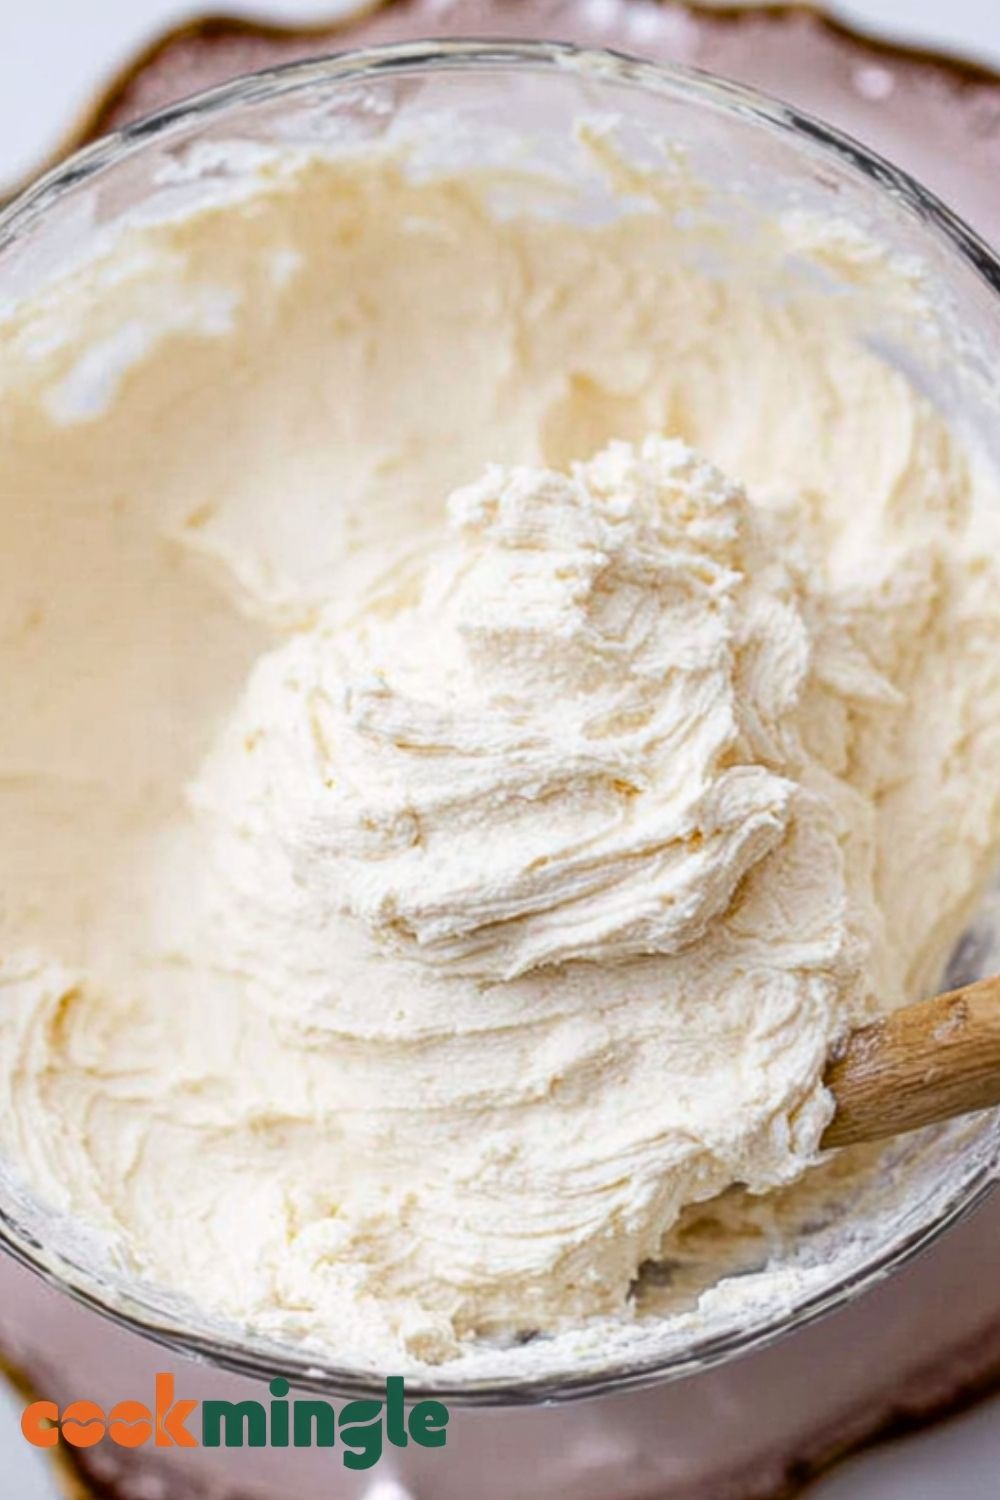
Once the milk-flour mixture has completely cooled to room temperature, add it to the creamed butter and sugar one tablespoon at a time. Beat continuously as you add. This slow integration helps prevent curdling and ensures a silky texture.
Step 4: Add Vanilla and Salt
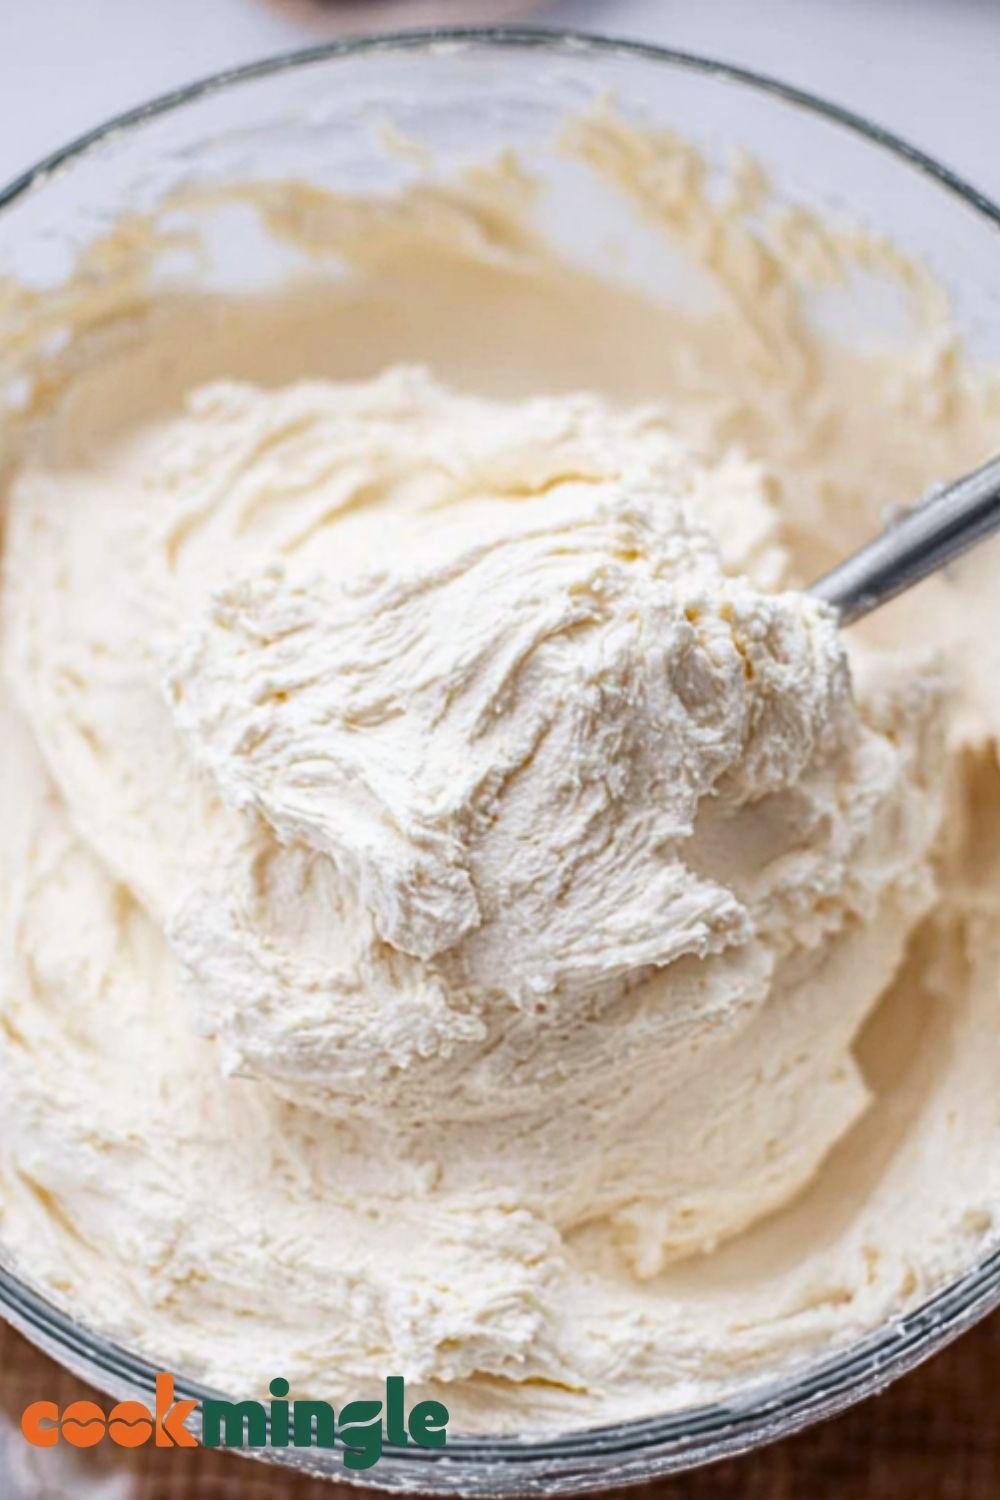
Pour in the vanilla extract and a pinch of salt. Continue beating until everything is fully incorporated and the frosting is billowy, light, and spreadable. It should hold soft peaks and be smooth to the touch.
Step 5: Chill if Necessary
If your kitchen is warm or the frosting feels too soft to pipe or spread cleanly, pop it in the fridge for 10–15 minutes. Re-whip briefly before using if needed.
How Long to Prepare the Vintage Ermine Frosting
The total time to make Ermine Frosting is around 25–35 minutes, but it’s broken down into key steps that each play an important role in the final result.
Cooking the Flour Mixture: This step takes about 7–10 minutes. You’ll need to constantly whisk the milk and flour until it thickens into a custard-like consistency. Cooling this mixture completely can take 15–20 minutes depending on your room temperature (you can speed this up by placing the saucepan in a bowl of ice water).
Beating and Combining: Creaming the butter and sugar takes 5–7 minutes. Then you’ll slowly beat in the cooled milk mixture, add the vanilla and salt, and whip it all together—about another 5 minutes. If the frosting needs chilling, allow an additional 10–15 minutes.
Tips for Perfect Ermine Frosting
- Cool Completely: The milk/flour mixture must be fully cooled before mixing it with butter, or the frosting will separate.
- Beat Butter Well: Properly creaming the butter and sugar gives you a fluffy texture—don’t cut corners here.
- Use Room Temperature Ingredients: This ensures everything combines smoothly without clumping.
- Strain the Milk Mixture: If you notice lumps, strain the cooked mixture before cooling for ultra-smooth results.
- Flavor Creatively: Add lemon zest, espresso powder, or cocoa for subtle variations.
Watch Out for These Mistakes While Cooking
- Not Cooling the Roux: Warm flour-milk mixture can melt the butter and ruin the frosting.
- Undermixing: The sugar must be fully incorporated into the butter, or your frosting may feel gritty.
- Overheating: Cooking the milk/flour mixture on high heat can cause burning or clumping—go low and slow.
- Skipping the Chill: If your frosting is too soft, chilling is necessary before piping.
- Using Salted Butter: It can throw off the flavor balance. Always go unsalted.
What to Serve With Vintage Ermine Frosting?
1. Classic Red Velvet Cake
Its mild sweetness pairs perfectly with the rich cocoa flavor of red velvet.
2. Moist Chocolate Cake
Ermine frosting offers a fluffy contrast to the dense richness of chocolate cake.
3. Vanilla Cupcakes
Use it to top cupcakes for a smooth, elegant finish that’s not overly sweet.
4. Spice Cakes
Cinnamon, nutmeg, and clove cakes benefit from the lightness of this frosting.
5. Layered Birthday Cakes
Ermine is perfect for smooth finishes and piping, ideal for birthday celebrations.
Storage Instructions
At Room Temperature: Ermine frosting can sit at room temperature (cool environments) for up to 4 hours. Perfect for parties or serving right after decorating.
In the Refrigerator: Store any leftover frosting in an airtight container for up to 5 days. Let it come to room temperature before using again, and re-whip for a few seconds to restore texture.
In the Freezer: Yes, you can freeze it! Place in a freezer-safe bag or container for up to 1 month. Thaw overnight in the fridge, bring to room temperature, and re-whip.
Estimated Nutrition (Per 2 Tablespoon Serving)
- Calories: 140 kcal
- Fat: 10g
- Saturated Fat: 6g
- Cholesterol: 25mg
- Sodium: 30mg
- Carbohydrates: 12g
- Sugar: 10g
- Protein: 0.5g
- Fiber: 0g
Frequently Asked Questions
How long can Ermine Frosting sit out?
It can sit at room temperature for up to 4 hours, but should be refrigerated beyond that to ensure freshness.
Can I make Ermine Frosting ahead of time?
Yes, make it up to 3 days in advance. Store it in the fridge and re-whip before using.
Is Ermine Frosting good for piping?
Absolutely. It holds its shape well and is smooth enough for detailed piping work.
Why is my frosting too soft?
It could be due to warm ingredients or a hot kitchen. Chill it briefly and re-whip.
Can I color Ermine Frosting?
Yes! Use gel food coloring for vibrant results without thinning the texture.
Conclusion
Vintage Ermine Frosting is the kind of timeless recipe that bridges nostalgic flavors with modern baking needs. It’s not only a joy to make but also a refreshing alternative to heavy buttercreams. Whether you’re dressing up a celebration cake or layering cupcakes, this frosting adds a touch of elegance and a lot of flavor. Give it a try—and prepare to fall in love with its soft, dreamy texture!
Vintage Ermine Frosting
- Total Time: 30 minutes
- Yield: About 2 1/2 cups
Description
Looking for a smooth, not-too-sweet frosting that spreads like a dream and pipes beautifully? This *Vintage Ermine Frosting* delivers! A timeless favorite with a unique cooked base, it’s a lighter alternative to traditional buttercream and perfect for cakes, cupcakes, or any treat needing a soft, silky finish. It’s an ideal option for those seeking a quick breakfast idea, easy dessert recipe, or birthday cake frosting that’s easy to work with. Whether you’re after a classic cake topper or trying new food ideas, this frosting ticks all the boxes.
Ingredients
1 cup whole milk
5 tablespoons all-purpose flour
1 cup granulated sugar
1 cup unsalted butter, room temperature
1 1/2 teaspoons vanilla extract
1/8 teaspoon salt
Instructions
1. In a saucepan over medium heat, whisk flour and milk until smooth and thickened like pudding (about 7–10 minutes).
2. Remove from heat, transfer to a bowl, and cover with plastic wrap directly on the surface to avoid skin forming. Let cool completely.
3. In a stand mixer, beat butter and sugar on high until very light and fluffy, about 5–7 minutes.
4. Add the cooled flour-milk mixture to the creamed butter one tablespoon at a time, beating well after each addition.
5. Add vanilla extract and salt, then beat until light, fluffy, and silky smooth.
6. If needed, chill for 10–15 minutes to firm up before piping or spreading.
Notes
Always cool the milk-flour mixture fully before adding to the butter to prevent separation.
Beat the butter and sugar until the sugar granules are mostly dissolved for the smoothest result.
To flavor it differently, add citrus zest, espresso powder, or a touch of cocoa powder.
- Prep Time: 10 minutes
- Cook Time: 10 minutes
- Category: Frosting
- Method: Stovetop
- Cuisine: American
Nutrition
- Serving Size: 2 tablespoons
- Calories: 140
- Sugar: 10g
- Sodium: 30mg
- Fat: 10g
- Saturated Fat: 6g
- Unsaturated Fat: 3g
- Trans Fat: 0g
- Carbohydrates: 12g
- Fiber: 0g
- Protein: 0.5g
- Cholesterol: 25mg