
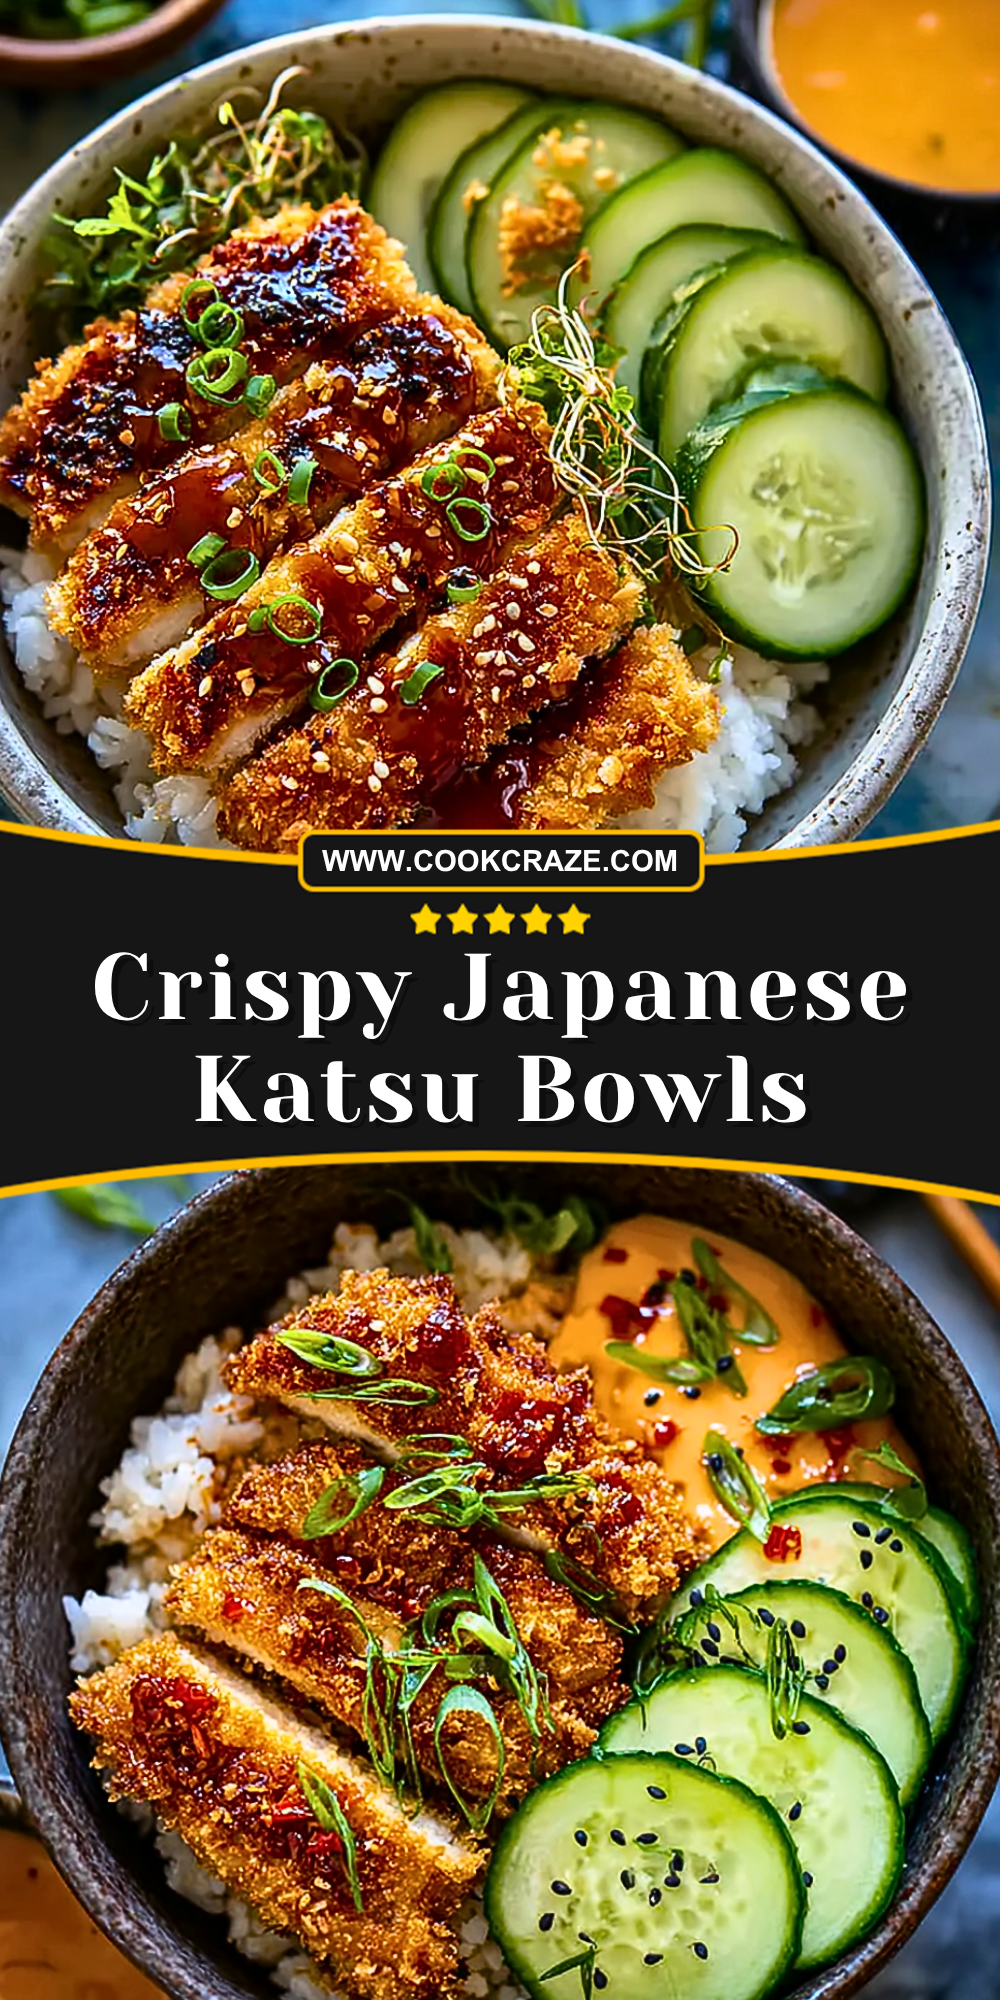
I still remember the first time I made crispy Japanese katsu bowls at home—it felt like bringing a cozy little restaurant experience straight into my kitchen. The crunch of the golden breaded cutlet paired with fluffy rice and fresh toppings creates a comforting balance that’s hard to resist. Every bite delivers warmth, texture, and just the right amount of indulgence.
What I love most is how customizable this dish is. Whether I’m in the mood for something spicy, tangy, or refreshing, I can easily adjust the toppings and sauces to match. It’s one of those meals that feels both special and incredibly doable on a busy day.
Why You’ll Love This Crispy Japanese Katsu Bowls
This dish brings together everything you want in a satisfying meal—crispy texture, savory flavor, and a comforting base of rice. It’s quick enough for weeknights but impressive enough to serve to guests. The combination of crunchy katsu and creamy, slightly spicy sauce makes it incredibly addictive.
It’s also versatile. You can use chicken, pork, or even tofu, making it perfect for different dietary preferences. Plus, the fresh vegetables add a light, refreshing contrast to the richness of the fried cutlet.
What Kind of Meat Should I Use for Crispy Japanese Katsu Bowls?
Traditionally, katsu is made with either chicken (chicken katsu) or pork (tonkatsu). Chicken breast or thigh works beautifully, depending on whether you prefer lean or juicy cuts. Pork loin is another popular choice for its tenderness and flavor.
If you’re looking for a lighter or plant-based option, tofu or even eggplant can be breaded and fried to achieve that same satisfying crunch.
Options for Substitutions
If you don’t have panko breadcrumbs, you can use regular breadcrumbs, though the texture will be slightly less crispy. For a gluten-free version, try gluten-free breadcrumbs or crushed rice cereal.
You can swap white rice with brown rice, quinoa, or cauliflower rice for a healthier twist. The sauce can also be adjusted—use yogurt instead of mayonnaise for a lighter version, or skip the spice if you prefer a milder flavor.
For the vegetables, cucumbers, shredded cabbage, carrots, or even avocado slices all work beautifully, so feel free to use whatever you have on hand.
Ingredients for this Crispy Japanese Katsu Bowls
Chicken breast or pork loin – This is the star of the dish, providing the hearty, protein-rich base that becomes irresistibly crispy when breaded and fried.
Salt and black pepper – Essential for seasoning the meat and enhancing its natural flavor before coating.
All-purpose flour – Helps the egg adhere to the meat, forming the first layer of the breading process.
Eggs – Acts as the binding agent that allows the breadcrumbs to stick properly.
Panko breadcrumbs – The key to achieving that signature light, airy, ultra-crispy texture that defines katsu.
Vegetable oil – Used for frying, ensuring the cutlet cooks evenly and develops a golden crust.
Cooked white rice – Serves as the comforting base of the bowl, soaking up all the delicious flavors.
Cucumber – Adds a refreshing, crisp contrast to the richness of the fried cutlet.
Green onions – Brings a mild sharpness and fresh finish to the dish.
Sesame seeds – Adds a nutty flavor and subtle crunch as a garnish.
Katsu sauce or tonkatsu sauce – A sweet and savory sauce that complements the crispy cutlet perfectly.
Spicy mayo (mayonnaise + sriracha) – Provides a creamy, slightly spicy drizzle that enhances every bite.
Fresh herbs (like dill or cilantro) – Optional, but adds brightness and a fresh aroma.
Step 1: Prepare the Meat
Start by trimming any excess fat from the chicken or pork. If using chicken breast, slice it horizontally or pound it gently to an even thickness. This ensures even cooking and prevents dry spots.
Season both sides generously with salt and black pepper, allowing the flavor to penetrate the meat before breading.
Step 2: Set Up the Breading Station
Prepare three shallow bowls—one with flour, one with beaten eggs, and one with panko breadcrumbs. This assembly-line setup makes the breading process smooth and efficient.
For extra flavor, you can lightly season the flour and breadcrumbs with a pinch of salt or garlic powder.
Step 3: Bread the Cutlet
Dredge each piece of meat in flour, making sure it’s fully coated. Shake off any excess before dipping it into the egg mixture.
Then press it firmly into the panko breadcrumbs, ensuring an even, thick coating. This step is crucial for achieving that signature crunch.
Step 4: Heat the Oil
Pour vegetable oil into a deep skillet or pan, about 1–2 inches deep. Heat it over medium heat until it reaches around 350°F (175°C).
You can test the oil by dropping in a few breadcrumbs—if they sizzle immediately, it’s ready.
Step 5: Fry the Katsu
Carefully place the breaded cutlets into the hot oil. Fry for about 3–5 minutes per side, depending on thickness, until golden brown and fully cooked.
Avoid overcrowding the pan, as this can lower the oil temperature and result in soggy coating.
Step 6: Drain and Rest
Transfer the cooked cutlets to a wire rack or paper towel-lined plate to drain excess oil. Let them rest for a few minutes before slicing to keep the juices intact.
Step 7: Slice the Cutlet
Using a sharp knife, slice the katsu into strips. This not only makes it easier to eat but also gives the bowl its signature presentation.
Step 8: Prepare the Bowl Base
Scoop freshly cooked white rice into serving bowls, spreading it evenly to create a warm base for the toppings.
Step 9: Add Fresh Toppings
Arrange sliced cucumbers, chopped green onions, and any additional vegetables like shredded cabbage or carrots over the rice.
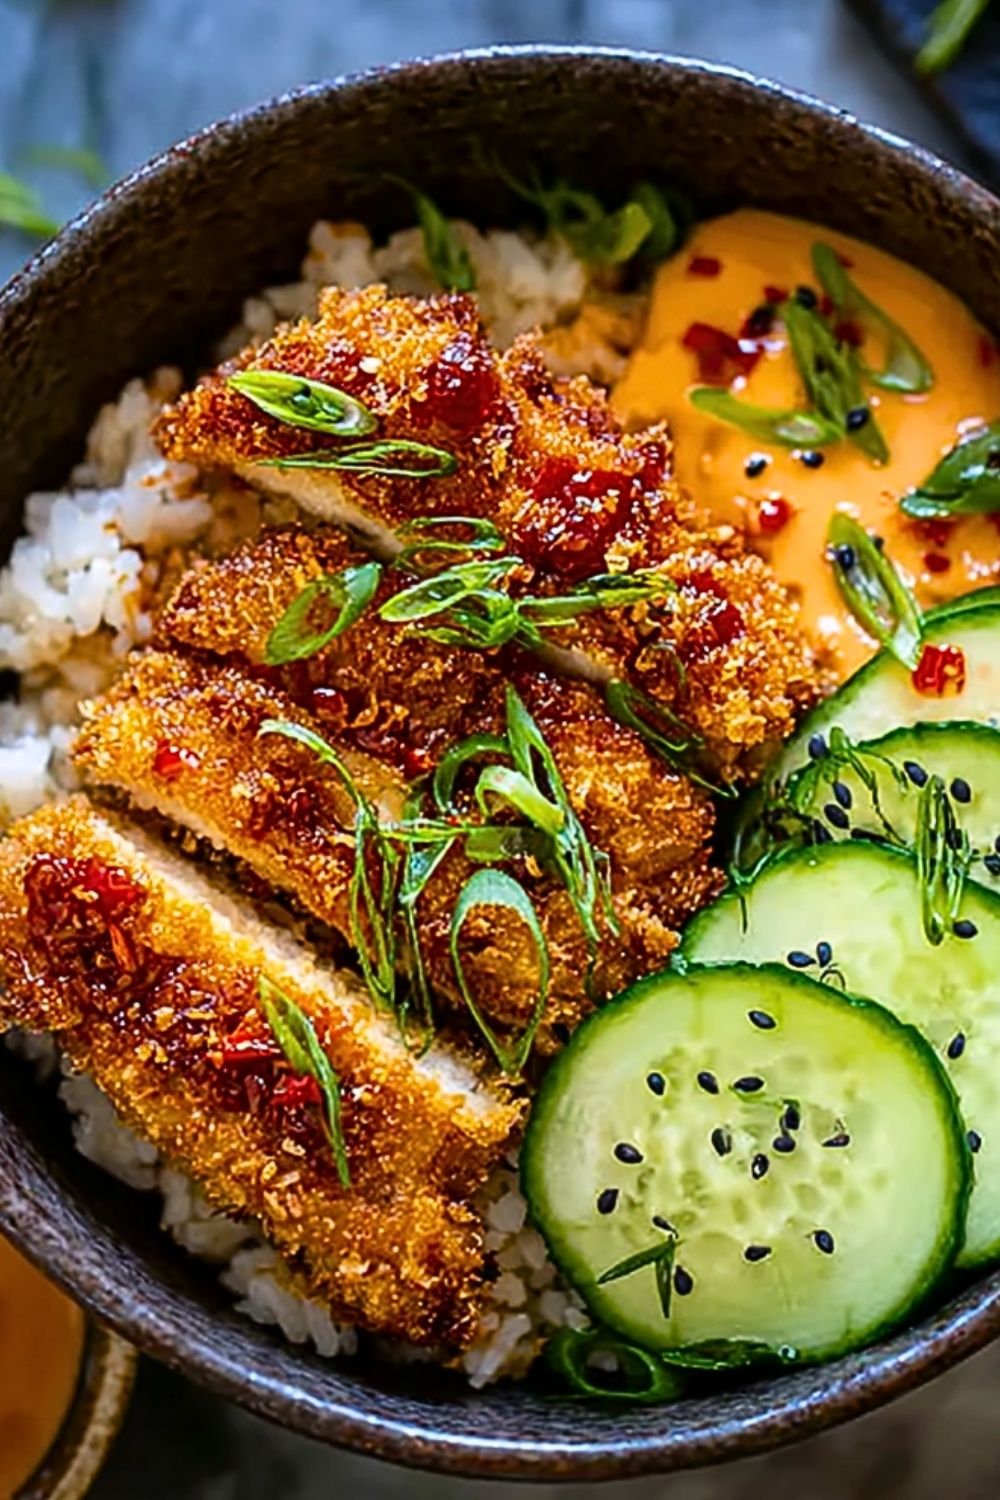
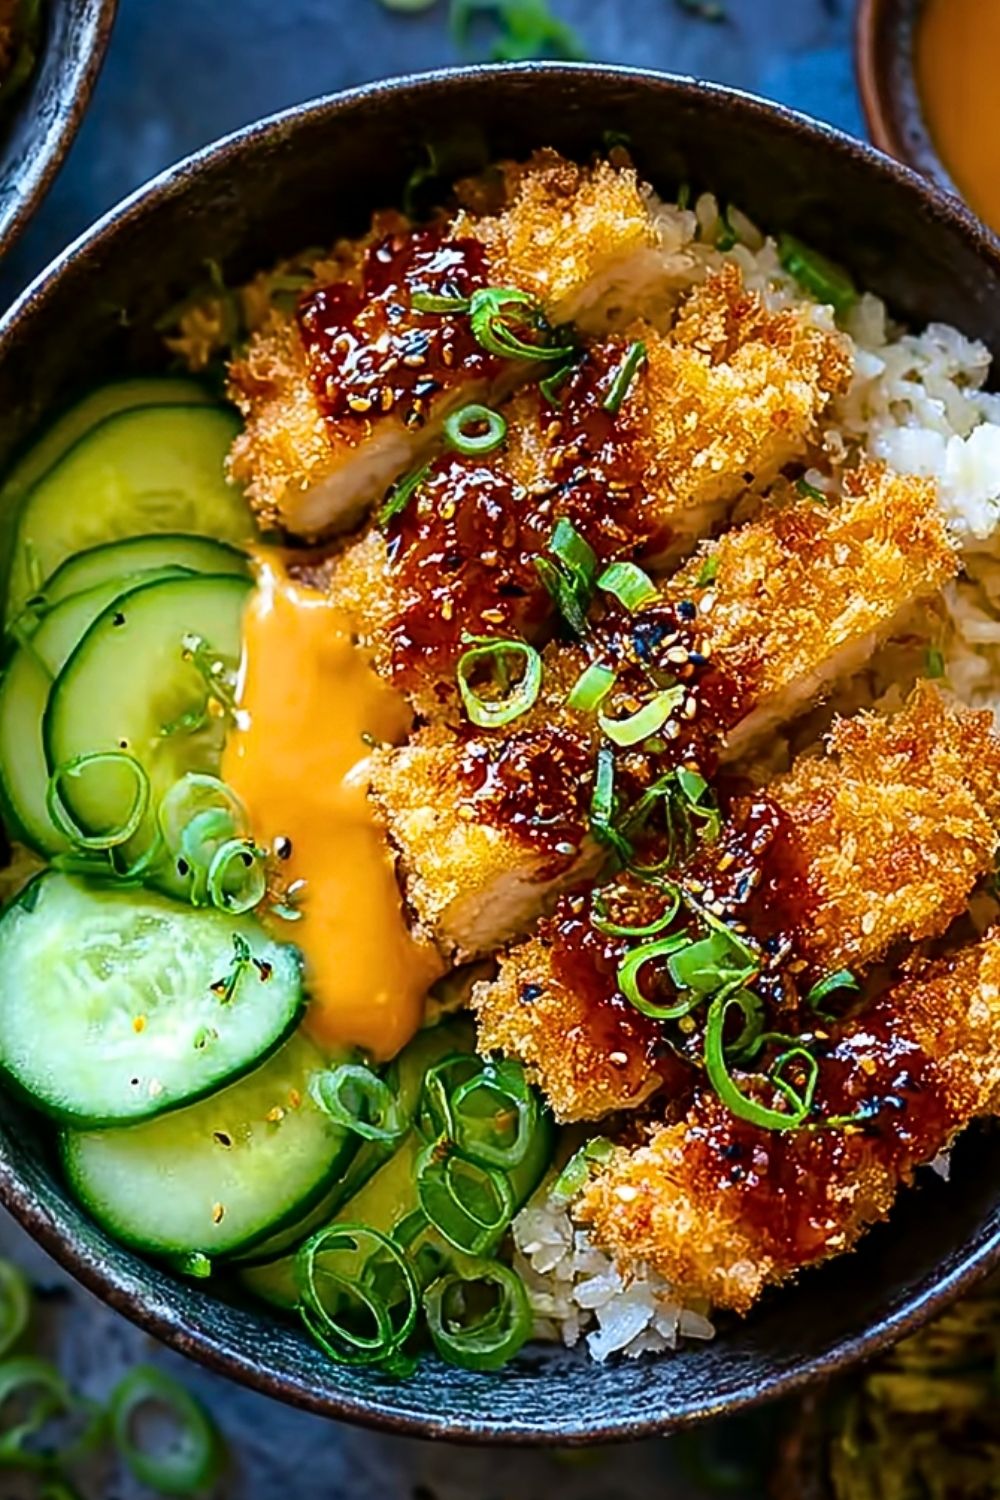
Step 10: Assemble the Katsu Bowl
Place the sliced katsu neatly over the rice and vegetables. Try to keep the crispy coating facing up to maintain texture.
Step 11: Add Sauces
Drizzle tonkatsu sauce generously over the cutlet, followed by a swirl of spicy mayo for creaminess and heat.
Step 12: Garnish and Serve
Finish with sesame seeds and fresh herbs for added flavor and visual appeal. Serve immediately while the katsu is still hot and crispy.
Crispy Japanese Katsu Bowls
How Long to Prepare Crispy Japanese Katsu Bowls
Preparing crispy Japanese katsu bowls doesn’t take as long as you might expect, especially once you’ve organized your ingredients. The prep work—like slicing the meat, setting up the breading station, and chopping vegetables—typically takes about 15–20 minutes. If your rice is already cooked or made in advance, this step becomes even faster.
Cooking the katsu itself usually takes around 10–15 minutes, depending on the thickness of the meat and how many pieces you’re frying at once. Altogether, you can expect the entire dish to come together in roughly 30–40 minutes, making it a great option for both weeknight dinners and relaxed weekend cooking.
Tips for Perfect Crispy Japanese Katsu Bowls
Use panko breadcrumbs instead of regular breadcrumbs for a lighter, crispier texture that defines authentic katsu.
Make sure the oil is at the right temperature before frying. Too cool, and the coating will absorb oil; too hot, and it will burn before the inside cooks.
Avoid flipping the cutlet too often. Let it cook undisturbed to develop a proper golden crust.
Rest the fried cutlet on a wire rack instead of paper towels to keep it crispy.
Slice the katsu only after resting to lock in the juices and maintain tenderness.
Watch Out for These Mistakes While Cooking
Skipping the flour layer can cause the breading to fall off during frying, so don’t skip steps in the coating process.
Overcrowding the pan lowers the oil temperature and results in soggy, unevenly cooked katsu.
Using thin oil layers instead of enough depth can lead to uneven frying and burnt spots.
Cutting the meat too thick without adjusting cooking time may leave the inside undercooked.
Adding sauce too early can make the crispy coating soggy—always drizzle just before serving.
What to Serve With Crispy Japanese Katsu Bowls?
Steamed Edamame
A simple, lightly salted side that adds protein and balances the richness of the katsu.
Miso Soup
Warm and comforting, miso soup complements the dish with its savory umami flavor.
Pickled Vegetables
Tangy pickles cut through the richness and refresh your palate between bites.
Japanese Potato Salad
Creamy and slightly sweet, it pairs beautifully with the crispy texture of katsu.
Seaweed Salad
A light, slightly tangy option that adds freshness and a unique texture.
Storage Instructions
If you have leftovers, store the katsu and rice separately to maintain the best texture. Place the cutlet in an airtight container and refrigerate for up to 3 days.
To reheat, avoid using the microwave if possible, as it can make the coating soggy. Instead, reheat in an oven or air fryer at 350°F (175°C) until warmed through and crispy again.
Rice can be reheated in the microwave with a splash of water to restore moisture. Fresh toppings like cucumbers should be added just before serving for the best taste and texture.
Estimated Nutrition
A typical serving of crispy Japanese katsu bowls provides a balanced mix of protein, carbohydrates, and fats. The fried cutlet contributes protein and richness, while rice offers energy through carbohydrates.
Calories can vary depending on portion size and sauce usage, but on average, one bowl may range between 500–700 calories. Using lighter sauces or baking instead of frying can reduce the calorie count.
Frequently Asked Questions
Can I bake the katsu instead of frying it?
Yes, you can bake it at 400°F (200°C) for about 20–25 minutes, flipping halfway through. It won’t be as crispy as frying, but it’s a healthier alternative.
Can I make this dish ahead of time?
You can prepare the components in advance, but it’s best to fry the katsu just before serving to keep it crispy.
What oil is best for frying katsu?
Neutral oils like vegetable, canola, or sunflower oil work best due to their high smoke points.
How do I keep the breading from falling off?
Make sure to follow the flour → egg → breadcrumb order and press the breadcrumbs firmly onto the meat.
Can I use an air fryer?
Yes, air frying is a great option. Cook at 375°F (190°C) for about 10–15 minutes, flipping halfway through.
Conclusion
Crispy Japanese katsu bowls are the perfect blend of comfort and flavor, combining crunchy, juicy cutlets with fresh toppings and warm rice. With a few simple techniques and thoughtful preparation, you can recreate this restaurant-style dish right at home.
Whether you’re cooking for yourself or sharing with others, this recipe delivers satisfaction in every bite and leaves plenty of room for customization.
Crispy Japanese Katsu Bowls
- Total Time: 35 minutes
- Yield: 2-3 servings
Description
Craving something crispy, comforting, and packed with flavor? These crispy Japanese katsu bowls are the perfect answer for a quick dinner, easy recipe, or even creative lunch ideas. Juicy breaded chicken or pork is fried to golden perfection, served over fluffy rice, and topped with fresh veggies and a creamy, slightly spicy sauce. It’s one of those food ideas that feels restaurant-quality but is simple enough to make at home.
Ingredients
2 pieces chicken breast or pork loin
1 teaspoon salt
1/2 teaspoon black pepper
1/2 cup all-purpose flour
2 large eggs
1 1/2 cups panko breadcrumbs
2 cups vegetable oil for frying
3 cups cooked white rice
1 cup sliced cucumber
2 tablespoons chopped green onions
1 tablespoon sesame seeds
1/3 cup tonkatsu sauce
1/2 cup mayonnaise
2 tablespoons sriracha
2 tablespoons fresh herbs
Instructions
1. Prepare the meat by trimming excess fat and pounding to even thickness, then season with salt and pepper.
2. Set up three bowls with flour, beaten eggs, and panko breadcrumbs.
3. Coat each piece of meat in flour, dip into eggs, then press into panko breadcrumbs firmly.
4. Heat vegetable oil in a deep pan to 350°F (175°C).
5. Fry the breaded cutlets for 3–5 minutes per side until golden brown and fully cooked.
6. Transfer to a wire rack or paper towels and let rest for a few minutes.
7. Slice the katsu into strips using a sharp knife.
8. Place cooked rice into serving bowls as the base.
9. Add sliced cucumbers and green onions on top of the rice.
10. Arrange sliced katsu over the rice and vegetables.
11. Mix mayonnaise and sriracha to make spicy mayo, then drizzle along with tonkatsu sauce.
12. Garnish with sesame seeds and fresh herbs, then serve immediately.
Notes
Always keep oil at the right temperature to ensure a crispy coating without excess grease.
Use panko breadcrumbs instead of regular breadcrumbs for the best crunch.
Let the fried cutlet rest before slicing to keep it juicy and tender.
- Prep Time: 20 minutes
- Cook Time: 15 minutes
- Category: Main Course
- Method: Frying
- Cuisine: Japanese
Nutrition
- Serving Size: 1 bowl
- Calories: 600
- Sugar: 6g
- Sodium: 780mg
- Fat: 28g
- Saturated Fat: 6g
- Unsaturated Fat: 20g
- Trans Fat: 0g
- Carbohydrates: 55g
- Fiber: 3g
- Protein: 32g
- Cholesterol: 140mg