
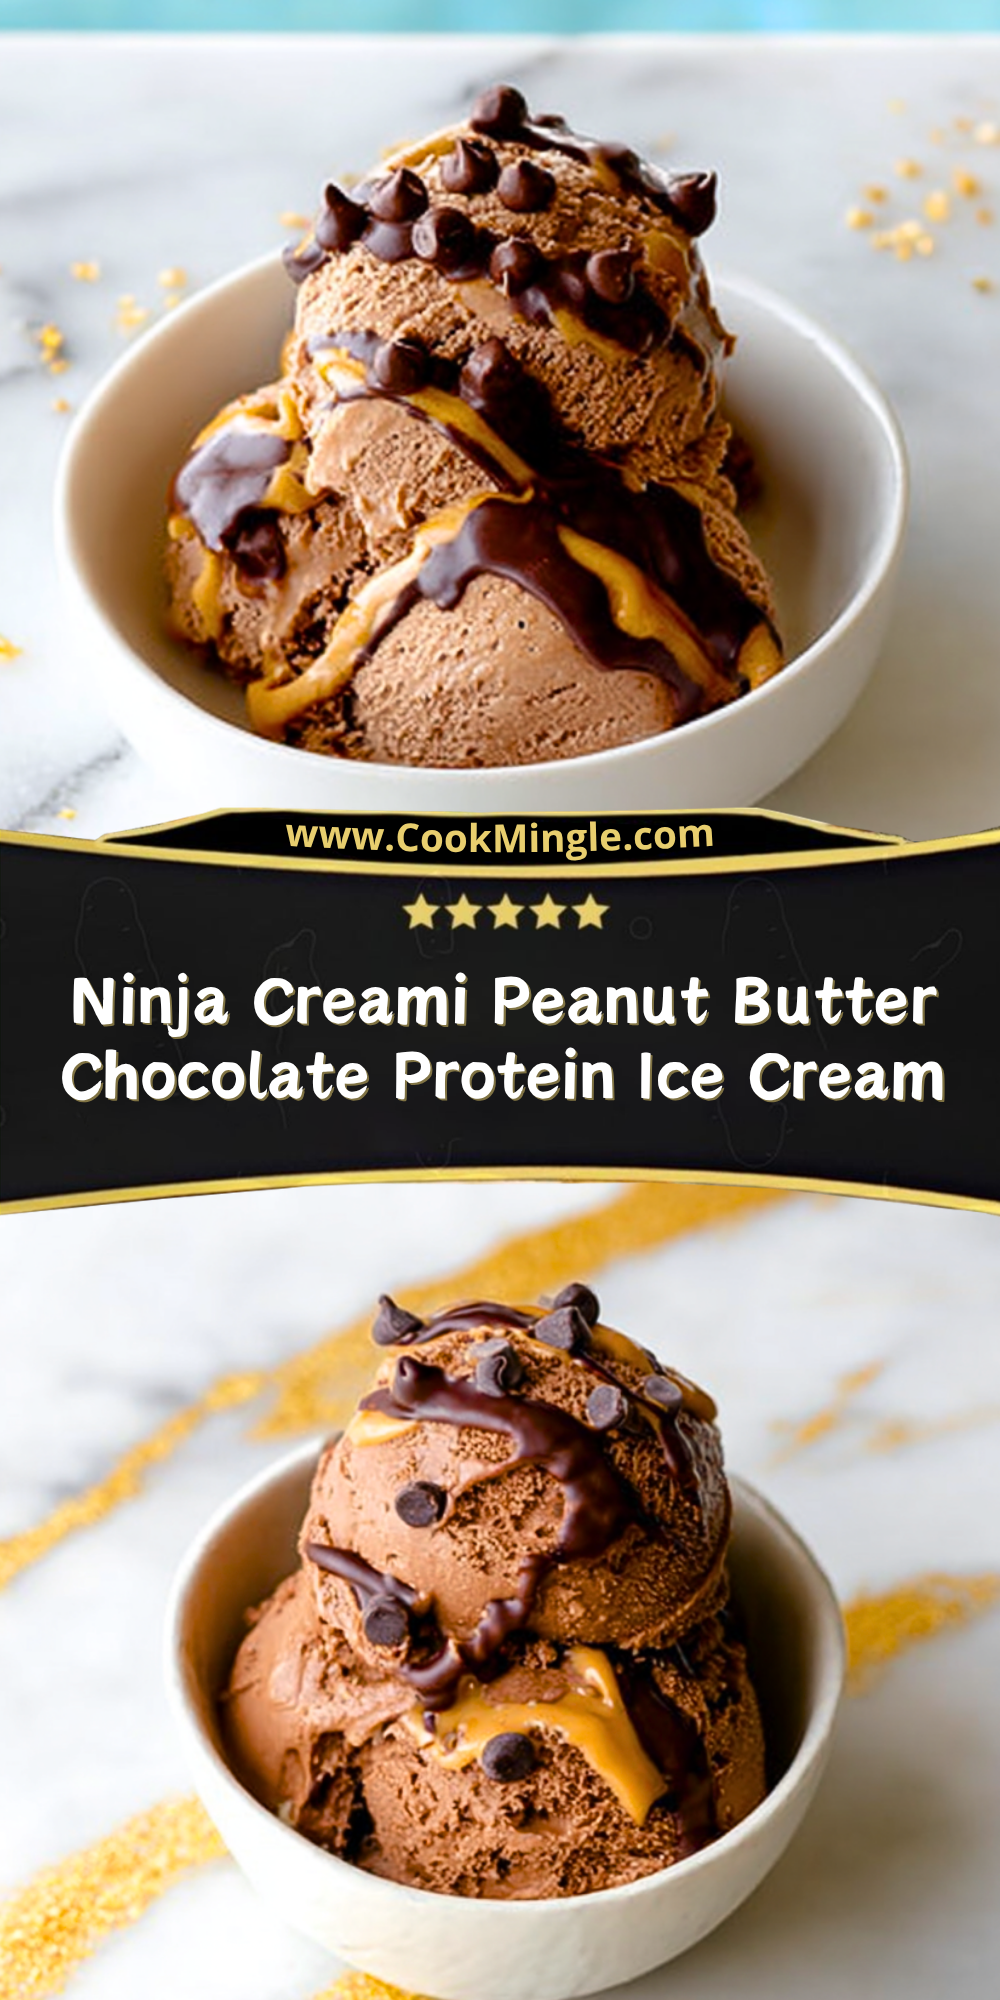
I’ve always been on the hunt for a dessert that feels indulgent but still fits into a balanced lifestyle, and this Ninja Creami Peanut Butter Chocolate Protein Ice Cream has become my go-to treat. The first time I made it, I was amazed at how creamy and rich it turned out—without needing loads of sugar or heavy cream.
What I love most is how it satisfies both my sweet tooth and my need for something nourishing. The combination of chocolate and peanut butter is classic, but when blended into a protein-packed ice cream, it becomes something truly special that I can enjoy any time of day.
Why You’ll Love This Ninja Creami Peanut Butter Chocolate Protein Ice Cream
This recipe delivers that creamy, scoopable texture you expect from traditional ice cream, but with a healthier twist. It’s packed with protein, making it perfect for a post-workout treat or a guilt-free dessert.
The flavor combination is hard to beat—rich chocolate paired with smooth, nutty peanut butter creates a perfectly balanced bite every time. Plus, it’s incredibly easy to customize depending on your preferences or dietary needs.
What Makes the Ninja Creami Perfect for This Recipe?
The Ninja Creami transforms a simple frozen base into a silky, churned dessert in minutes. Unlike traditional ice cream makers, it doesn’t require churning beforehand, making the process much more convenient.
It also allows you to control texture precisely, whether you prefer a soft-serve consistency or a firmer scoop. That flexibility makes it ideal for protein-based recipes like this one.
Options for Substitutions
If you don’t have peanut butter, almond butter or cashew butter works beautifully and adds a slightly different flavor profile. For a nut-free option, sunflower seed butter is a great alternative.
You can swap chocolate protein powder for vanilla and add cocoa powder separately if needed. Dairy milk can be replaced with almond, oat, or coconut milk depending on your dietary preferences.
For sweetness, maple syrup or honey can replace any sugar alternatives, and you can even adjust the level to suit your taste.
Ingredients for this Ninja Creami Peanut Butter Chocolate Protein Ice Cream
Chocolate Protein Powder
This is the backbone of the recipe, giving the ice cream its rich chocolate flavor while boosting the protein content. It also helps create a creamy consistency when blended.
Peanut Butter
Adds a smooth, nutty richness that pairs perfectly with chocolate. It also contributes healthy fats, which enhance the overall texture and mouthfeel.
Milk (Dairy or Non-Dairy)
Provides the liquid base needed to blend everything together. The type of milk you choose will slightly affect the creaminess and flavor.
Greek Yogurt
Helps create a thick, creamy texture while adding extra protein. It also introduces a subtle tang that balances the sweetness.
Cocoa Powder
Deepens the chocolate flavor, making it more intense and satisfying without adding extra sugar.
Sweetener (Maple Syrup, Honey, or Sugar Substitute)
Balances the bitterness of cocoa and enhances the dessert-like quality. The amount can be adjusted based on preference.
Vanilla Extract
Adds depth and rounds out the flavors, making the ice cream taste more complete and indulgent.
Chocolate Chips
Provide small bursts of texture and extra chocolate in every bite. They’re especially great as a mix-in after processing.
Salt
A small pinch enhances all the flavors and prevents the ice cream from tasting flat.
Step 1: Prepare the Base Mixture
In a mixing bowl or blender, combine the milk, Greek yogurt, chocolate protein powder, cocoa powder, sweetener, vanilla extract, and a pinch of salt. Blend until completely smooth and no lumps remain. This step is essential for achieving a creamy final texture.
Step 2: Incorporate the Peanut Butter
Add the peanut butter to the mixture and blend again until fully incorporated. Make sure it’s evenly distributed so every bite has that rich peanut butter flavor.
Step 3: Freeze the Mixture
Pour the mixture into a Ninja Creami pint container. Smooth out the top so it freezes evenly. Place the container in the freezer on a flat surface and freeze for at least 8–12 hours, or until completely solid.
Step 4: First Spin in the Ninja Creami
Insert the frozen pint into the Ninja Creami and select the “Lite Ice Cream” or “Ice Cream” function. This initial spin will break down the frozen block into a crumbly texture.
Step 5: Re-Spin for Creaminess
After the first spin, check the texture. If it looks crumbly or powdery, use the “Re-Spin” function once or twice until it becomes smooth and creamy.
Step 6: Adjust Texture if Needed
If the ice cream is still too thick or dry, add a tablespoon of milk and run the “Re-Spin” cycle again. This helps achieve a perfectly scoopable consistency.
Step 7: Add Chocolate Chips
Create a small well in the center of the ice cream and add the chocolate chips. Use the “Mix-In” function to distribute them evenly throughout the ice cream.
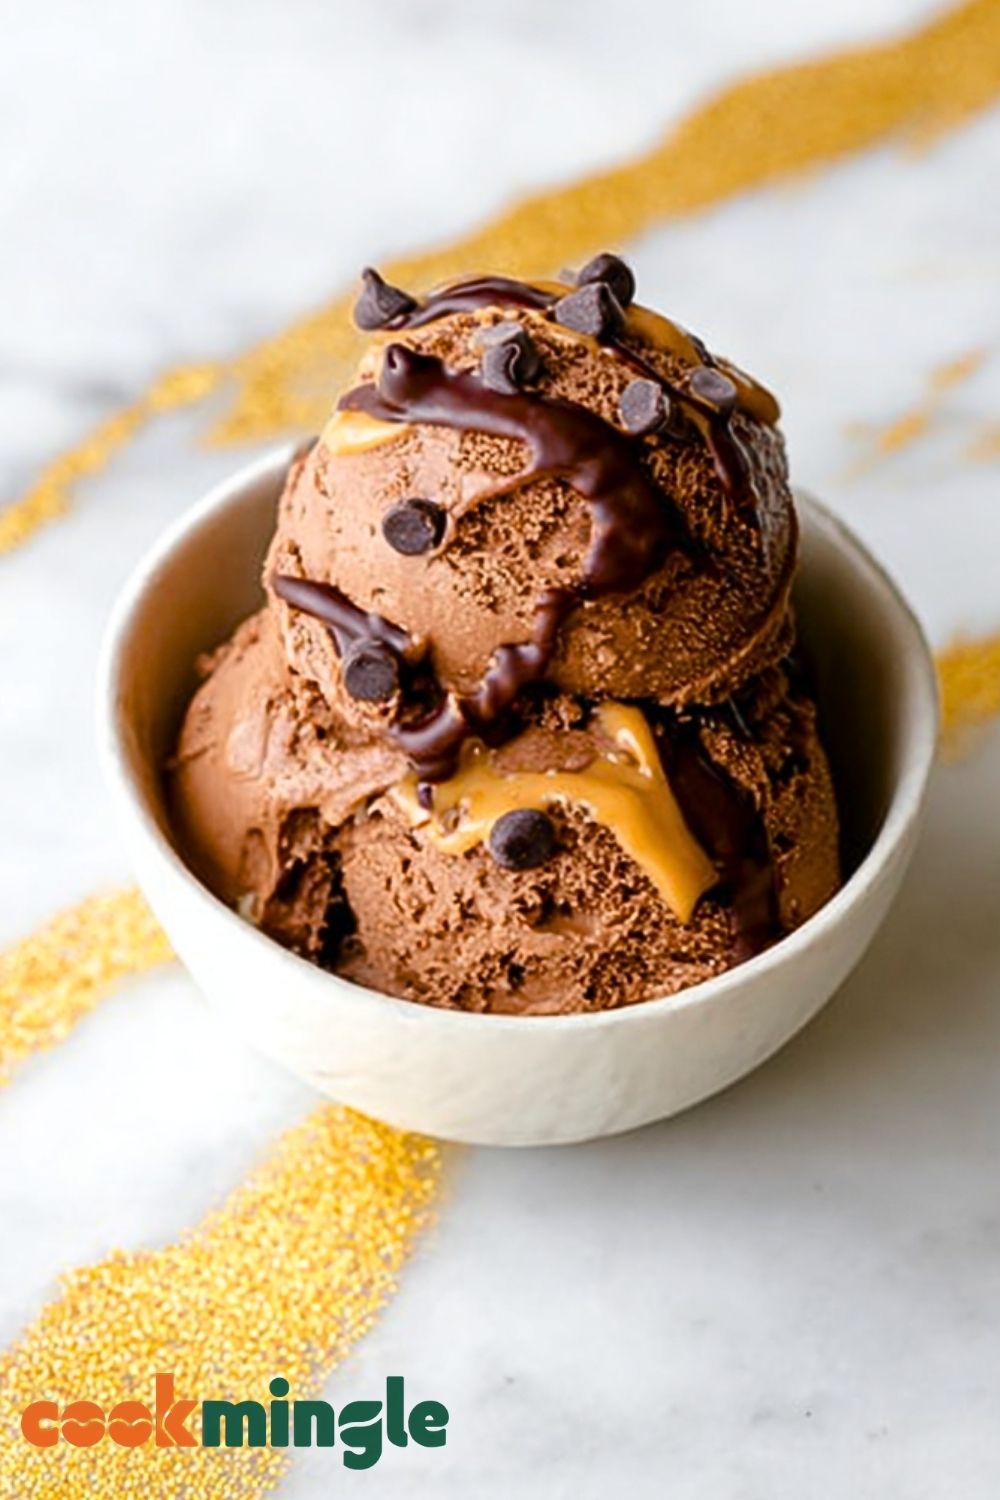
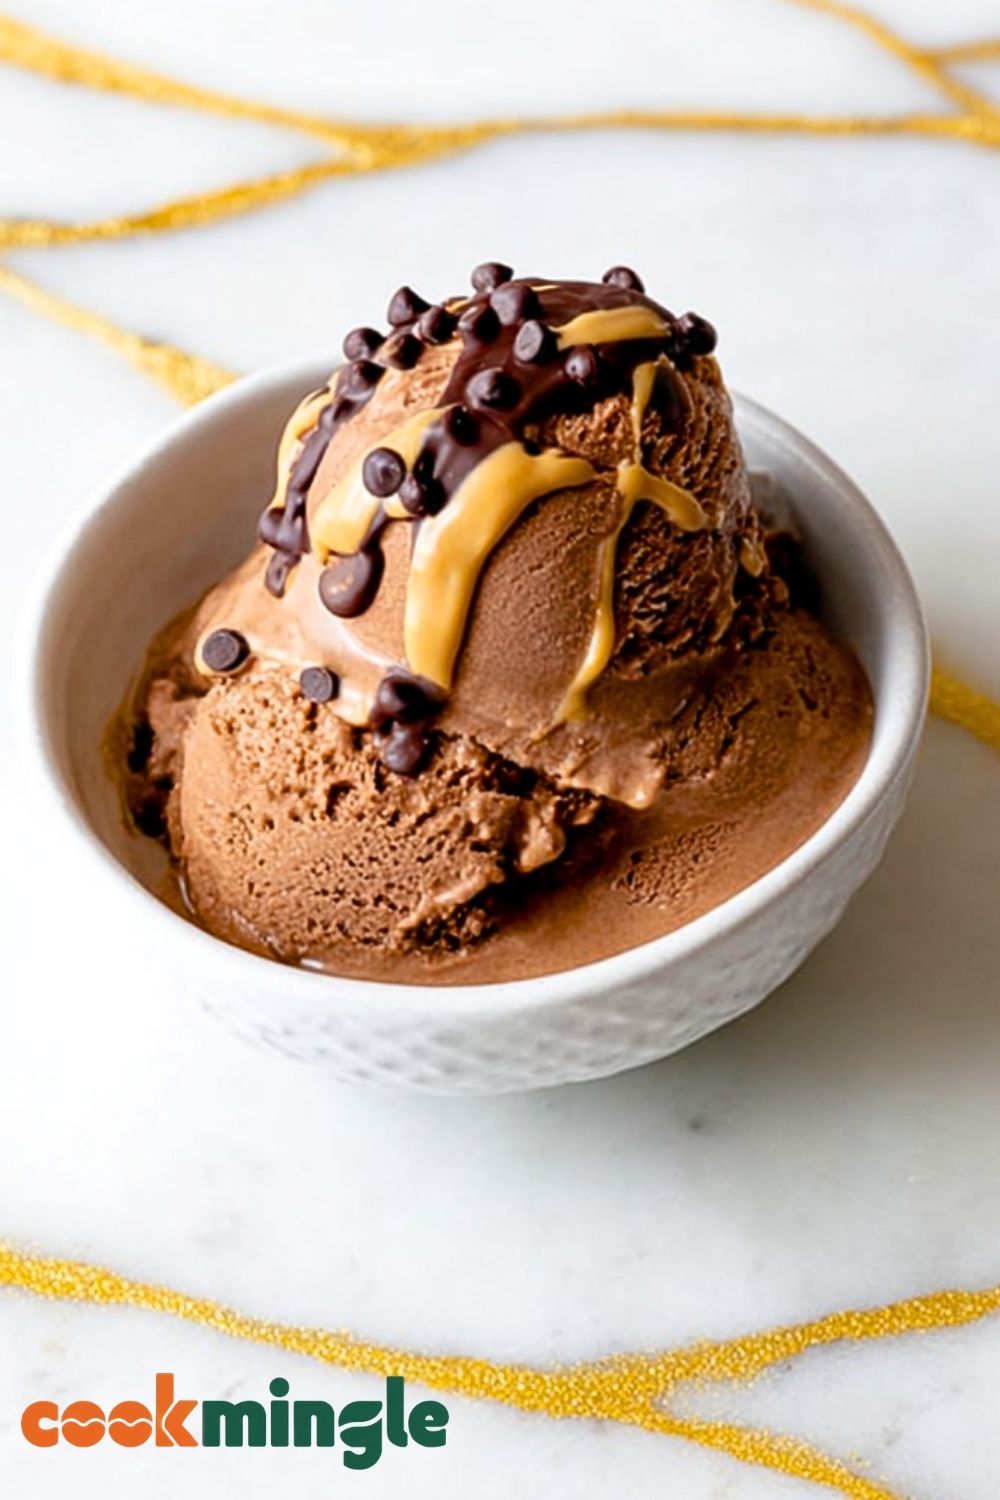
Step 8: Serve and Enjoy
Scoop the ice cream into a bowl and, if desired, drizzle extra peanut butter on top for a beautiful and delicious finish. Serve immediately for the best texture.
How Long to Prepare the Ninja Creami Peanut Butter Chocolate Protein Ice Cream
Preparing this recipe is surprisingly simple, but it does require a bit of planning ahead. The active prep time is quite short—usually around 10 to 15 minutes to mix everything together. This includes blending the ingredients until smooth and transferring the mixture into the Ninja Creami container.
The longest part of the process is freezing. For best results, the mixture should freeze for at least 8–12 hours, preferably overnight. Once frozen solid, the processing time in the Ninja Creami takes just a few minutes, making the final steps quick and satisfying.
Tips for Perfect Ninja Creami Peanut Butter Chocolate Protein Ice Cream
Use a high-quality protein powder to avoid chalky texture and ensure a smooth finish. Not all protein powders behave the same, so finding one you enjoy is key.
Always freeze the base completely flat in the container to ensure even processing. Uneven freezing can lead to inconsistent texture.
Don’t skip the re-spin cycle. It’s essential for transforming the crumbly mixture into a creamy, ice cream-like consistency.
If you prefer a softer texture, add a splash of milk before the final spin. This small adjustment can make a big difference.
Watch Out for These Mistakes While Cooking
Using too little liquid can result in a dry, powdery texture after spinning. Make sure your base has enough moisture.
Overloading with mix-ins too early can disrupt the texture. Always add them after the initial processing.
Skipping the freezing time will prevent the Ninja Creami from working properly. The base must be fully frozen.
Using overly thick ingredients without balancing liquids can make the mixture difficult to process smoothly.
What to Serve With Ninja Creami Peanut Butter Chocolate Protein Ice Cream?
Fresh Berries
A handful of strawberries or raspberries adds a refreshing contrast and a touch of natural sweetness.
Granola
Sprinkle granola on top for a crunchy texture that complements the creaminess.
Banana Slices
Bananas pair beautifully with peanut butter and enhance the overall flavor profile.
Dark Chocolate Shavings
Adds a slightly bitter edge that balances the sweetness of the ice cream.
Whipped Cream
A light topping that makes the dessert feel extra indulgent without overpowering it.
Storage Instructions
Store any leftovers directly in the Ninja Creami pint container with the lid tightly sealed. Keep it in the freezer to maintain freshness and texture.
When ready to enjoy again, you may need to re-spin the ice cream to restore its creamy consistency, as it can harden after extended freezing.
For best quality, consume within 3–5 days. Beyond that, ice crystals may begin to form, affecting the texture.
Estimated Nutrition
This recipe is generally high in protein and lower in sugar compared to traditional ice cream. The exact nutritional values will vary depending on the ingredients used, especially the type of protein powder and sweetener.
On average, one serving provides a good balance of protein, healthy fats from peanut butter, and moderate carbohydrates, making it suitable as a post-workout snack or a healthier dessert option.
Frequently Asked Questions
Can I make this without a Ninja Creami?
Yes, but the texture will differ. You can blend and freeze the mixture, then stir periodically, though it won’t be as creamy.
Why is my ice cream crumbly after the first spin?
This is normal. Use the re-spin function to achieve a smooth consistency.
Can I use plant-based protein powder?
Absolutely. Just note that texture and flavor may vary slightly depending on the brand.
How can I make it sweeter?
Add more sweetener to the base before freezing, or drizzle something sweet on top after serving.
Can I add other mix-ins?
Yes, ingredients like nuts, cookie pieces, or caramel bits work well when added using the mix-in function.
Conclusion
This Ninja Creami Peanut Butter Chocolate Protein Ice Cream proves that you don’t have to compromise between taste and nutrition. It’s creamy, satisfying, and incredibly easy to customize.
Once you try it, it might just become a regular part of your dessert rotation—whether you’re looking for a healthy treat or simply craving something delicious.
Ninja Creami Peanut Butter Chocolate Protein Ice Cream
- Total Time: 12 hours 10 minutes
- Yield: 2 servings
Description
If you’re craving a creamy, indulgent dessert that still fits your healthy lifestyle, this Ninja Creami Peanut Butter Chocolate Protein Ice Cream is about to become your favorite go-to. It’s rich, chocolatey, packed with protein, and incredibly easy to make, making it perfect for a quick breakfast treat, post-workout snack, or easy dessert idea. This easy recipe blends the classic flavors of peanut butter and chocolate into a smooth, satisfying ice cream using the Ninja Creami. Whether you’re searching for healthy snack ideas, quick dessert recipes, or high-protein food ideas, this one checks all the boxes.
Ingredients
1 cup milk
1/2 cup Greek yogurt
1 scoop chocolate protein powder
1 tablespoon cocoa powder
2 tablespoons peanut butter
2 tablespoons maple syrup
1 teaspoon vanilla extract
1 pinch salt
2 tablespoons chocolate chips
Instructions
1. In a blender, combine milk, Greek yogurt, chocolate protein powder, cocoa powder, maple syrup, vanilla extract, and salt. Blend until completely smooth.
2. Add peanut butter and blend again until fully incorporated.
3. Pour the mixture into a Ninja Creami pint container and level the top.
4. Freeze on a flat surface for 8–12 hours or until solid.
5. Place the frozen pint into the Ninja Creami and run the “Lite Ice Cream” or “Ice Cream” function.
6. If the texture is crumbly, use the “Re-Spin” function until smooth and creamy.
7. Add 1 tablespoon milk if needed and re-spin again for a softer texture.
8. Add chocolate chips using the “Mix-In” function.
9. Serve immediately and enjoy.
Notes
Use a high-quality protein powder for the best flavor and texture.
Always freeze the mixture completely flat for even processing.
Re-spin is key to achieving a creamy consistency—don’t skip it.
- Prep Time: 10 minutes
- Cook Time: 0 minutes
- Category: Dessert
- Method: Ninja Creami
- Cuisine: American
Nutrition
- Serving Size: 1 serving
- Calories: 220
- Sugar: 8g
- Sodium: 120mg
- Fat: 9g
- Saturated Fat: 3g
- Unsaturated Fat: 5g
- Trans Fat: 0g
- Carbohydrates: 18g
- Fiber: 3g
- Protein: 20g
- Cholesterol: 10mg