
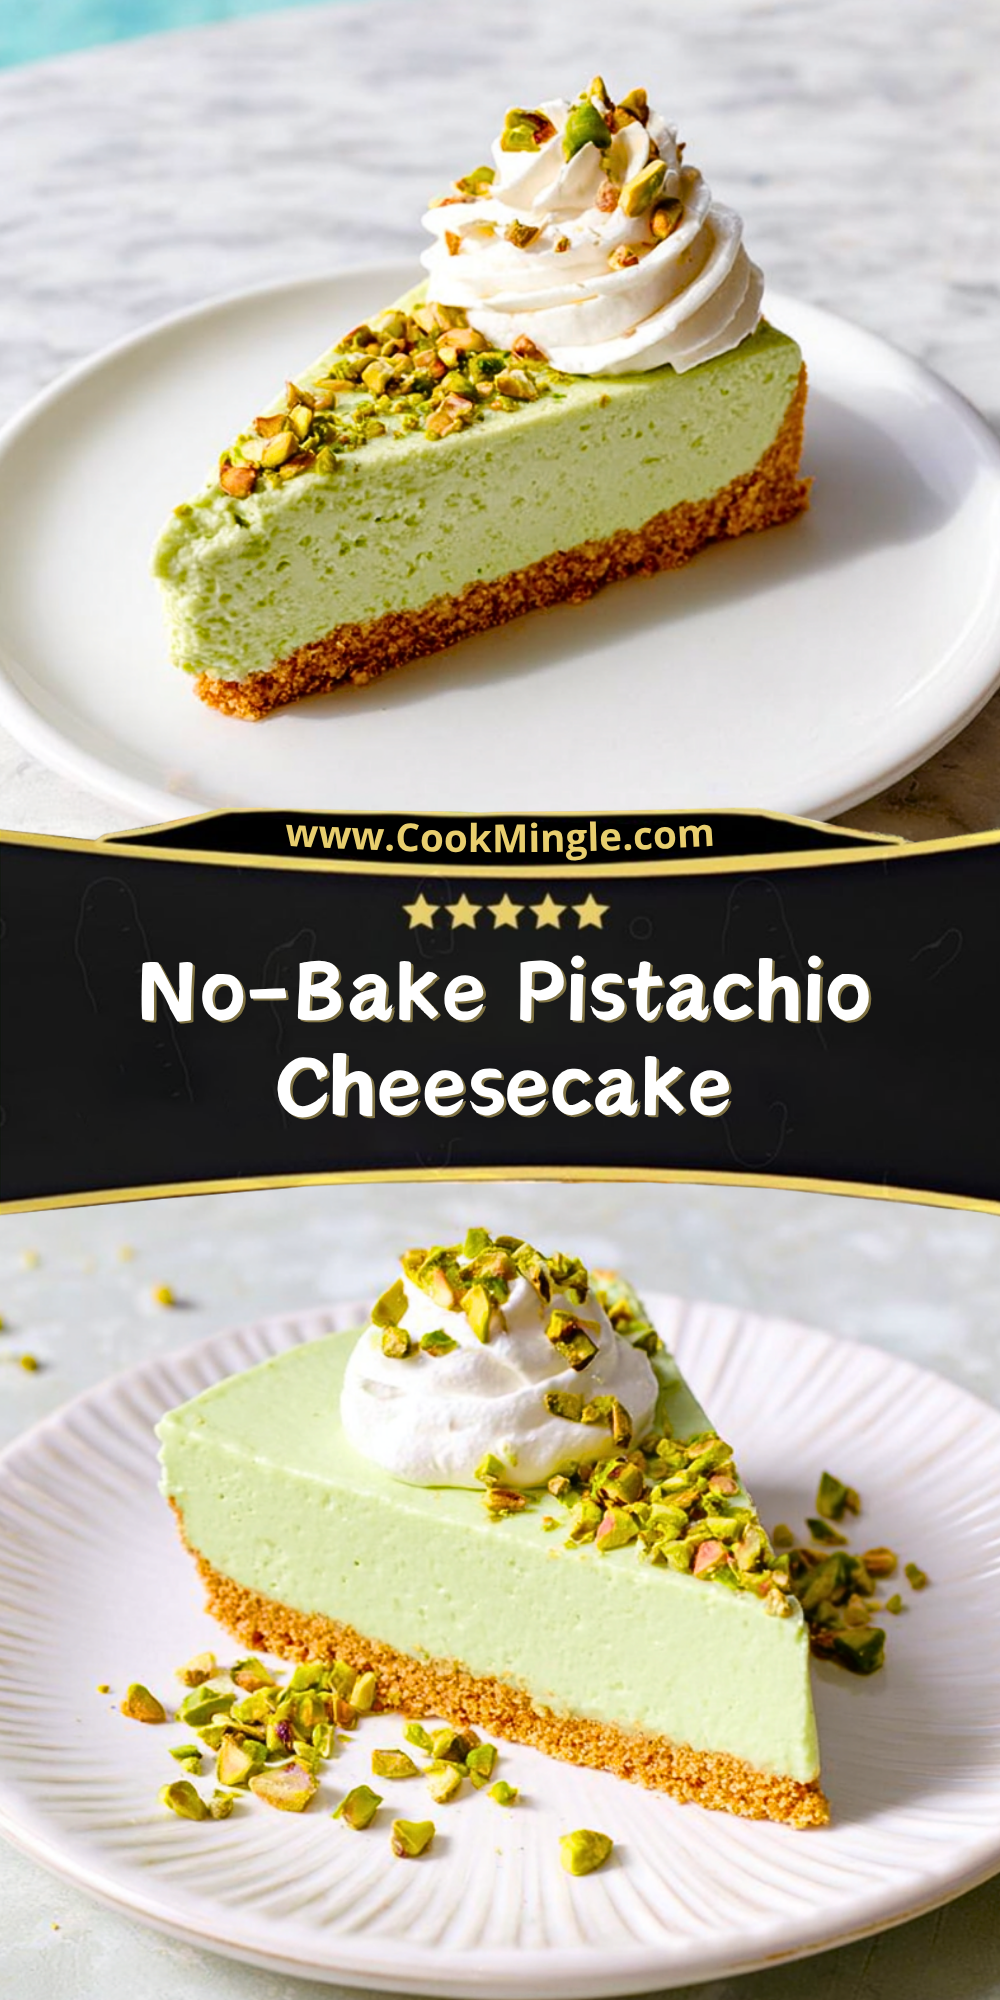
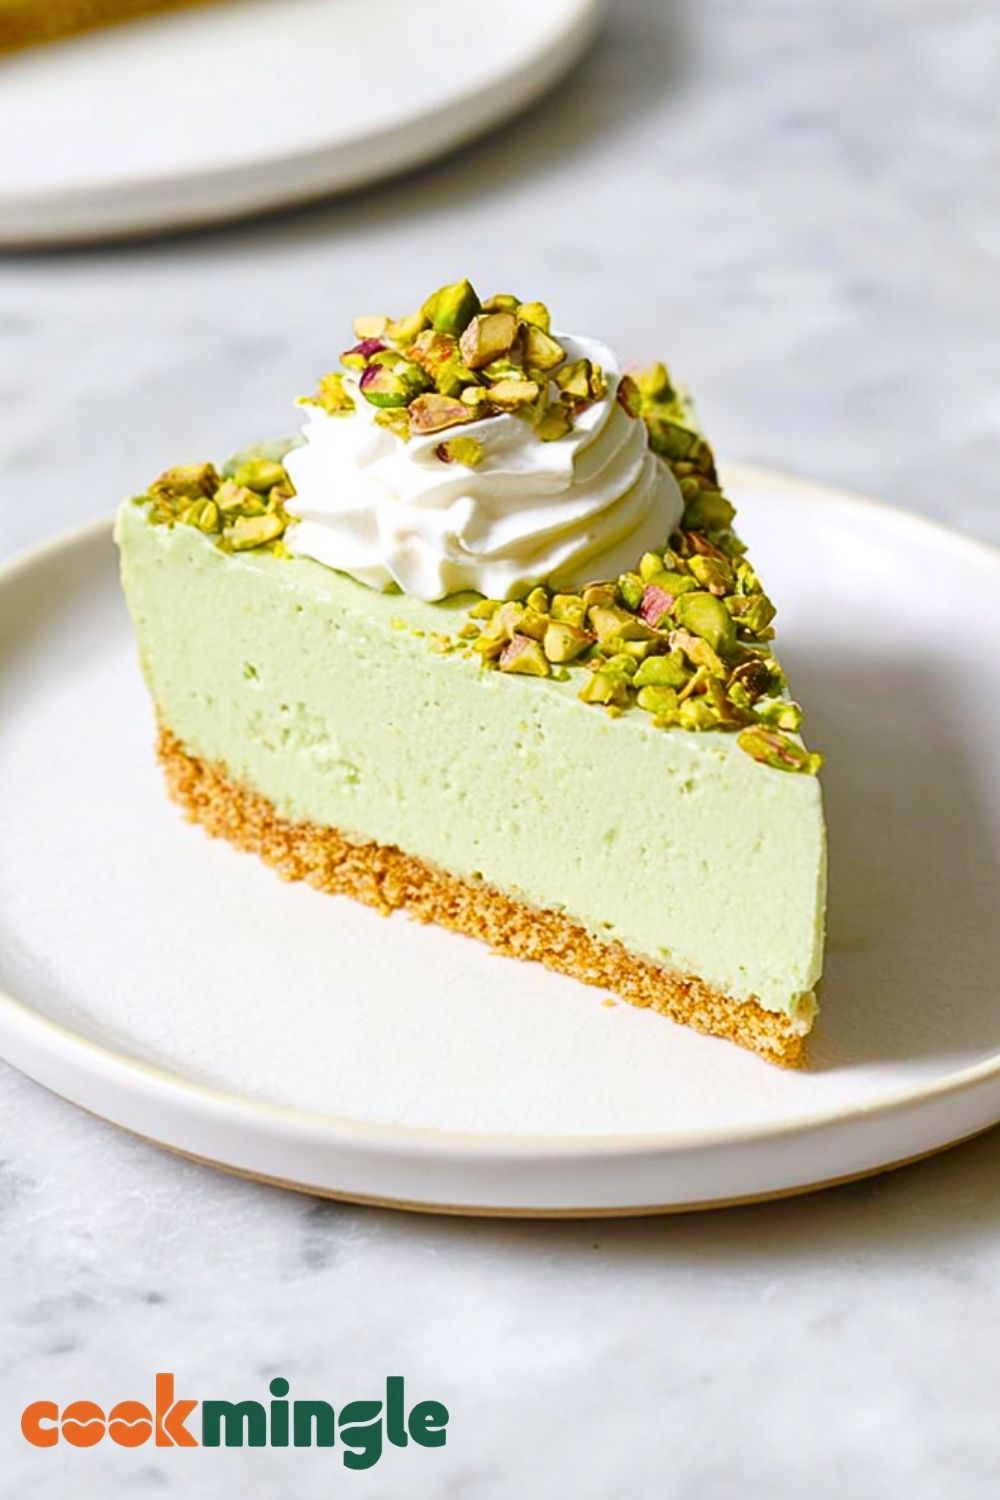
Silky, creamy, and delicately nutty, this no-bake pistachio cheesecake is the kind of dessert that feels both luxurious and effortless. The soft green filling brings a subtle pistachio flavor that melts smoothly on the tongue, perfectly balanced by a buttery biscuit crust that adds just the right amount of crunch.
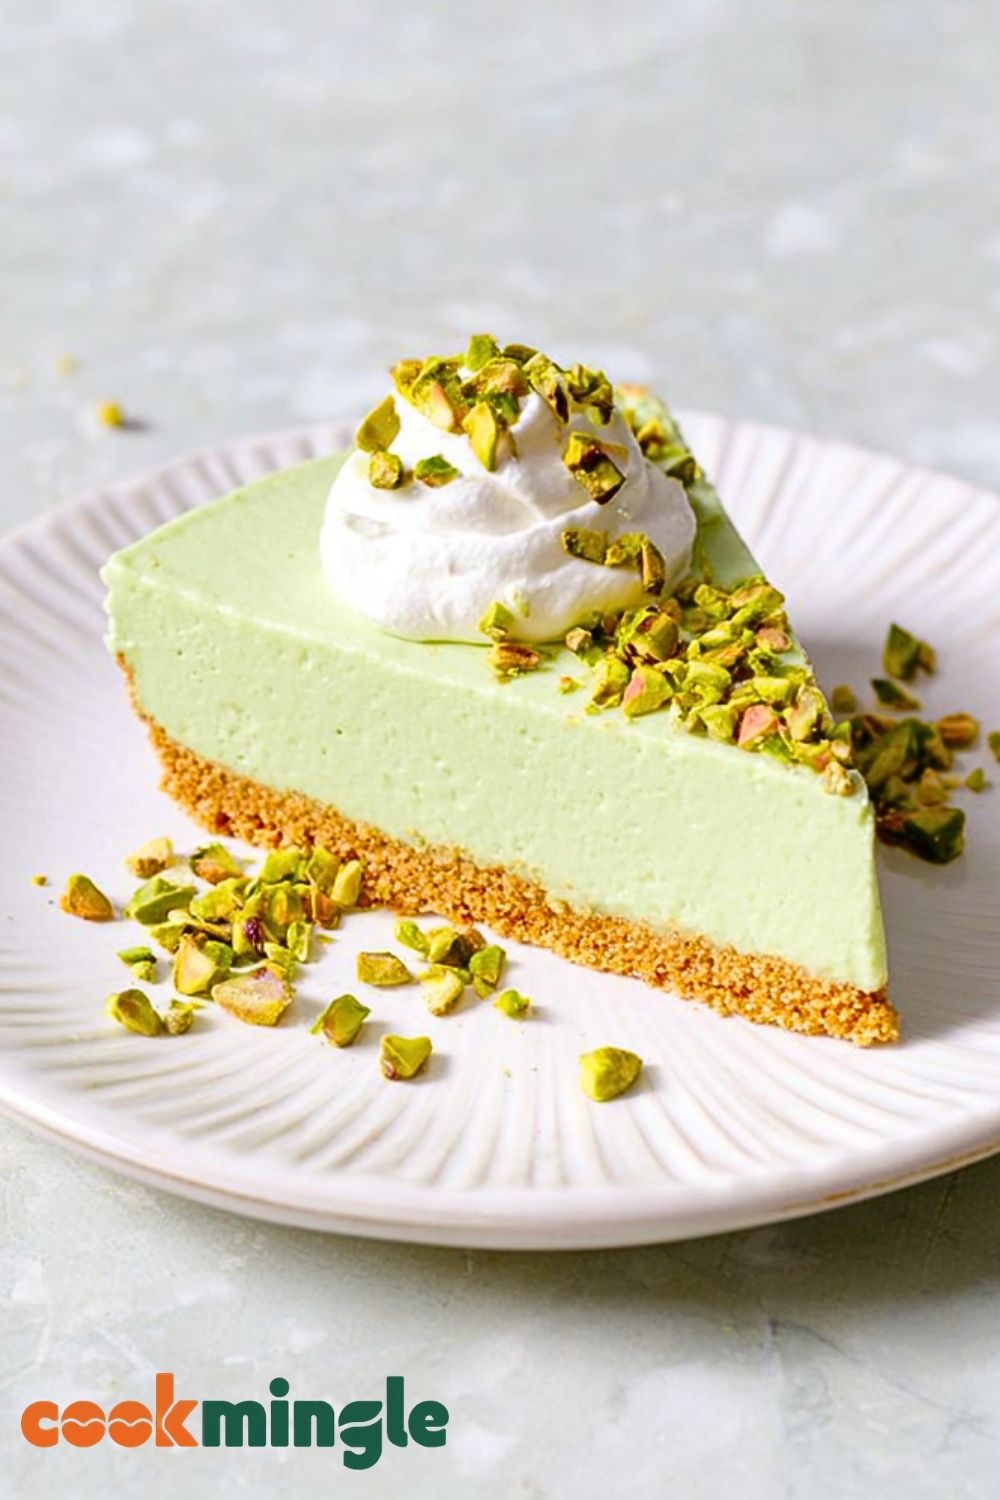
Finished with a swirl of whipped cream and a sprinkle of chopped pistachios, every bite delivers a beautiful contrast of textures and flavors. Whether you’re preparing it for a special gathering or simply treating yourself, this chilled dessert is refreshing, elegant, and surprisingly simple to make.
Why You’ll Love This No-Bake Pistachio Cheesecake
This dessert combines ease and sophistication in one slice. There’s no need to turn on the oven, making it perfect for warm days or quick preparations. The pistachio flavor is naturally rich yet not overpowering, and the creamy texture feels indulgent without being heavy. It’s also a great make-ahead option, allowing you to focus on other dishes while it sets beautifully in the fridge.
Preparation Phase & Tools to Use (Essential Tools and Equipment and Their Importance)
To achieve a smooth and stable cheesecake, having the right tools makes a noticeable difference. A food processor helps create a fine, even crust base quickly, ensuring it holds together well. A springform pan is essential for easy removal and clean presentation, preserving the cheesecake’s shape. An electric mixer or hand whisk allows you to blend the filling into a creamy, lump-free texture. A spatula is useful for folding ingredients gently and scraping every bit of mixture into the pan. Finally, a refrigerator plays a crucial role, as this no-bake dessert relies entirely on chilling to set properly.
Preparation Tips
For the best results, make sure all your ingredients are at room temperature before mixing, especially the cream cheese, as this prevents lumps in the filling. When pressing the crust into the pan, apply firm and even pressure to create a solid base that won’t crumble هنگام slicing. Chill the crust briefly before adding the filling to help it set faster. When mixing, avoid overwhipping the cream, as it can affect the final texture. Allow enough chilling time—rushing this step can lead to a cheesecake that doesn’t hold its shape when cut.
Ingredients for this No-Bake Pistachio Cheesecake
For the crust:
- 200g (about 2 cups) digestive biscuits or graham crackers, finely crushed
- 100g (7 tbsp) unsalted butter, melted
- 1–2 tbsp granulated sugar (optional, depending on biscuit sweetness)
For the pistachio cheesecake filling:
- 400g (14 oz) cream cheese, softened to room temperature
- 1 cup heavy whipping cream (cold)
- 3/4 cup powdered sugar (adjust to taste)
- 1/2 cup pistachio paste or finely ground pistachios
- 1 tsp vanilla extract
- 1 tsp lemon juice (optional, enhances flavor balance)
- 1–2 drops green food coloring (optional, for a vibrant look)
For garnish (optional but recommended):
- Whipped cream
- Chopped pistachios
- Crushed biscuit crumbs or pistachio dust
Step 1: Prepare the Crust
Place the biscuits or graham crackers into a food processor and pulse until they form fine crumbs. Transfer the crumbs into a mixing bowl, then pour in the melted butter and sugar. Mix thoroughly until the texture resembles wet sand and holds together when pressed.
Press the mixture firmly into the base of a springform pan, creating an even layer. Use the back of a spoon or a flat-bottomed glass to compact it tightly. Refrigerate the crust for at least 20–30 minutes to allow it to firm up.
Step 2: Whip the Cream
In a chilled mixing bowl, pour the heavy whipping cream and whip it using an electric mixer until soft to medium peaks form. Be careful not to overwhip, as the cream can become grainy. Set aside in the refrigerator while preparing the rest of the filling.
Step 3: Prepare the Cheesecake Base
In a separate large bowl, beat the softened cream cheese until smooth and creamy with no lumps. Add the powdered sugar gradually, mixing continuously until fully incorporated and silky.
Stir in the pistachio paste, vanilla extract, and lemon juice. Continue mixing until the filling becomes smooth and evenly colored. If desired, add a drop or two of green food coloring to enhance the pistachio hue.
Step 4: Combine the Mixtures
Gently fold the whipped cream into the pistachio cream cheese mixture using a spatula. Fold slowly in a circular motion to maintain the airy texture. Continue until fully combined and no streaks remain.
Step 5: Assemble the Cheesecake
Remove the chilled crust from the refrigerator. Pour the pistachio filling over the crust and spread it evenly using a spatula. Smooth the top for a clean finish.
Tap the pan lightly on the counter to release any trapped air bubbles and ensure an even surface.
Step 6: Chill and Set
Place the cheesecake in the refrigerator and allow it to chill for at least 6 hours, preferably overnight. This step is essential for achieving a firm, sliceable texture.
Step 7: Garnish and Serve
Once fully set, carefully remove the cheesecake from the springform pan. Pipe or spoon whipped cream on top and sprinkle with chopped pistachios for added texture and visual appeal.
Slice with a warm knife (dip in hot water and wipe dry) for clean, sharp cuts. Serve chilled and enjoy the creamy, nutty delight.
Notes
This no-bake pistachio cheesecake relies heavily on balance—both in texture and flavor. Using high-quality pistachio paste will significantly enhance the overall taste, giving the dessert its signature nutty richness without artificial notes. If you’re using ground pistachios instead of paste, ensure they are finely processed to avoid a grainy texture. The chilling process is not just for convenience; it is essential for structure, allowing the filling to firm up properly. For a cleaner flavor profile, avoid overly sweet biscuits in the crust, as the filling already carries a gentle sweetness.
Watch Out for These Mistakes While Cooking
One common mistake is using cold cream cheese, which leads to a lumpy filling that is difficult to smooth out. Overwhipping the cream is another issue—it can turn stiff and grainy, making it hard to fold into the mixture. Skipping the chilling time or reducing it too much often results in a cheesecake that collapses when sliced. Adding too much butter to the crust can make it overly greasy and dense, while too little will cause it to crumble apart. Lastly, overmixing after adding whipped cream can deflate the mixture, reducing the light, airy texture.
Storage Instructions
Store the cheesecake in the refrigerator, covered tightly with plastic wrap or in an airtight container to prevent it from absorbing other odors. It will stay fresh for up to 4–5 days when properly stored. For longer storage, the cheesecake can be frozen for up to 2 months. To freeze, wrap it securely in plastic wrap and then in aluminum foil. When ready to serve, thaw it overnight in the refrigerator rather than at room temperature to maintain its texture and consistency.
Estimated Nutrition
Per serving (based on 8 slices, approximate values):
- Calories: 420–480 kcal
- Protein: 6–8 g
- Carbohydrates: 28–34 g
- Fat: 32–36 g
- Saturated Fat: 18–22 g
- Sugar: 18–24 g
- Fiber: 1–2 g
- Sodium: 180–250 mg
Frequently Asked Questions
Can I make this cheesecake without pistachio paste?
Yes, you can use finely ground pistachios instead. However, the flavor may be slightly less intense and the texture may not be as smooth.
How do I know when the cheesecake is fully set?
The cheesecake should feel firm to the touch and hold its shape when sliced. If it still feels soft in the center, it needs more chilling time.
Can I use a different type of crust?
Absolutely. You can substitute the biscuit base with Oreo crumbs, digestive biscuits, or even a nut-based crust for a gluten-free option.
Is gelatin required for this recipe?
No, this version relies on whipped cream and chilling to set. However, gelatin can be added if you want an extra firm texture.
Can I make it ahead of time?
Yes, this cheesecake is perfect for making a day in advance. In fact, overnight chilling improves both texture and flavor.
What can I use instead of heavy cream?
You can use whipping cream alternatives, but make sure they can whip properly to provide structure to the filling.
How can I enhance the pistachio flavor?
Adding a small amount of almond extract or using roasted pistachios can deepen the nutty flavor profile.
Why is my cheesecake too soft?
This usually happens due to insufficient chilling time, under-whipped cream, or overly warm ingredients during preparation.
Conclusion
This no-bake pistachio cheesecake is a perfect combination of elegance and simplicity, offering a creamy texture and a rich, nutty flavor without the need for baking. With the right preparation techniques and attention to detail, you can achieve a dessert that looks impressive and tastes even better. Whether served at gatherings or enjoyed as a personal treat, it’s a reliable and delightful recipe that’s sure to become a favorite.
No-Bake Pistachio Cheesecake
- Total Time: 6 hours 25 minutes
- Yield: 8 servings
- Diet: Vegetarian
Description
This no-bake pistachio cheesecake is a creamy, dreamy dessert that’s perfect for any occasion—from quick dessert ideas to elegant dinner parties. With a buttery biscuit crust and a rich pistachio filling, it’s an easy recipe that delivers bakery-quality results without turning on the oven. Whether you’re searching for simple dessert ideas or an impressive make-ahead dish, this cheesecake is a must-try.
Ingredients
200g digestive biscuits or graham crackers finely crushed
100g unsalted butter melted
1 tbsp granulated sugar optional
400g cream cheese softened
240ml heavy whipping cream cold
150g powdered sugar
120g pistachio paste or finely ground pistachios
1 tsp vanilla extract
1 tsp lemon juice optional
2 drops green food coloring optional
100ml whipped cream for garnish
30g chopped pistachios for garnish
Instructions
1. Crush the biscuits into fine crumbs and mix with melted butter and sugar until combined.
2. Press the mixture firmly into a springform pan to form the crust and refrigerate for 20–30 minutes.
3. Whip the cold heavy cream until soft to medium peaks form and set aside.
4. Beat the cream cheese until smooth, then add powdered sugar and mix until creamy.
5. Add pistachio paste, vanilla extract, lemon juice, and food coloring, mixing until smooth.
6. Gently fold the whipped cream into the pistachio mixture until fully combined.
7. Pour the filling over the chilled crust and smooth the top evenly.
8. Refrigerate for at least 6 hours or overnight until fully set.
9. Garnish with whipped cream and chopped pistachios, slice, and serve chilled.
Notes
Use high-quality pistachio paste for the best flavor and color.
Ensure cream cheese is at room temperature to avoid lumps.
Allow full chilling time to achieve a firm and clean slice.
- Prep Time: 25 minutes
- Cook Time: 0 minutes
- Category: Dessert
- Method: No-Bake
- Cuisine: International
Nutrition
- Serving Size: 1 slice
- Calories: 450
- Sugar: 22g
- Sodium: 220mg
- Fat: 34g
- Saturated Fat: 20g
- Unsaturated Fat: 12g
- Trans Fat: 0g
- Carbohydrates: 30g
- Fiber: 2g
- Protein: 7g
- Cholesterol: 95mg