
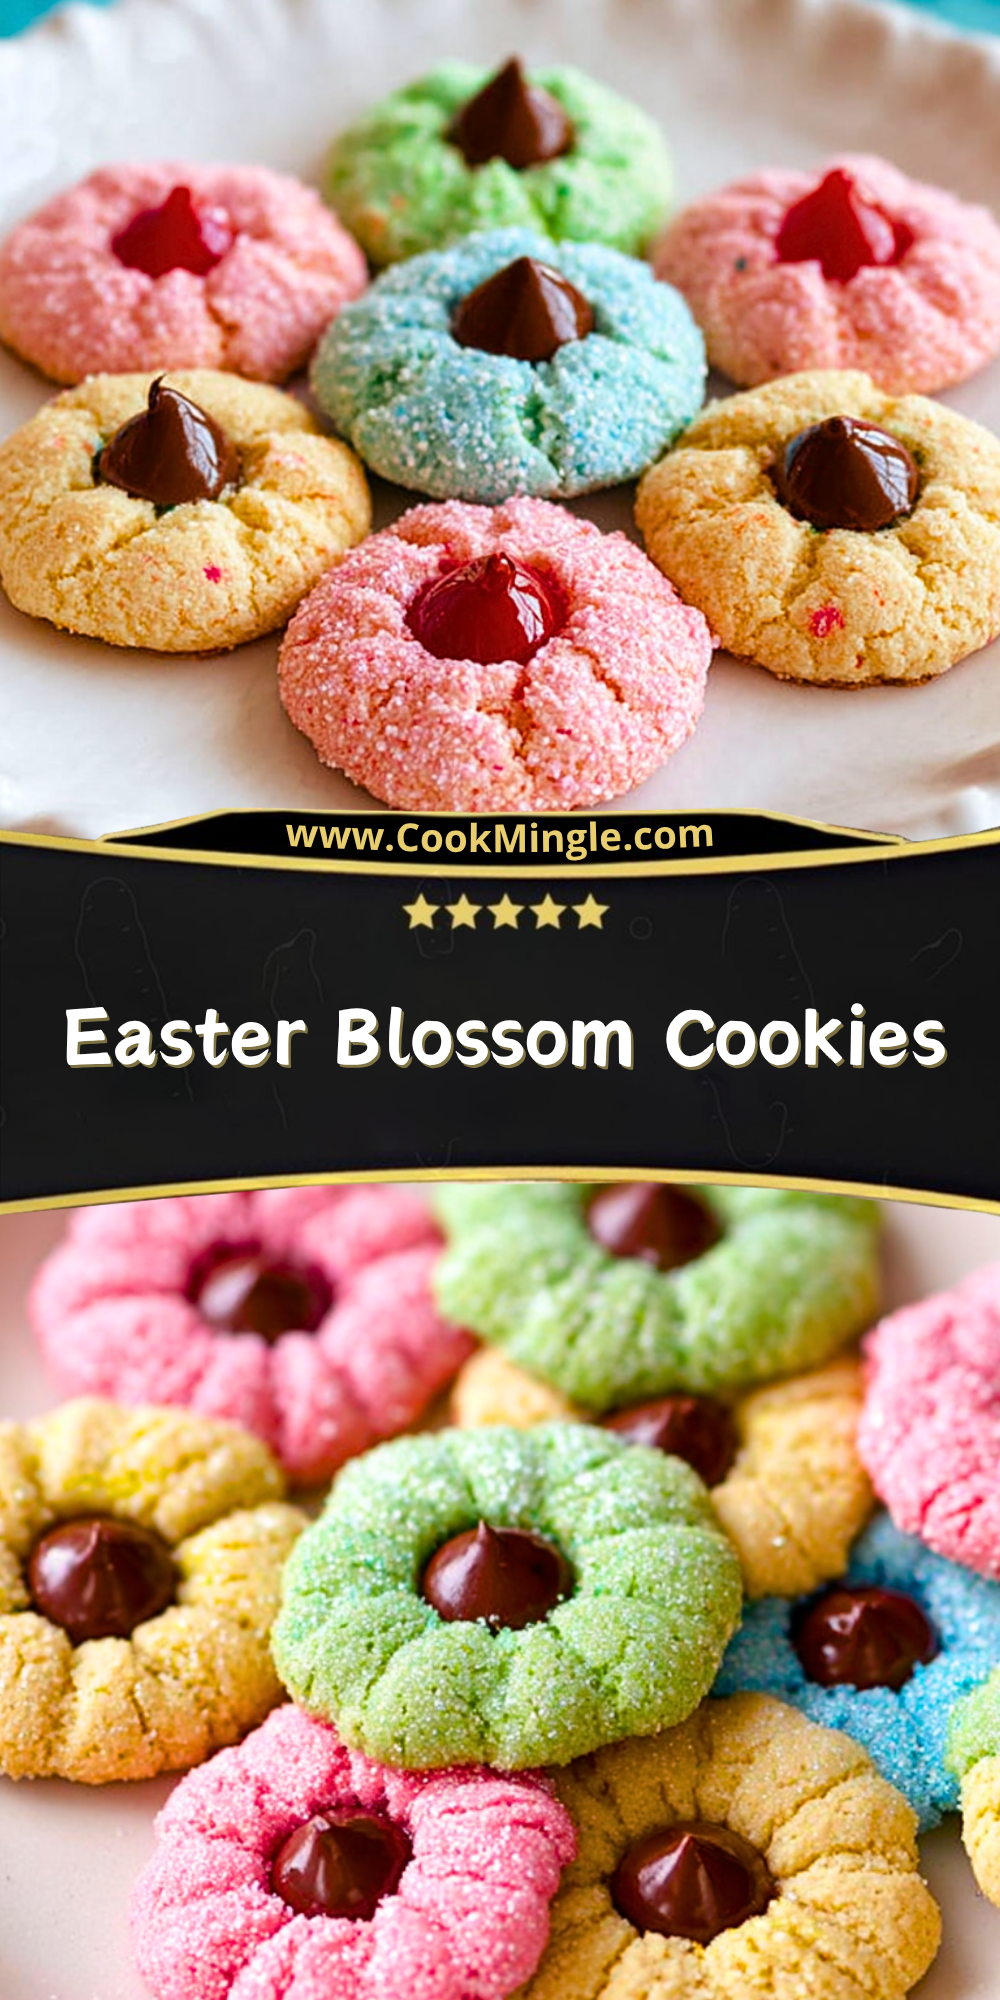
I still remember the first time I baked Easter Blossom Cookies—the kitchen filled with a soft vanilla sweetness, and those pastel colors instantly made everything feel festive. There’s something about these cookies that brings a playful, almost nostalgic charm to the table. Whether I’m baking them for a spring gathering or just to brighten an ordinary day, they never fail to bring smiles.
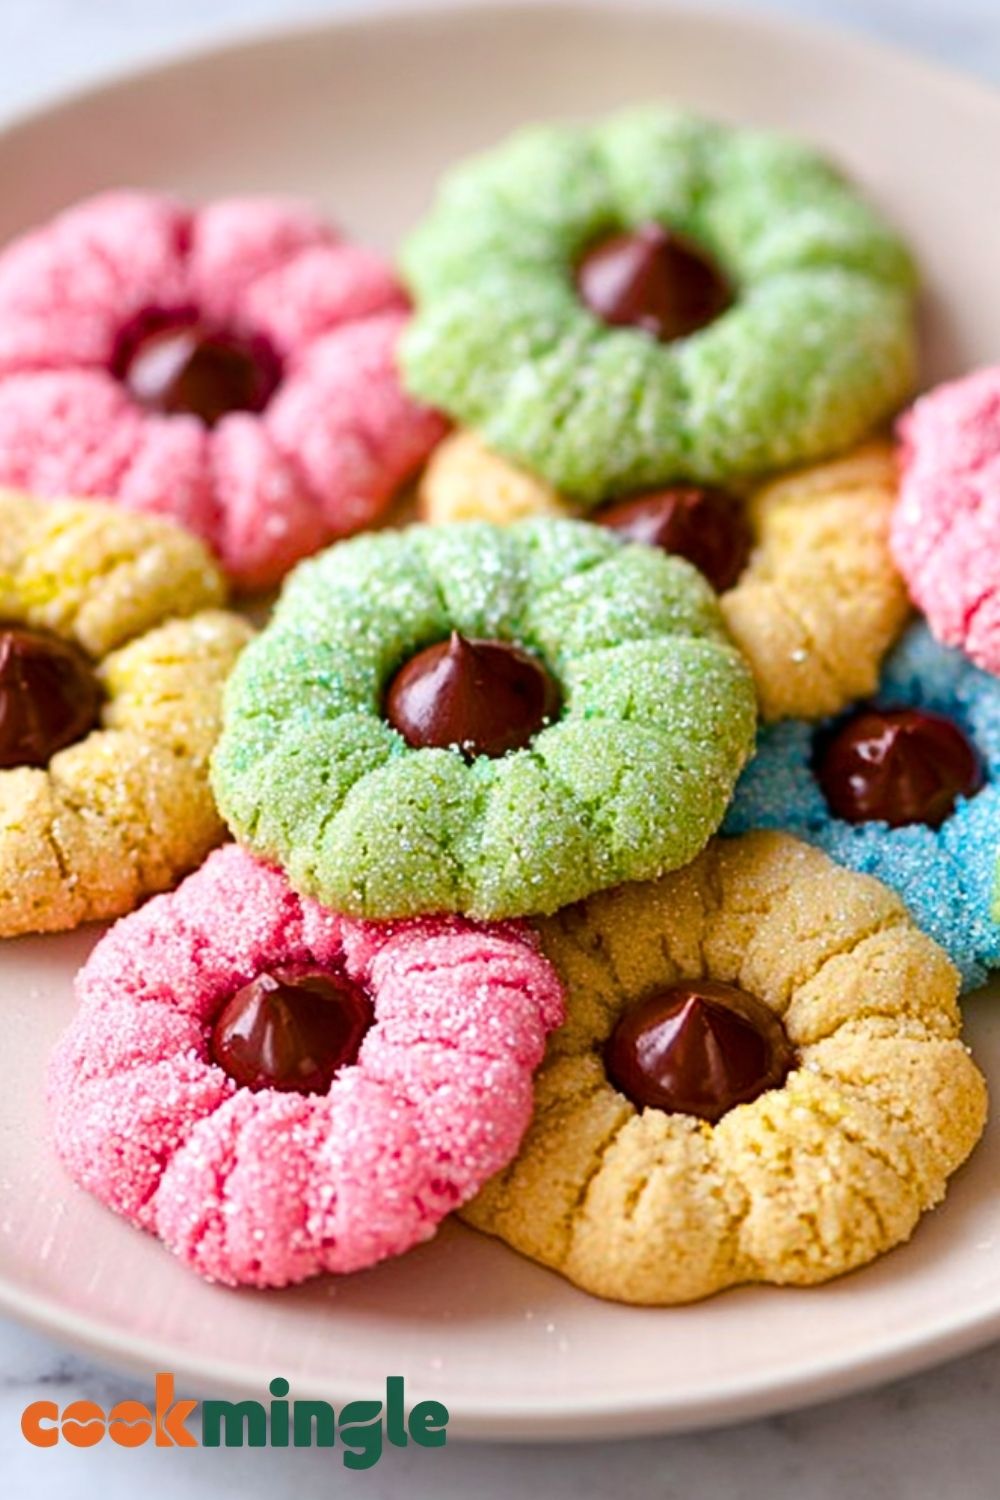
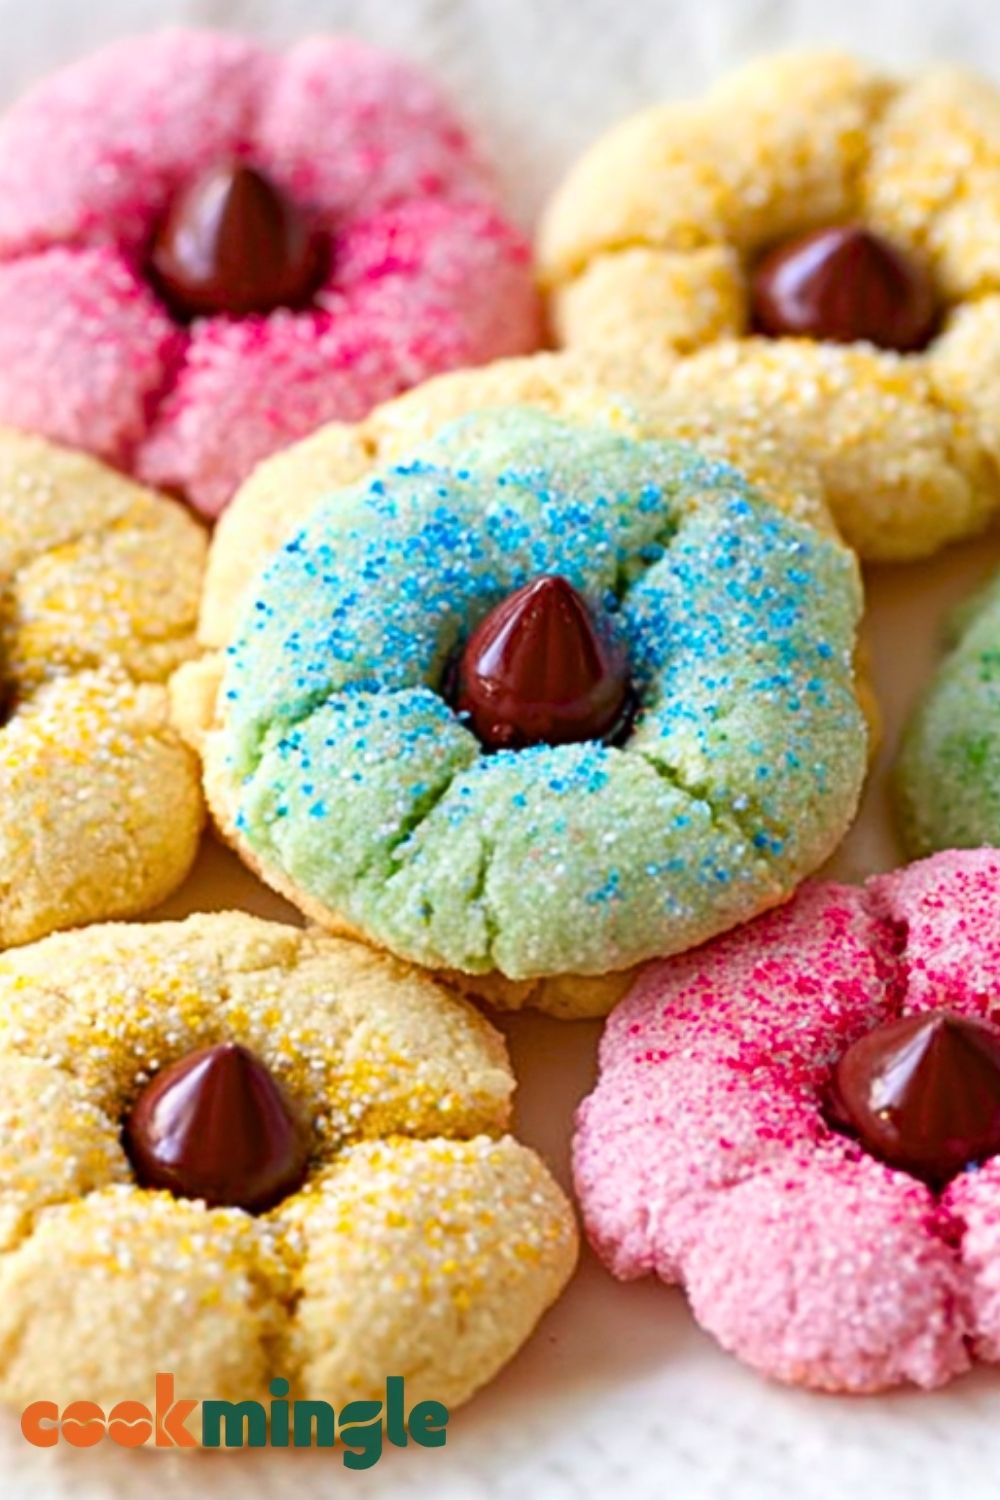
What I love most is how simple they are to make while still looking like something straight out of a bakery display. The crackled tops, the sugary sparkle, and that classic chocolate kiss in the center create a perfect balance of texture and flavor. It’s one of those recipes I find myself coming back to every spring.
Why You’ll Love This Easter Blossom Cookies
These cookies are as fun to make as they are to eat. The dough comes together quickly, and adding those soft pastel colors makes the process feel creative and festive. They’re perfect for baking with family or adding a pop of color to your dessert table.
Beyond their appearance, the flavor is wonderfully balanced. You get a soft, buttery cookie with just the right amount of sweetness, paired with a rich chocolate center. Plus, they stay soft for days, making them a great make-ahead treat.
What Kind of Chocolate Should I Use for Easter Blossom Cookies?
The classic choice is a chocolate kiss, which gives that signature look and creamy texture. Milk chocolate is the most popular, but dark chocolate offers a richer contrast, while white chocolate can add an extra touch of sweetness.
If you want to get creative, you can even use flavored chocolate kisses or small chocolate truffles. The key is choosing something that melts slightly when pressed into the warm cookie but still holds its shape.
Options for Substitutions
If you’re missing an ingredient or want to tweak the recipe, there are plenty of easy swaps. Butter can be replaced with margarine, though it may slightly affect the flavor. For a different sweetness profile, brown sugar can be used in place of white sugar for a deeper taste.
For coloring, gel food coloring works best, but liquid food coloring can be used in a pinch—just add it gradually. And if sprinkles aren’t available, rolling the dough in colored sugar works just as well to create that festive finish.
Ingredients for this Easter Blossom Cookies
All-purpose flour
This forms the base of the cookies, giving them structure while still allowing for a soft and tender crumb.
Baking soda
Helps the cookies rise slightly and contributes to that signature crackled surface.
Salt
Balances the sweetness and enhances all the flavors in the dough.
Unsalted butter
Provides richness and a soft, melt-in-your-mouth texture. Using unsalted butter allows better control over the overall saltiness.
Granulated sugar
Sweetens the cookies and also plays a role in creating the slightly crisp exterior.
Egg
Binds the ingredients together and adds moisture, ensuring the cookies stay soft.
Vanilla extract
Adds warmth and depth of flavor that complements both the cookie base and the chocolate center.
Food coloring (pastel shades)
Gives the cookies their festive Easter appearance. Gel-based colors are ideal for vibrant tones without altering texture.
Colored sprinkles or sanding sugar
Adds a decorative sparkle and a slight crunch to the outside of each cookie.
Chocolate kisses
The centerpiece of the cookie, providing a rich, creamy chocolate contrast to the soft cookie base.
Step 1: Prepare the Dry Ingredients
In a medium bowl, whisk together the all-purpose flour, baking soda, and salt. This step ensures the leavening agent is evenly distributed, which helps the cookies bake uniformly. Set this mixture aside while you prepare the wet ingredients.
Step 2: Cream the Butter and Sugar
In a large mixing bowl, beat the unsalted butter and granulated sugar together until the mixture becomes light and fluffy. This usually takes about 2–3 minutes with an electric mixer. Proper creaming incorporates air, which contributes to a softer texture.
Step 3: Add Egg and Vanilla
Crack in the egg and pour in the vanilla extract. Mix until fully combined. The mixture should look smooth and slightly glossy, indicating everything is well incorporated.
Step 4: Combine Wet and Dry Mixtures
Gradually add the dry ingredients to the wet mixture, mixing on low speed. Continue until a soft dough forms. Avoid overmixing, as this can make the cookies dense instead of tender.
Step 5: Divide and Color the Dough
Split the dough into separate portions depending on how many colors you want. Add a small amount of food coloring to each portion and mix until the color is evenly distributed. Adjust the intensity as desired.
Step 6: Shape the Cookies
Scoop small portions of dough (about 1 tablespoon each) and roll them into smooth balls. This helps create evenly sized cookies that bake at the same rate.
Step 7: Coat with Sprinkles
Roll each dough ball in colored sprinkles or sanding sugar until fully coated. This not only adds decoration but also a slight texture contrast.
Step 8: Bake the Cookies
Place the dough balls on a lined baking sheet, leaving space between each one. Bake in a preheated oven at 350°F (175°C) for about 8–10 minutes. The cookies should look slightly puffed with soft centers.
Step 9: Add the Chocolate Kisses
Immediately after removing the cookies from the oven, gently press a chocolate kiss into the center of each cookie. The heat from the cookie will slightly melt the chocolate, helping it stick in place.
Step 10: Cool and Set
Allow the cookies to cool on the baking sheet for a few minutes before transferring them to a wire rack. This helps them firm up while maintaining a soft interior.
Step 11: Final Touches and Serving
Once completely cooled, the chocolate will set and the cookies will be ready to serve. Arrange them on a platter for a colorful and festive presentation that’s perfect for Easter celebrations.
How Long to Prepare the Easter Blossom Cookies
Preparing Easter Blossom Cookies is refreshingly simple and doesn’t demand hours in the kitchen. From start to finish, the process is quite manageable, making it ideal for both quick baking sessions and more relaxed weekend treats. The dough itself comes together in about 15 minutes, including mixing and coloring, which is perfect if you enjoy a bit of creativity without a big time commitment.
Baking happens quickly as well. Each batch only takes around 8–10 minutes in the oven, and since the cookies are small, you can bake multiple trays in a short amount of time. Factoring in cooling and decorating with chocolate kisses, you’re looking at roughly 30–40 minutes total, depending on how many batches you prepare.
Tips for Perfect Easter Blossom Cookies
Use room temperature butter for smoother creaming and better texture. Cold butter won’t incorporate properly, while overly melted butter can lead to flat cookies.
Chill the dough briefly if it feels too soft to handle. Even 10–15 minutes in the fridge can make shaping much easier and help the cookies keep their form.
Add the chocolate kisses immediately after baking while the cookies are still warm. This ensures they stick perfectly without melting too much.
For vibrant colors, use gel food coloring rather than liquid. It provides stronger color without altering the dough consistency.
Bake one tray at a time in the center of the oven for even heat distribution and consistent results.
Watch Out for These Mistakes While Cooking
Overbaking is one of the most common issues. The cookies should look slightly underdone in the center when you take them out—they will continue to set as they cool.
Using too much flour can make the cookies dry and crumbly. Always measure carefully, preferably using the spoon-and-level method.
Skipping the spacing on the baking sheet can cause cookies to spread into each other, losing their shape.
Adding the chocolate kisses too late can prevent them from sticking properly. Timing matters here.
Overmixing the dough after adding flour can result in tougher cookies instead of soft, tender ones.
What to Serve With Easter Blossom Cookies?
Fresh Fruit Salad
The lightness of fresh fruit balances the sweetness of the cookies and adds a refreshing contrast.
Milk or Chocolate Milk
A classic pairing that enhances the cookie’s flavor and makes it more enjoyable, especially for kids.
Hot Tea
A mild tea, such as chamomile or green tea, complements the sweetness without overpowering it.
Coffee or Latte
The slight bitterness of coffee pairs beautifully with the sugary cookie and chocolate center.
Vanilla Ice Cream
Serving these cookies with a scoop of ice cream turns them into a delightful dessert experience.
Storage Instructions
Store the cookies in an airtight container at room temperature for up to 5 days. Keeping them sealed helps maintain their softness and prevents them from drying out.
If you plan to store them longer, refrigeration is an option, though it may slightly firm up the texture. Just allow them to come to room temperature before serving for the best taste.
For longer storage, these cookies freeze well. Place them in a freezer-safe container, separating layers with parchment paper, and store for up to 2 months. Thaw at room temperature when ready to enjoy.
Estimated Nutrition
Each cookie is approximately:
- Calories: 120–140
- Carbohydrates: 16g
- Sugar: 10g
- Fat: 6g
- Protein: 1–2g
Values may vary depending on ingredients used and portion size.
Frequently Asked Questions
Can I make the dough ahead of time?
Yes, you can prepare the dough up to 24 hours in advance and store it in the refrigerator. Let it sit at room temperature for a few minutes before shaping.
Can I freeze the cookie dough?
Absolutely. Shape the dough into balls and freeze them. When ready to bake, roll in sprinkles and bake directly from frozen, adding an extra minute or two.
Why did my cookies crack too much?
Cracking is normal, but excessive cracking can be due to too much flour or overbaking. Make sure to measure carefully and monitor baking time.
Can I use different chocolates?
Yes, you can use dark, white, or even caramel-filled chocolates depending on your preference.
How do I keep the cookies soft?
Store them in an airtight container and avoid overbaking. Adding a slice of bread to the container can also help retain moisture.
Conclusion
Easter Blossom Cookies are the perfect blend of simplicity, color, and flavor. They bring a festive touch to any table while being easy enough for bakers of all levels to enjoy making. With their soft texture, sweet coating, and chocolate center, they’re bound to become a seasonal favorite you’ll look forward to every year.
Easter Blossom Cookies
- Total Time: 30 minutes
- Yield: 24 cookies
- Diet: Vegetarian
Description
Bright, colorful, and irresistibly soft, these Easter Blossom Cookies are the perfect easy dessert for spring celebrations. With their pastel hues, sugary coating, and classic chocolate kiss center, they make a fun baking project and a beautiful addition to any dessert table. Whether you’re looking for quick baking ideas, festive treats, or simple homemade cookies, this easy recipe delivers both flavor and charm in every bite.
Ingredients
2 1/4 cups all-purpose flour
1 teaspoon baking soda
1/4 teaspoon salt
1/2 cup unsalted butter softened
3/4 cup granulated sugar
1 large egg
1 teaspoon vanilla extract
food coloring pastel shades as needed
1/2 cup colored sprinkles or sanding sugar
24 chocolate kisses
Instructions
1. Preheat oven to 350°F (175°C) and line baking sheets with parchment paper.
2. Whisk together flour, baking soda, and salt.
3. Beat butter and sugar until light and fluffy.
4. Add egg and vanilla extract and mix well.
5. Gradually combine dry ingredients with wet ingredients.
6. Divide dough and mix in food coloring.
7. Roll into small balls.
8. Coat with sprinkles or sanding sugar.
9. Place on baking sheet spaced apart.
10. Bake for 8–10 minutes.
11. Press chocolate kiss into center immediately after baking.
12. Cool before serving.
Notes
Use gel food coloring for best vibrant results.
Avoid overbaking to keep cookies soft.
Press chocolate immediately after baking for best shape.
- Prep Time: 20 minutes
- Cook Time: 10 minutes
- Category: Dessert
- Method: Baking
- Cuisine: American
Nutrition
- Serving Size: 1 cookie
- Calories: 130
- Sugar: 10g
- Sodium: 70mg
- Fat: 6g
- Saturated Fat: 3.5g
- Unsaturated Fat: 2g
- Trans Fat: 0g
- Carbohydrates: 16g
- Fiber: 0.5g
- Protein: 1.5g
- Cholesterol: 15mg