
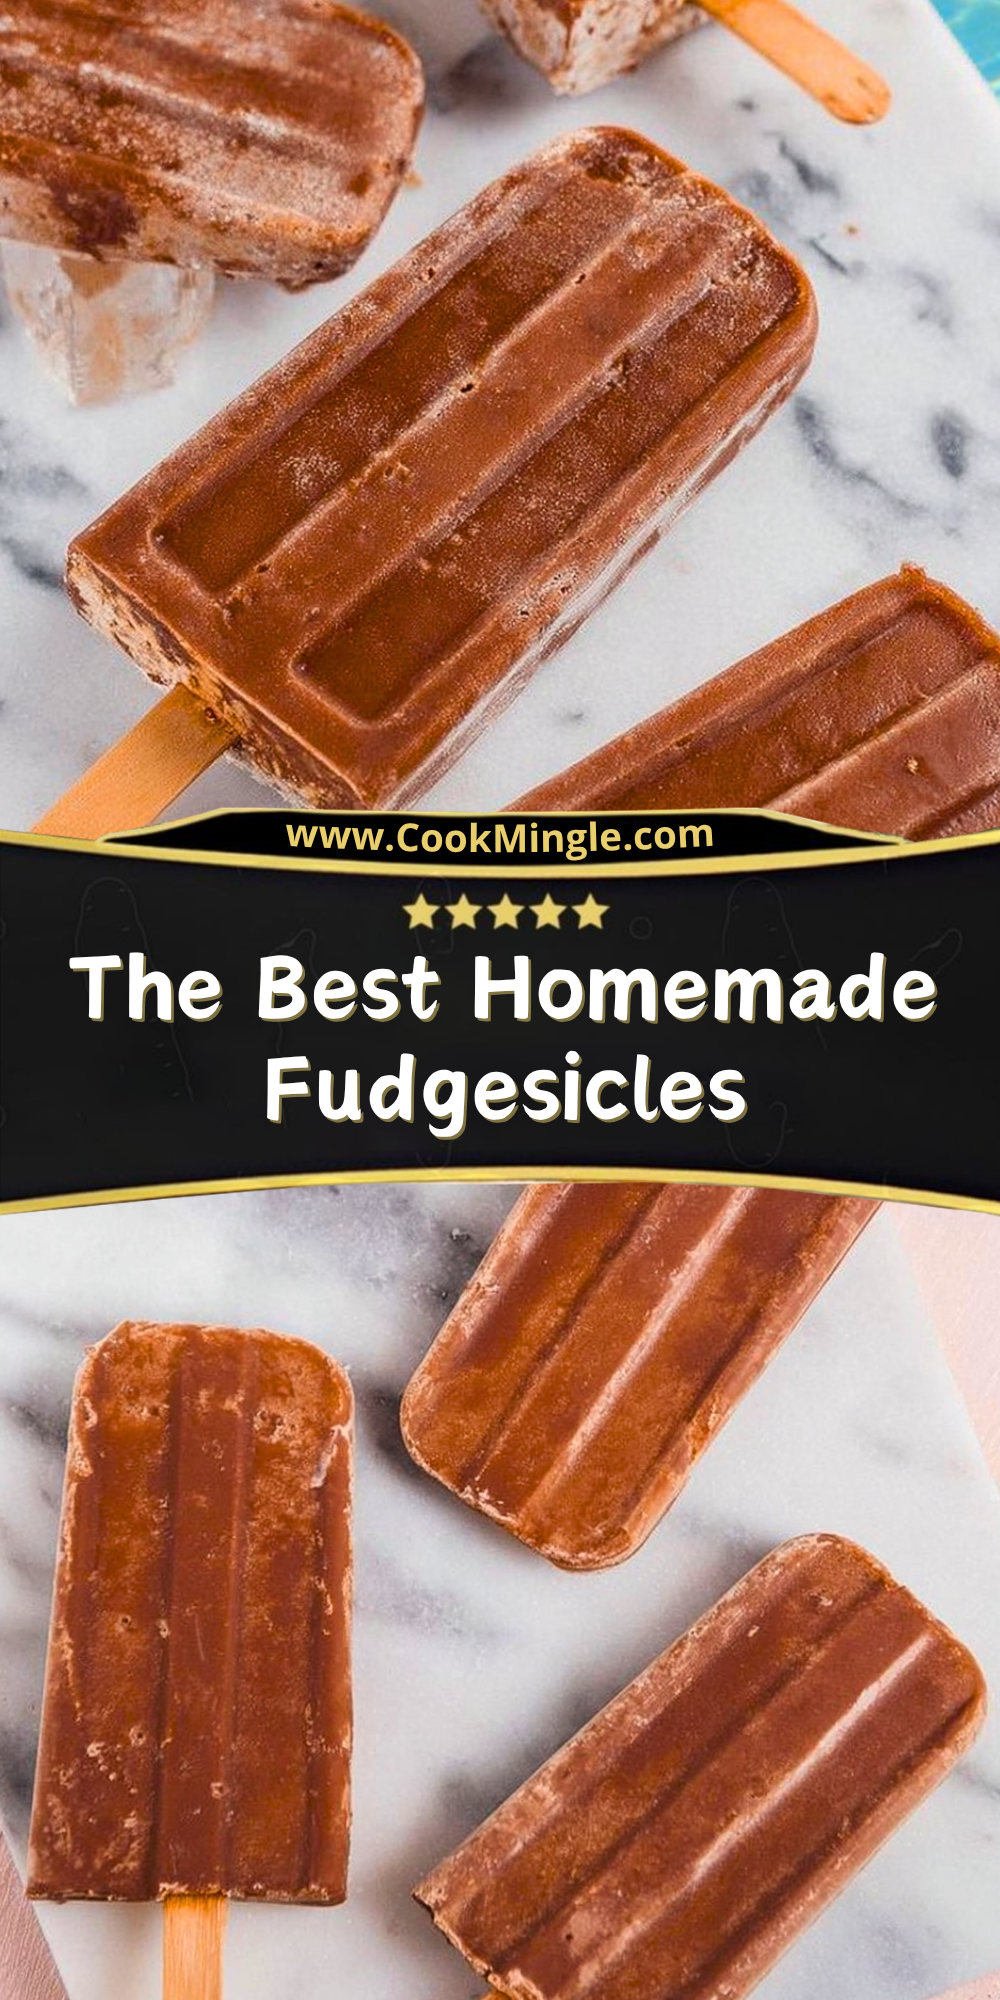
I still remember the first time I made these homemade fudgesicles on a warm afternoon—I was craving something rich, chocolatey, and refreshing, but didn’t want anything overly complicated. After a bit of experimenting, I landed on a version that was not only incredibly easy to make but also had that nostalgic creamy texture I used to love as a kid.

What I enjoy most about this recipe is how it transforms simple pantry ingredients into a frozen treat that feels indulgent and comforting. Every bite is smooth, deeply chocolatey, and just sweet enough to satisfy without being overwhelming.
Why You’ll Love This Fudgesicles
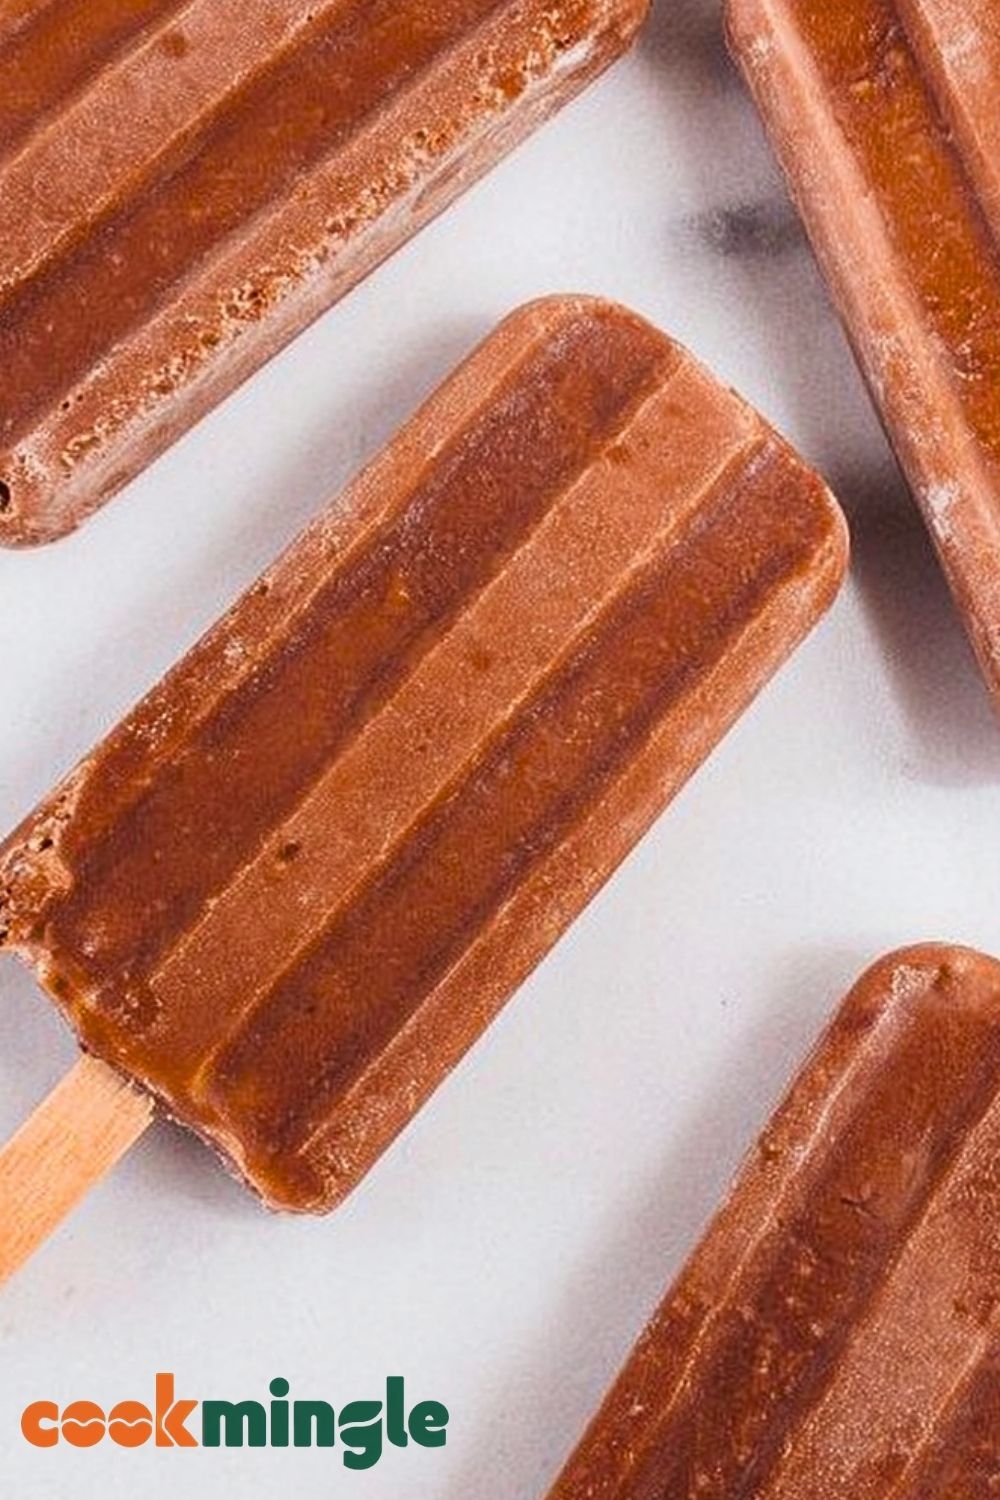
These fudgesicles strike the perfect balance between creamy and icy, giving you that classic texture without needing any fancy equipment. They’re made with everyday ingredients, which means you can whip them up whenever the craving hits. I also love how customizable they are—you can easily tweak the sweetness or richness to suit your taste.
They’re also a great make-ahead dessert. Once they’re in the freezer, you’ve got a ready-to-go treat waiting for you anytime you need a cool pick-me-up.
What Makes Homemade Fudgesicles So Creamy?
The secret comes down to the combination of dairy and cocoa, along with the way the mixture is cooked before freezing. Heating the base helps dissolve the cocoa fully and creates a smoother texture, while ingredients like milk and a bit of cream add that signature richness.
If you’ve ever had icy homemade popsicles before, this method avoids that completely by building a silky base that freezes beautifully.
Options for Substitutions
If you’re looking to adjust the recipe, there are a few easy swaps you can make. For a dairy-free version, you can use almond milk, oat milk, or coconut milk—each will bring a slightly different flavor profile. Coconut milk, in particular, adds extra creaminess.
You can also replace granulated sugar with maple syrup or honey for a more natural sweetness. If you prefer a deeper chocolate flavor, try using dark cocoa powder instead of regular cocoa.
For an extra twist, a splash of vanilla extract or a pinch of espresso powder can elevate the chocolate flavor even more.
Ingredients for this Fudgesicles
Whole Milk
This forms the base of the fudgesicles, giving them a smooth texture and helping dissolve the cocoa powder evenly. Using whole milk provides the best balance of richness without being too heavy.
Heavy Cream
Adds a luxurious creaminess that keeps the fudgesicles from becoming icy. This ingredient is key to achieving that classic, velvety bite.
Unsweetened Cocoa Powder
Delivers the deep chocolate flavor. A high-quality cocoa powder will make a noticeable difference in taste and color.
Granulated Sugar
Sweetens the mixture and balances the bitterness of the cocoa. It also helps improve the texture when frozen.
Cornstarch
Acts as a thickening agent. This helps create a pudding-like base that freezes into a creamy, non-icy popsicle.
Salt
A small pinch enhances the chocolate flavor and balances the sweetness.
Vanilla Extract
Adds depth and rounds out the overall flavor, making the chocolate taste richer.
Chocolate Chips (Optional)
For an extra indulgent touch, these melt into the mixture and intensify the chocolate flavor.
Step 1: Combine the Dry Ingredients
In a medium saucepan, whisk together the cocoa powder, granulated sugar, cornstarch, and salt. Mixing these ingredients first ensures there are no lumps once the liquid is added.
Step 2: Add the Milk and Cream
Gradually pour in the whole milk and heavy cream while whisking continuously. This step helps create a smooth, lump-free base before heating.
Step 3: Heat the Mixture
Place the saucepan over medium heat and cook, stirring constantly. As the mixture heats, it will begin to thicken. This usually takes about 5–8 minutes. Make sure to scrape the bottom and sides to prevent sticking or burning.
Step 4: Thicken to a Pudding Consistency
Continue cooking until the mixture becomes thick enough to coat the back of a spoon. This is crucial for achieving a creamy fudgesicle rather than an icy one.
Step 5: Remove from Heat and Add Flavorings
Take the saucepan off the heat and stir in the vanilla extract and chocolate chips (if using). Mix until the chocolate chips are fully melted and incorporated.
Step 6: Cool the Mixture
Allow the mixture to cool at room temperature for about 15–20 minutes. Stir occasionally to prevent a skin from forming on top.
Step 7: Pour into Molds
Carefully pour the cooled mixture into popsicle molds, leaving a small gap at the top to allow for expansion as they freeze.
Step 8: Insert Sticks
Place the popsicle sticks into the molds. If your molds don’t have built-in holders, freeze for about 1 hour first, then insert the sticks so they stay upright.
Step 9: Freeze Until Solid
Transfer the molds to the freezer and let them freeze for at least 6–8 hours, or until completely solid. Overnight freezing works best for the perfect texture.
Step 10: Unmold and Serve
To release the fudgesicles, run warm water over the outside of the molds for a few seconds. Gently pull them out and enjoy immediately.
How Long to Prepare the Fudgesicles
Making fudgesicles is surprisingly simple, and most of the effort comes from a short cooking process followed by freezing time. The active preparation—mixing, heating, and pouring—typically takes about 20 to 25 minutes. This includes the time needed to properly thicken the chocolate base so it freezes into that signature creamy texture.
Once the mixture is ready and poured into molds, the real magic happens in the freezer. You’ll need at least 6 to 8 hours for them to fully set, though I personally prefer leaving them overnight to ensure the best consistency. Planning ahead makes all the difference here.
Tips for Perfect Fudgesicles
Using high-quality cocoa powder will noticeably improve the flavor, giving you a richer and more satisfying chocolate taste. Stirring constantly while cooking is essential to prevent lumps and ensure a silky-smooth base.
Letting the mixture cool slightly before pouring into molds helps avoid condensation and ice crystals. Also, don’t skip the cornstarch—it’s what gives these fudgesicles their creamy, pudding-like texture instead of turning icy.
Watch Out for These Mistakes While Cooking
One common mistake is overheating the mixture, which can cause it to scorch or become too thick. Keep the heat at medium and stir continuously.
Another issue is not whisking the dry ingredients well before adding liquids, which can lead to clumps. Rushing the freezing process can also result in uneven texture, so give them enough time to fully set.
What to Serve With Fudgesicles?
Fresh Berries
The tartness of strawberries, raspberries, or blueberries pairs beautifully with the rich chocolate flavor.
Whipped Cream
A light topping of whipped cream adds an airy contrast to the dense, creamy fudgesicle.
Crushed Nuts
Almonds, peanuts, or hazelnuts add a satisfying crunch and a nutty depth.
Chocolate Drizzle
For chocolate lovers, an extra drizzle of melted chocolate enhances the indulgence.
Iced Coffee or Cold Brew
A chilled coffee drink complements the sweetness and makes it feel like a complete dessert experience.
Storage Instructions
Fudgesicles store very well, making them perfect for preparing in advance. Once fully frozen, you can either keep them in their molds or transfer them to an airtight container or freezer-safe bag.
If stacking them, place a piece of parchment paper between each fudgesicle to prevent sticking. They’ll stay fresh in the freezer for up to 2 weeks, though their texture is best within the first week.
To enjoy, let them sit at room temperature for a minute or two if they’re too firm straight out of the freezer.
Estimated Nutrition
Each fudgesicle contains approximately 120–180 calories, depending on the ingredients used. They typically include moderate amounts of carbohydrates from sugar, a small amount of protein from milk, and fats from cream.
Using alternative sweeteners or dairy-free options can adjust the nutritional profile to better suit your preferences.
Frequently Asked Questions
Can I make fudgesicles without cornstarch?
Yes, but the texture will be less creamy and more icy. Cornstarch helps create that smooth, pudding-like consistency.
Can I use plant-based milk?
Absolutely. Almond, oat, or coconut milk work well, though coconut milk will give the creamiest result.
Why are my fudgesicles icy?
This usually happens if the mixture wasn’t thickened מספיק before freezing or if there’s too much water content.
How do I remove fudgesicles from the mold easily?
Run warm water over the outside of the mold for a few seconds to loosen them without melting.
Can I reduce the sugar?
Yes, you can adjust the sweetness to your taste, but keep in mind that sugar also affects texture.
Conclusion
Homemade fudgesicles are one of those simple pleasures that never get old. With just a handful of ingredients and a bit of patience, you can create a frozen treat that’s creamy, rich, and far better than anything store-bought.
What I love most is how adaptable this recipe is—you can tweak flavors, adjust sweetness, or experiment with add-ins to make it your own. Once you try them, they’ll likely become a regular favorite in your freezer.
The Best Homemade Fudgesicles
- Total Time: 25 minutes + freezing
- Yield: 6 fudgesicles
- Diet: Vegetarian
Description
Craving a rich, chocolatey frozen treat that’s both easy to make and incredibly satisfying? These homemade fudgesicles are creamy, smooth, and perfect as a quick dessert, healthy snack, or refreshing summer treat. This easy recipe uses simple ingredients to create classic fudgesicles that fit perfectly into your food ideas, breakfast ideas, or dinner ideas lineup.
Ingredients
2 cups whole milk
1 cup heavy cream
1/2 cup unsweetened cocoa powder
3/4 cup granulated sugar
2 tablespoons cornstarch
1/4 teaspoon salt
1 teaspoon vanilla extract
1/2 cup chocolate chips (optional)
Instructions
1. In a saucepan, whisk together cocoa powder, sugar, cornstarch, and salt.
2. Gradually add milk and heavy cream while whisking until smooth.
3. Cook over medium heat, stirring constantly until thickened.
4. Continue cooking until it reaches a pudding-like consistency.
5. Remove from heat and stir in vanilla and chocolate chips.
6. Let cool for 15–20 minutes, stirring occasionally.
7. Pour into molds and leave space at the top.
8. Insert sticks and freeze for 6–8 hours or overnight.
9. Run warm water over molds to release and serve.
Notes
Use high-quality cocoa powder for best flavor.
Stir constantly while cooking to avoid lumps or burning.
Cool mixture slightly before pouring to prevent ice crystals.
- Prep Time: 10 minutes
- Cook Time: 15 minutes
- Category: Dessert
- Method: Stovetop + Freezing
- Cuisine: American
Nutrition
- Serving Size: 1 fudgesicle
- Calories: 150
- Sugar: 18g
- Sodium: 60mg
- Fat: 7g
- Saturated Fat: 4g
- Unsaturated Fat: 2g
- Trans Fat: 0g
- Carbohydrates: 22g
- Fiber: 2g
- Protein: 3g
- Cholesterol: 20mg