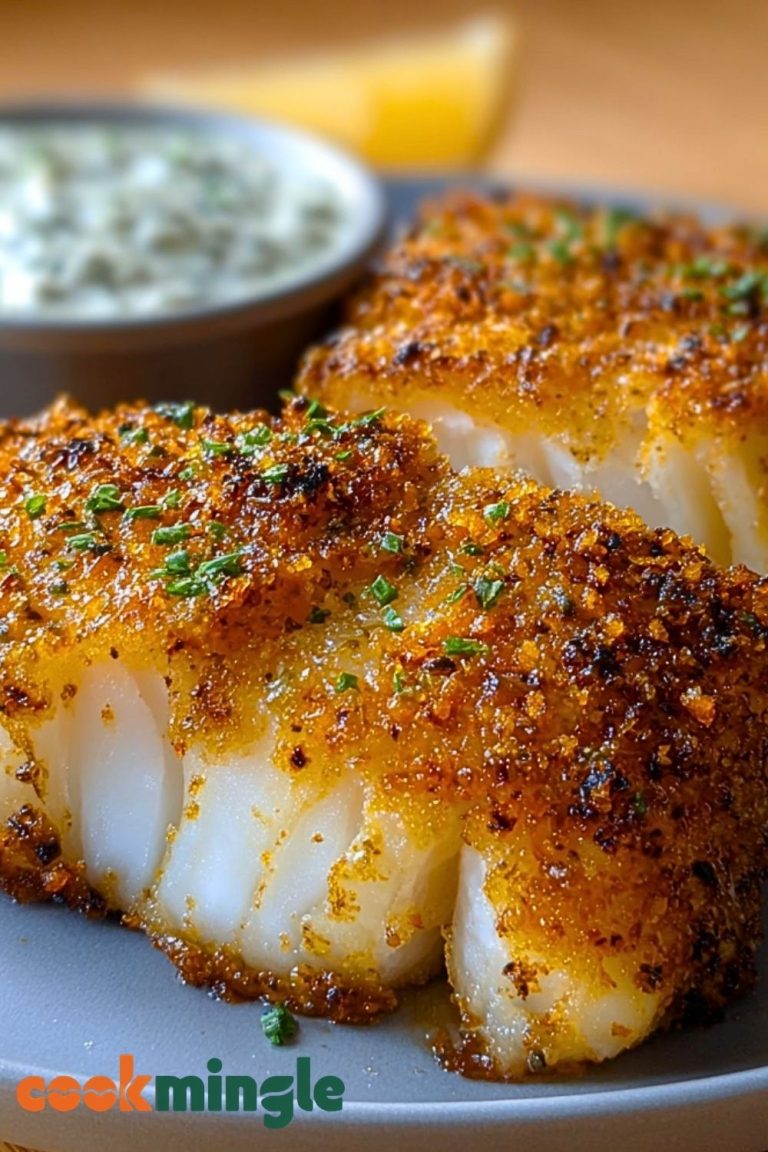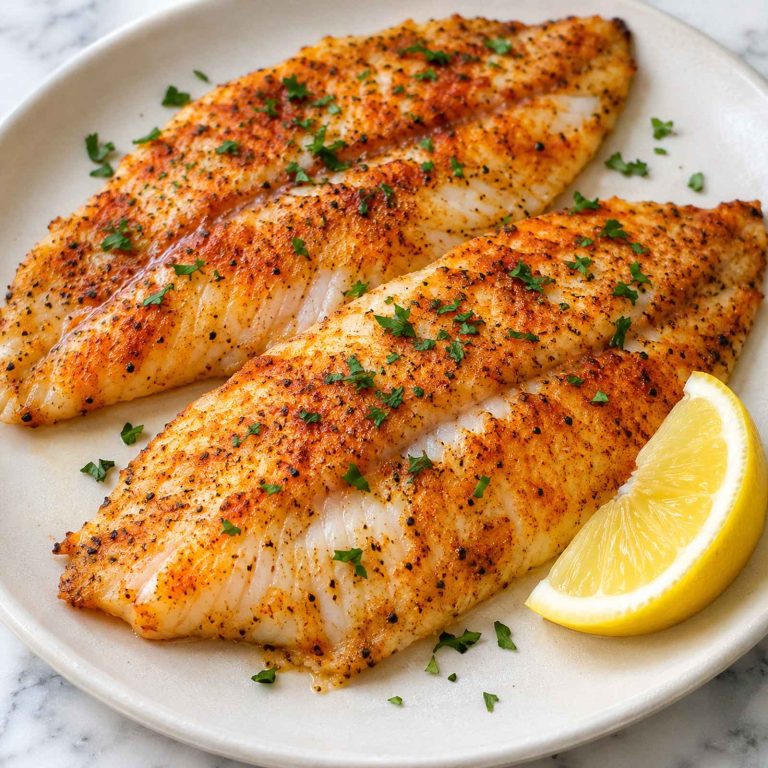
If you’re looking for a quick, healthy seafood dinner that comes together fast, look no further than the Air Fryer Tilapia!
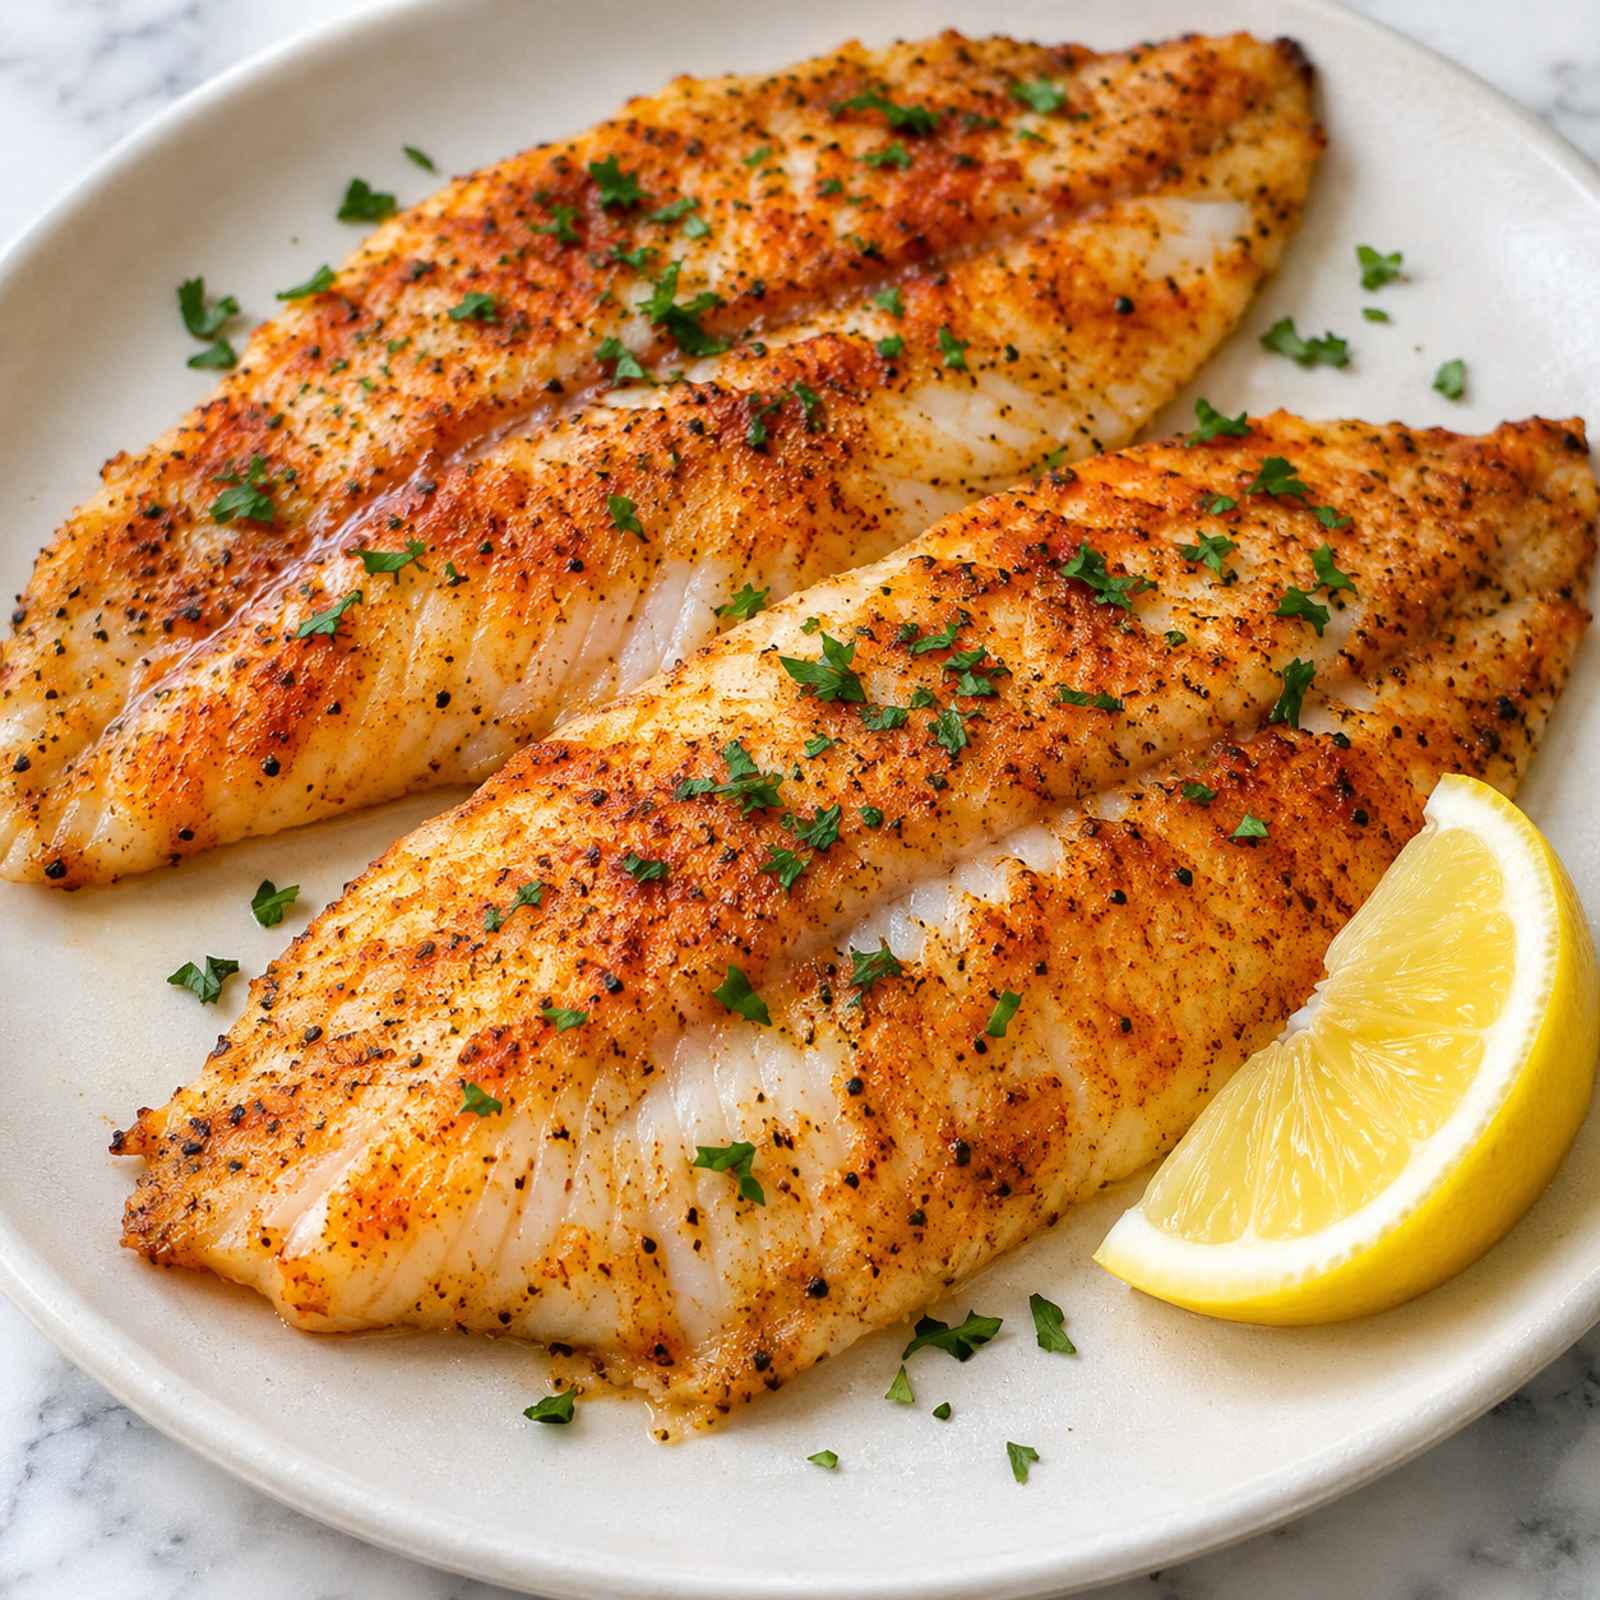
Thanks to the powerful circulating heat of the air fryer, this recipe is incredibly easy to prepare, making it a go-to option for busy weeknights.
Did you know that tilapia is one of the most widely farmed fish in the world because of its mild flavor and firm texture? With just a few pantry spices, you can whip up a lemon-kissed fish meal that will impress your family and friends.
Let’s dive into the ingredients, preparation, and some tips to make this dish truly shine!
In this post
Ingredients for Air Fryer Tilapia
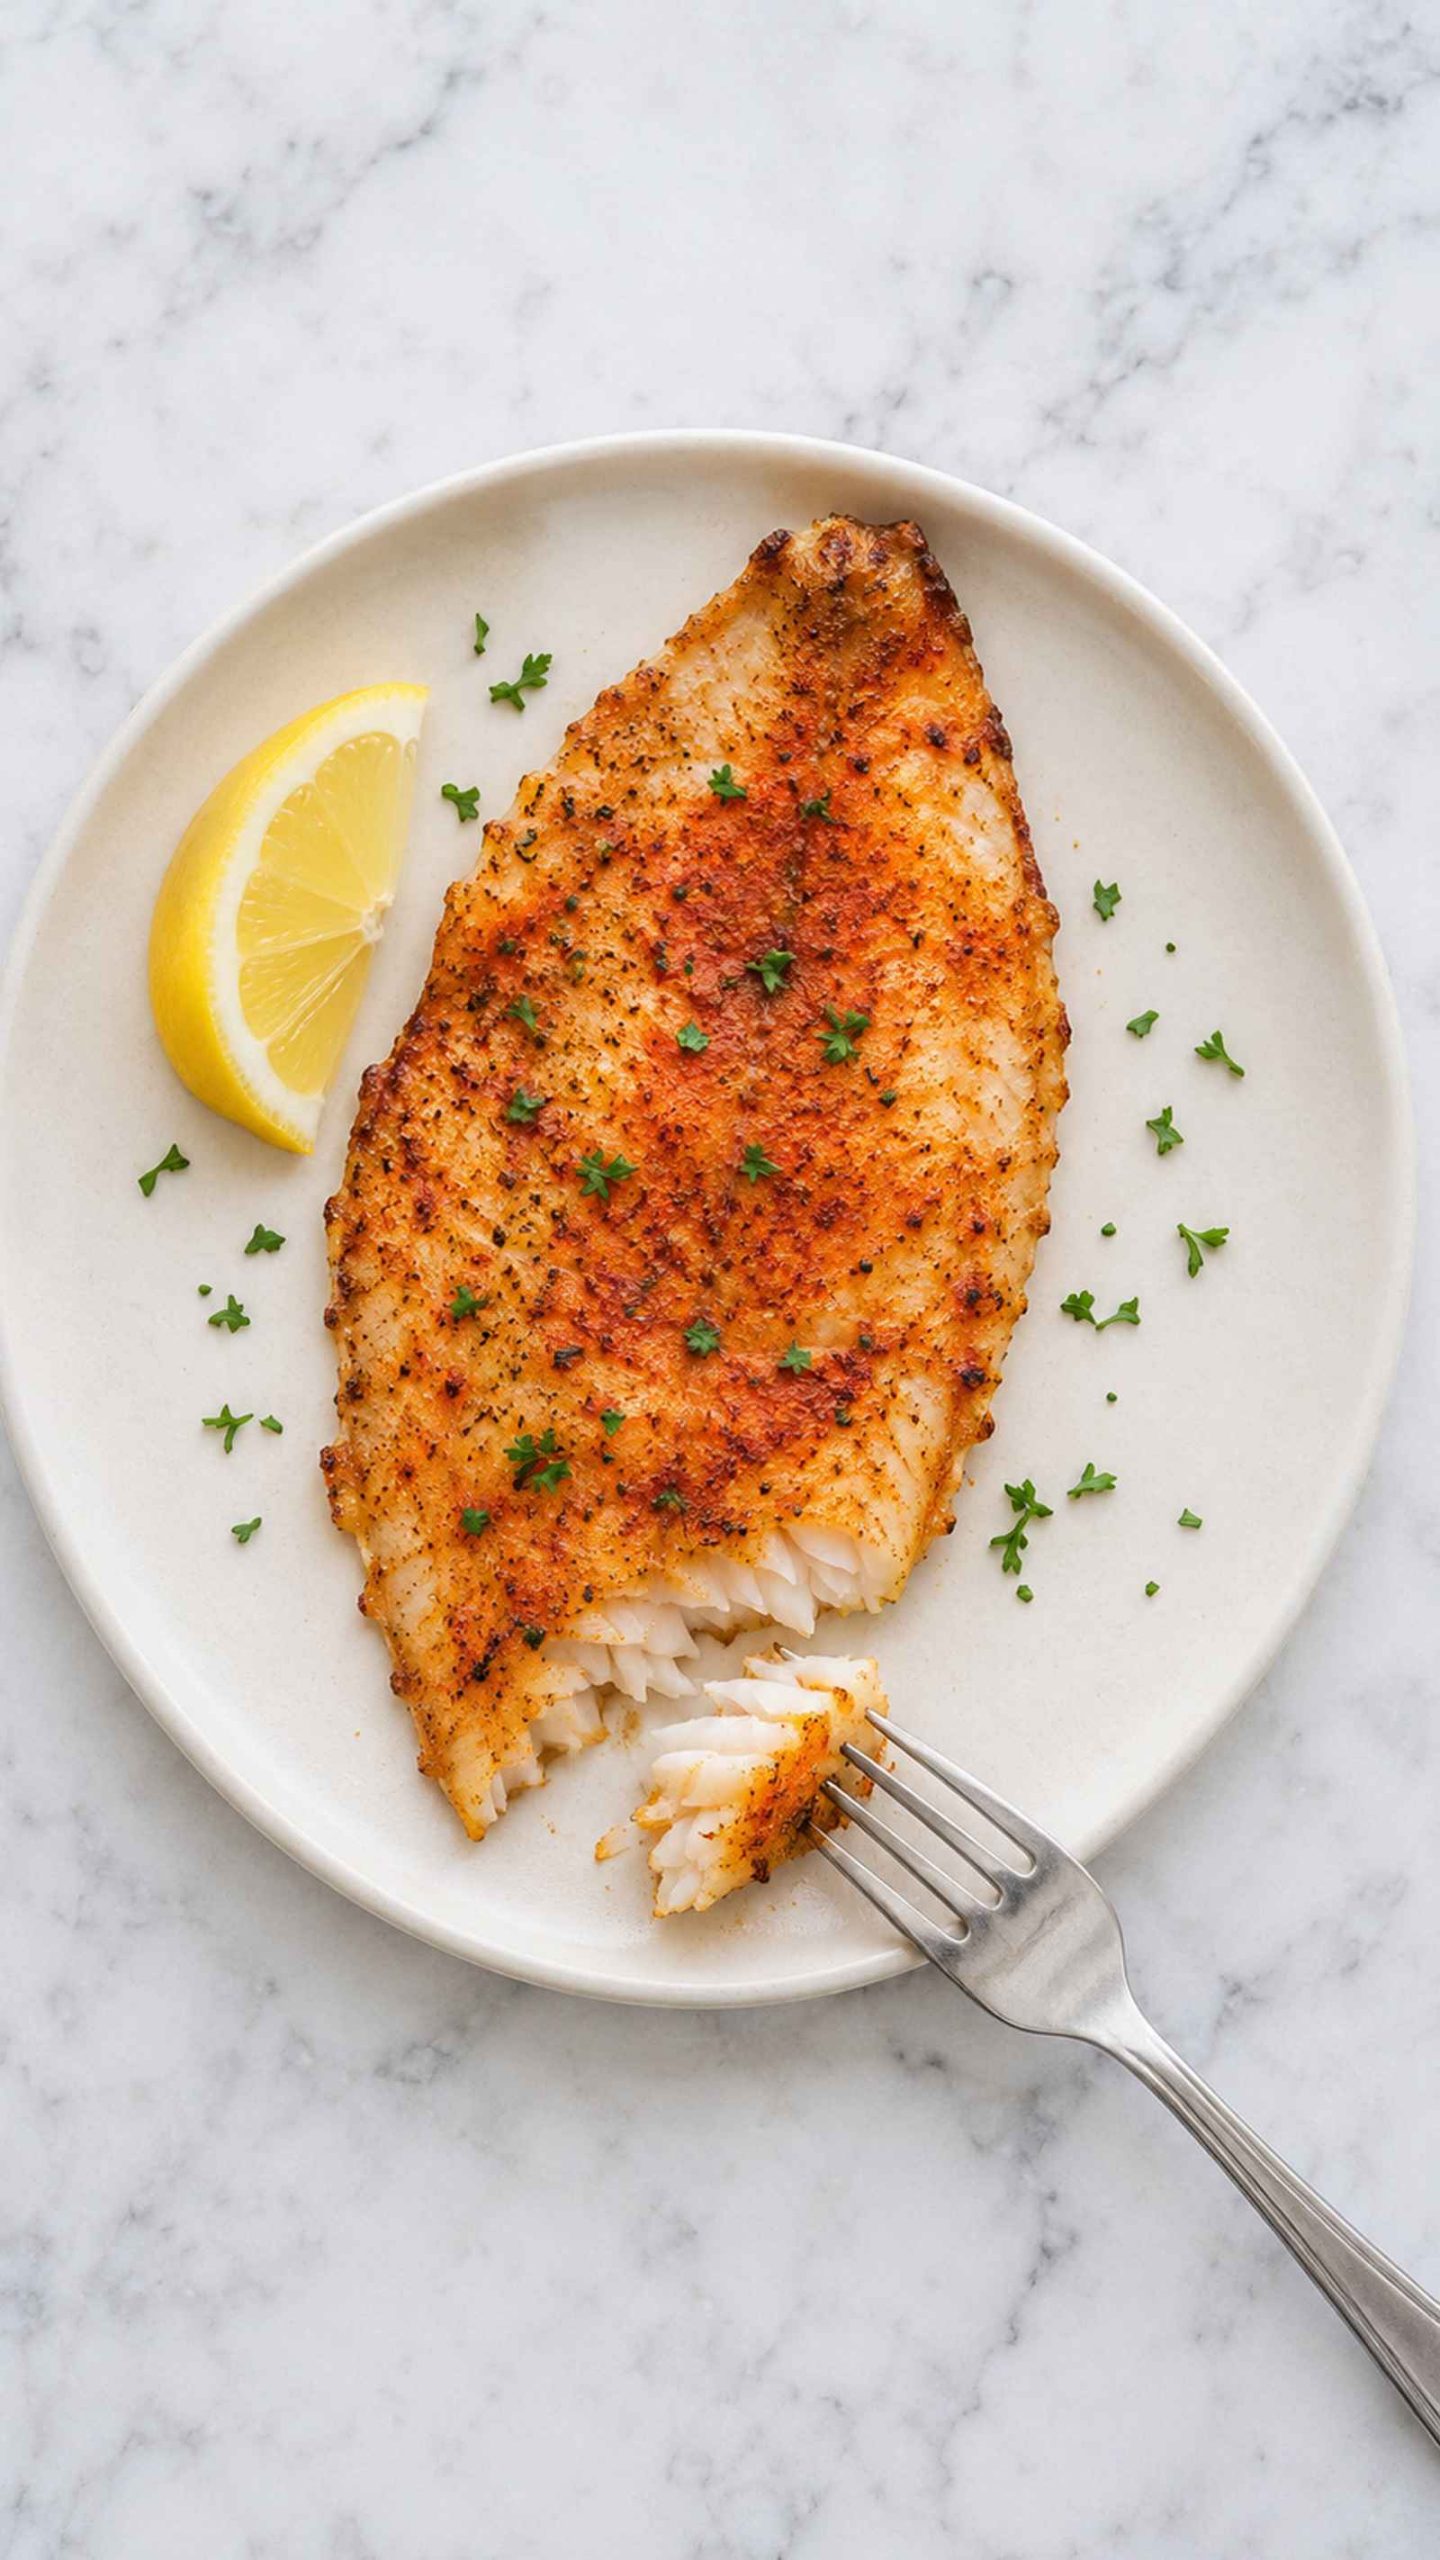
To create the perfect crispy-edged fish, you’ll need the following ingredients:
Essential Ingredients
- 24 ounces tilapia fillets cut into 4-6 ounce pieces, about 4 fillets
- 1 tablespoon avocado oil for helping the seasoning stick and crisp the edges
- 2 teaspoons paprika for smoky color and warmth
- 1/2 teaspoon coarse kosher salt for balanced seasoning
- 1/2 teaspoon black pepper freshly ground for the best aroma
- 1/2 teaspoon garlic powder for savory depth
- 1/2 teaspoon onion powder for a mellow, rounded flavor
- 1 lemon cut into quarters for serving
- 1 tablespoon finely chopped parsley for fresh, bright garnish
Optional Ingredients
- Cayenne pepper a pinch for a gentle kick
- Melted butter 1 tablespoon, drizzled over the fish for extra richness
- Fresh dill chopped, for a herby twist
How to Prepare the Tilapia
Here’s how to make it:
- Preheat the Air Fryer: Set your air fryer to 400°F (200°C) and preheat for 3 minutes.
- Pat the Fish Dry: Use paper towels to pat each tilapia fillet completely dry so the seasoning sticks and the edges crisp up.
- Season the Fish: Whisk the paprika, coarse kosher salt, black pepper, garlic powder, and onion powder together in a small bowl.
- Brush and Coat: Brush both sides of each fillet with avocado oil, then press the spice mixture evenly onto every surface.
- Air Fry: Arrange the fillets in a single layer without overlapping, working in batches if needed, then cook for 8-10 minutes, flipping halfway, until the fish flakes easily and reaches 145°F (63°C).
Assembly: Bringing It All Together
Once your tilapia is cooked, it’s time to finish your plate!
- Rest the Fish: Transfer the fillets to a serving platter and let them rest for 2 minutes so the juices settle.
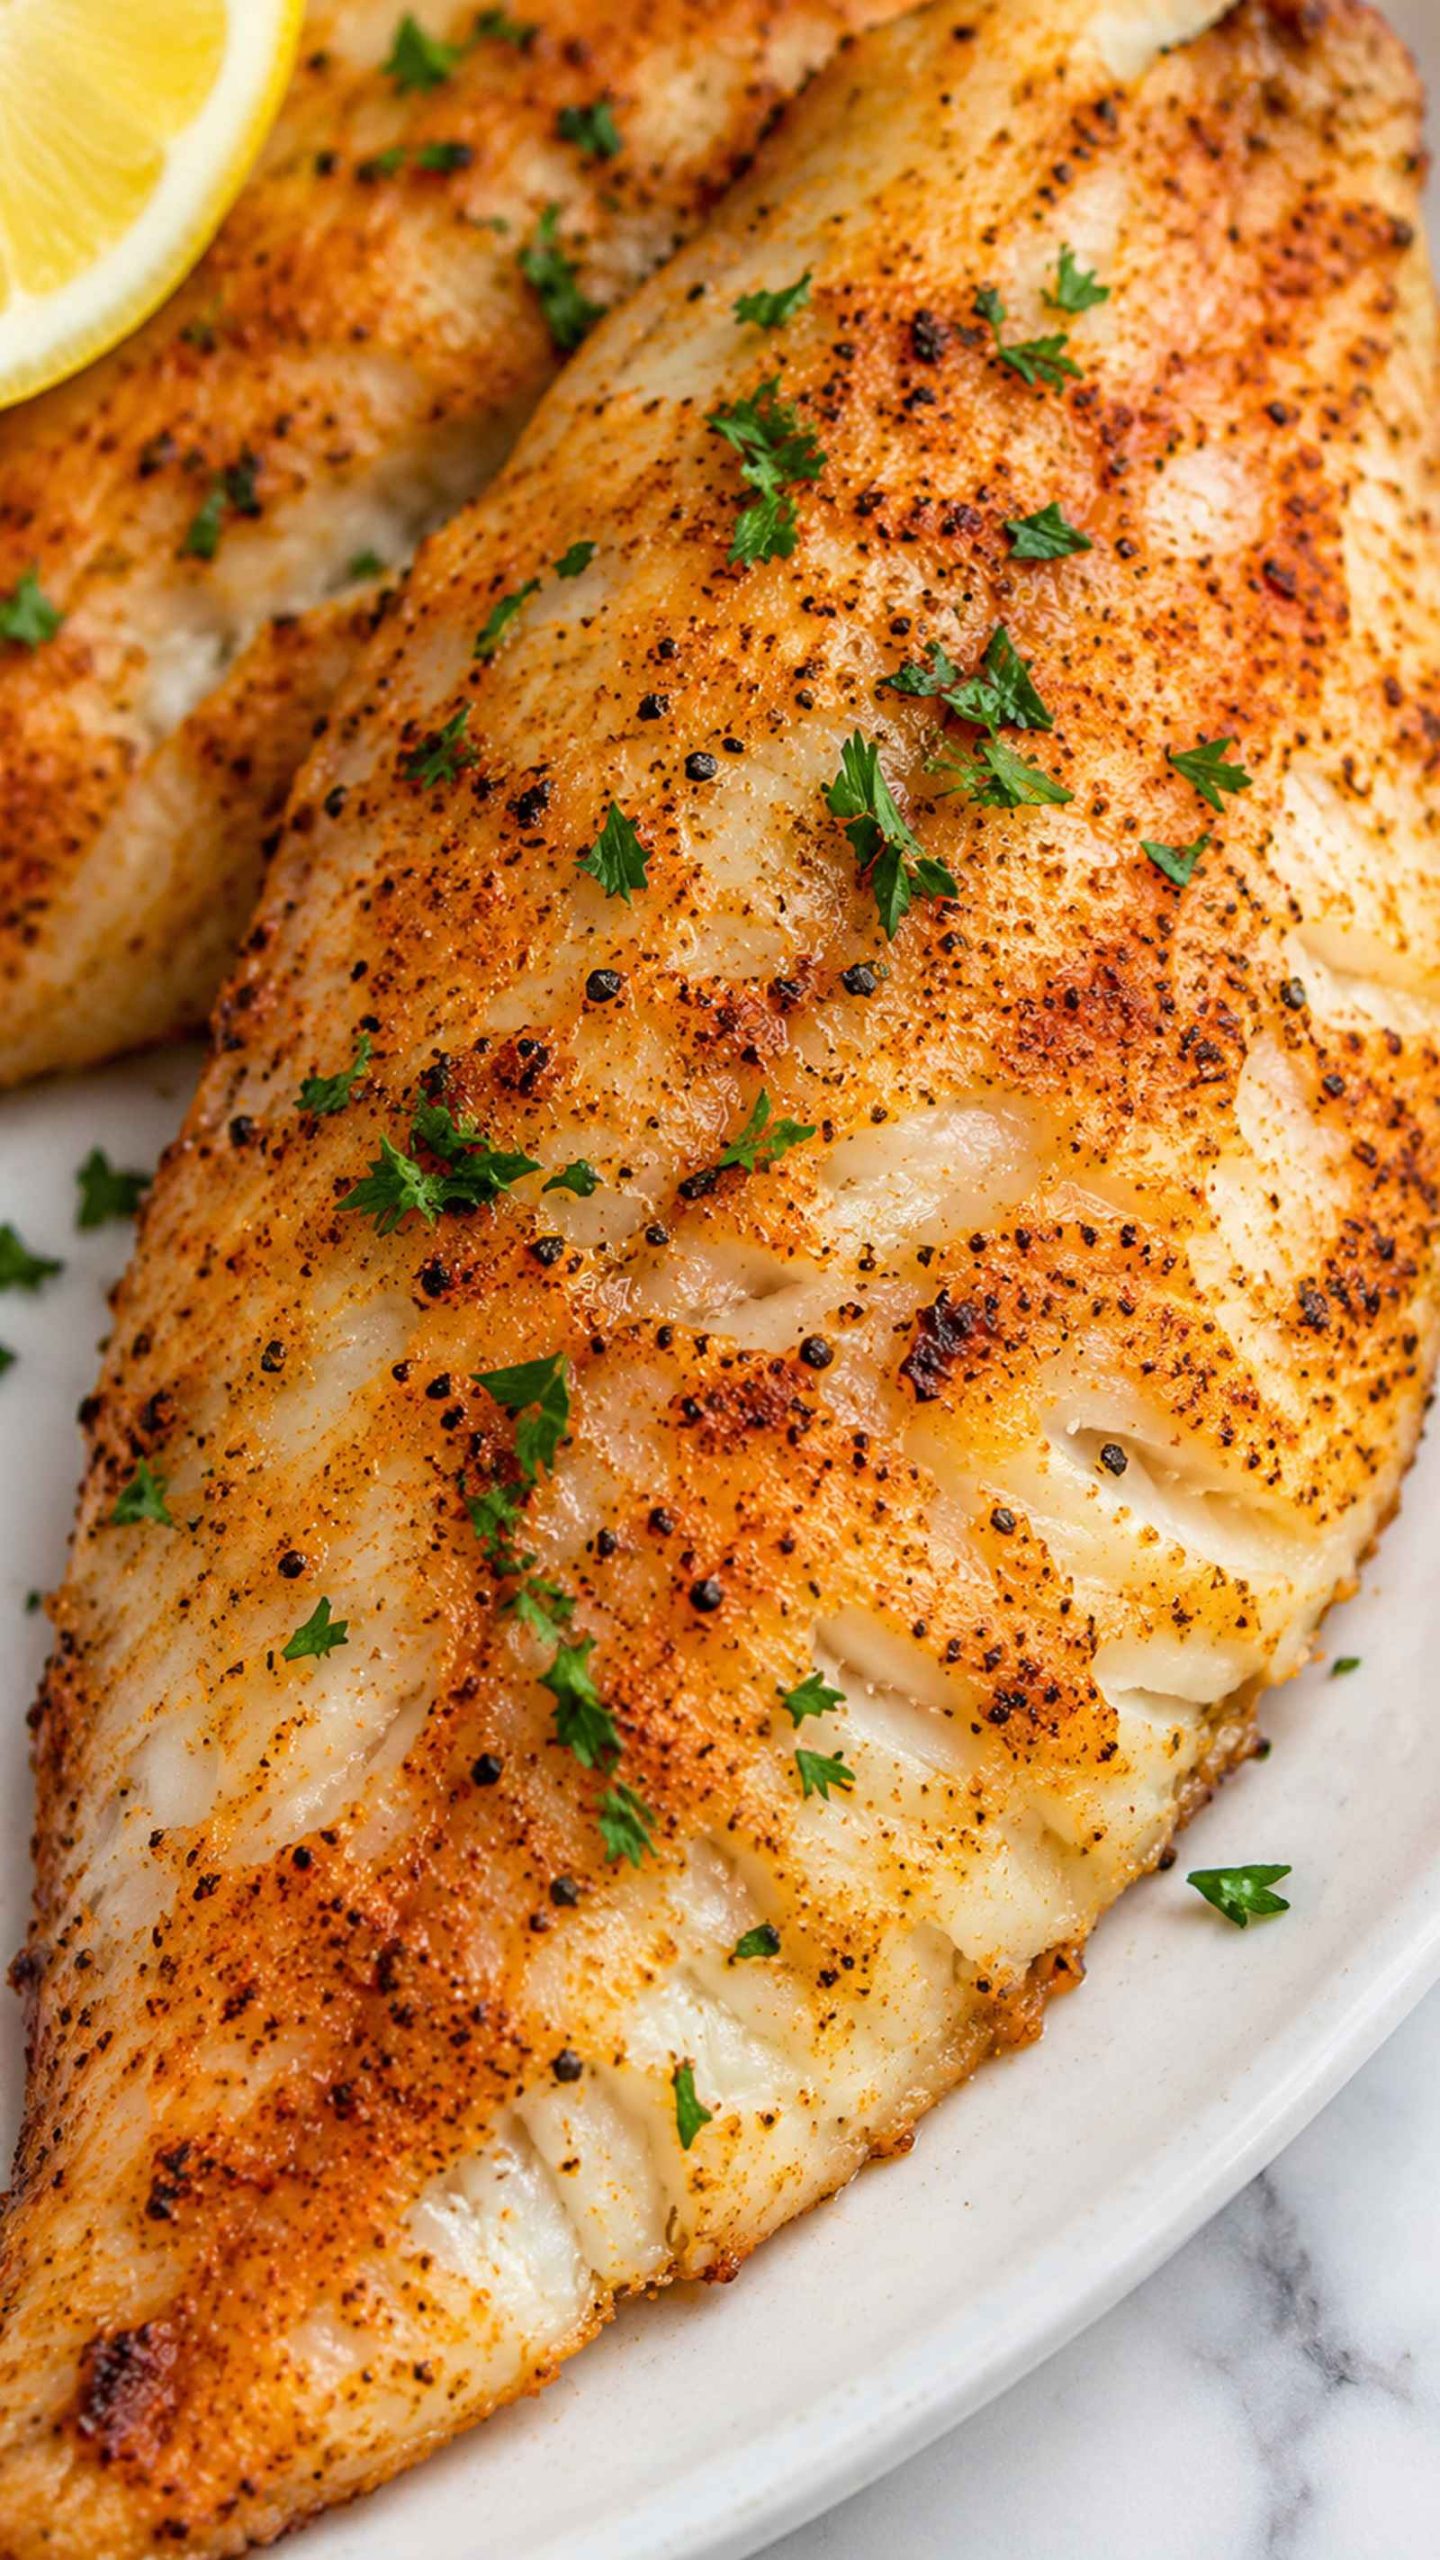
- Add the Lemon: Squeeze the lemon quarters over the fish right before serving for a burst of freshness.
- Garnish: Sprinkle the chopped parsley over the top for color and a clean herbal finish.
Variations and Customizations
One of the great things about this tilapia is its versatility!
- Spicy Kick: Add a pinch of cayenne pepper to the spice mix or serve with a squeeze of hot sauce.
- Buttery Finish: Drizzle 1 tablespoon of melted butter over the cooked fillets for a richer, restaurant-style taste.
- Herb Swap: Replace the parsley with fresh dill for a light, tangy flavor that pairs beautifully with the fish.
- Taco Night: Flake the cooked tilapia into warm tortillas with shredded cabbage and a squeeze of lime.
Serving Suggestions
This tilapia pairs wonderfully with a side of garlic Parmesan potatoes, which cook in the same appliance and make weeknight cleanup simple.
For drinks, serve it with iced lemon water, a crisp sauvignon blanc, or a sparkling water with cucumber slices.
Conclusion
In just a few simple steps, you’ve created a flaky, flavorful tilapia that is sure to become a family favorite.
It’s a fantastic choice for busy weeknights, and the leftovers make an easy lunch the next day.
Don’t hesitate to get creative with your seasonings and sides, because there’s no limit to how you can customize this recipe!
Try it today and experience the deliciousness for yourself!
Recipe FAQ’s
Can I use frozen tilapia for this recipe?
Yes, thaw the fillets completely in the refrigerator overnight and pat them very dry before seasoning. Frozen fish releases extra moisture, so drying it well is essential for crisp edges.
Can I use a different fish instead of tilapia?
Yes, cod, halibut, or mahi-mahi work well with the same seasoning. Thicker fillets may need 2-3 extra minutes, so check that the fish flakes easily before serving.
How can I store leftovers?
Refrigerate cooked tilapia in an airtight container for up to 3 days. Reheat gently in the air fryer at 300°F (150°C) for 3-4 minutes to keep the fish from drying out.

Air Fryer Tilapia
- Total Time: 22 minutes
- Yield: 4 servings
Description
Air Fryer Tilapia features flaky white fish coated in a savory blend of paprika, garlic powder, onion powder, and black pepper, finished with a bright squeeze of lemon and fresh parsley. It is a light, protein-packed dish that is perfect for busy weeknights or a simple family dinner.
Ingredients
- 24 ounces tilapia fillets, cut into 4-6 ounce pieces, about 4 fillets
- 1 tablespoon avocado oil
- 2 teaspoons paprika
- 1/2 teaspoon coarse kosher salt
- 1/2 teaspoon black pepper, freshly ground
- 1/2 teaspoon garlic powder
- 1/2 teaspoon onion powder
- 1 lemon, cut into quarters
- 1 tablespoon finely chopped parsley, fresh
- 1 pinch cayenne pepper, optional
- 1 tablespoon melted butter, optional
- fresh dill, optional, chopped
Instructions
- Preheat the Air Fryer: Set your air fryer to 400°F (200°C) and preheat for 3 minutes.
- Pat the Fish Dry: Use paper towels to pat each tilapia fillet completely dry so the seasoning sticks and the edges crisp up.
- Season the Fish: Whisk the paprika, coarse kosher salt, black pepper, garlic powder, and onion powder together in a small bowl.
- Brush and Coat: Brush both sides of each fillet with avocado oil, then press the spice mixture evenly onto every surface.
- Air Fry: Arrange the fillets in a single layer without overlapping, working in batches if needed, then cook for 8-10 minutes, flipping halfway, until the fish flakes easily and reaches 145°F (63°C).
- Rest the Fish: Transfer the fillets to a serving platter and let them rest for 2 minutes so the juices settle.
- Add the Lemon: Squeeze the lemon quarters over the fish right before serving for a burst of freshness.
- Garnish: Sprinkle the chopped parsley over the top for color and a clean herbal finish.
- Prep Time: 10 minutes
- Cook Time: 12 minutes